
|
Register or Log In To remove these advertisements. |
|
|
|
|||||||
 |
|
|
Thread Tools | Display Modes |
|
|
 04-24-2015, 08:44 PM
|
#1 |
|
Senior Member
 Join Date: Jul 2009
Location: Athens, AL
Posts: 499
|
Mounts:
The first order of business was the mounts. I've done several swaps, but this is the first time that I had a SBC and a Gen 3 motor sitting side by side. So, armed with my trusty tape measure I came up with adapter plates for the stock towers and mounts to place the motor just where I wanted it. I made these mounts out of 3/8 plate. There pretty much run of the mill plates, except that the SBC mount holes are 1/4" below the Gen 3 mounting holes. This will raise the motor by about 1/4".
Here are the plates in the middle of painting: 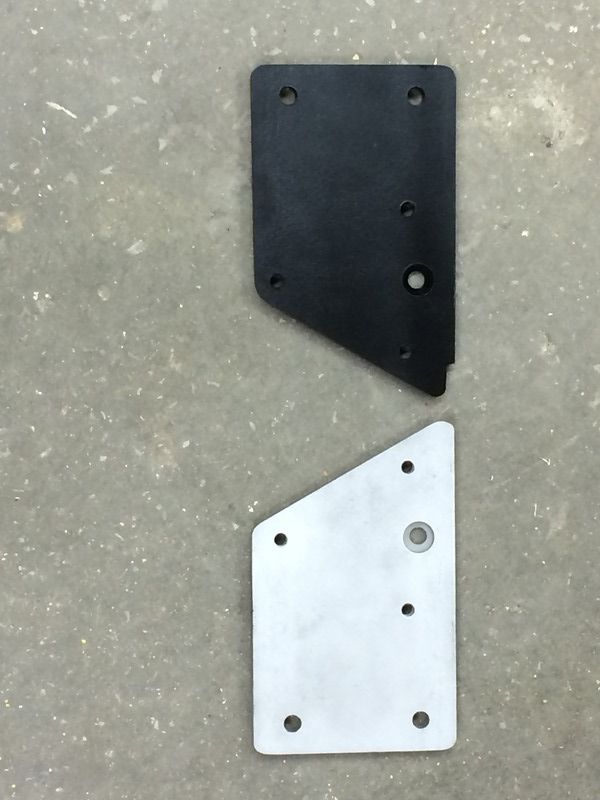 I also needed to modify the passenger's side tower. First, I removed the top of the tower: 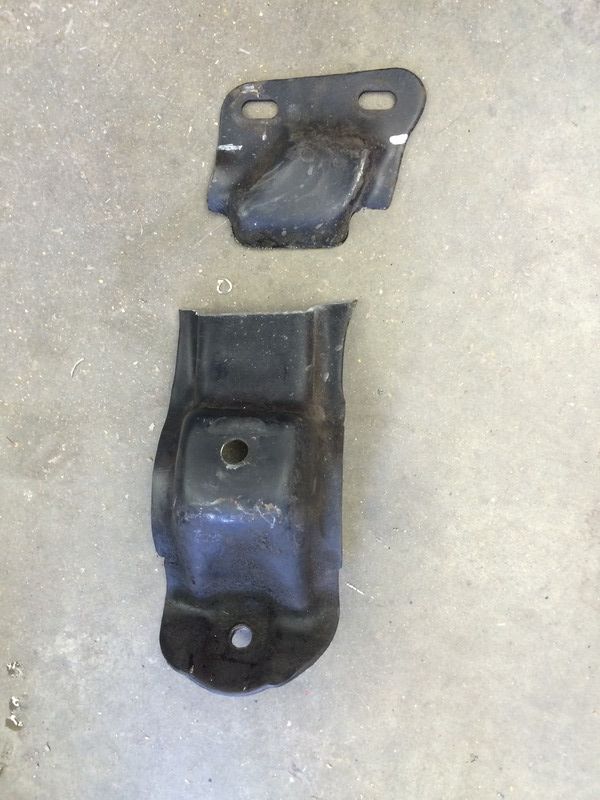 Then a duplicate of the mount "top" in flat steel: 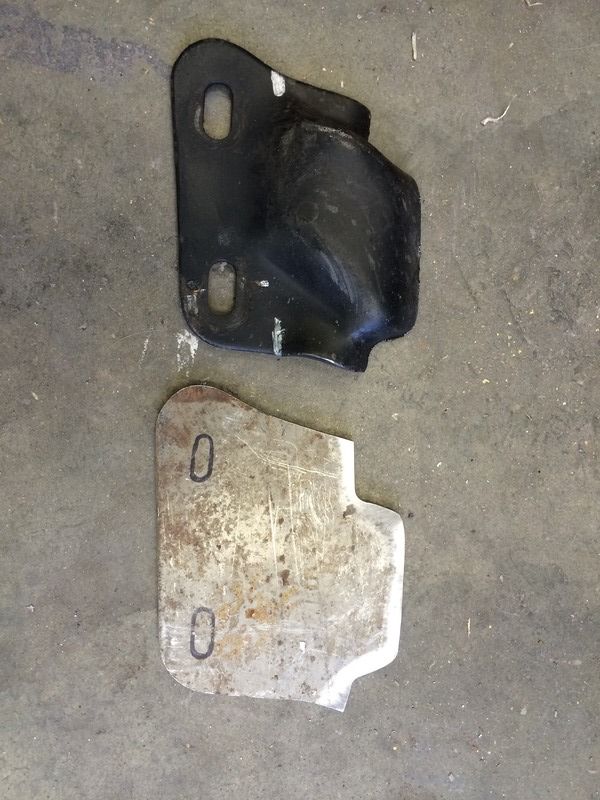 Welded together and a rough pass with the flap wheel: 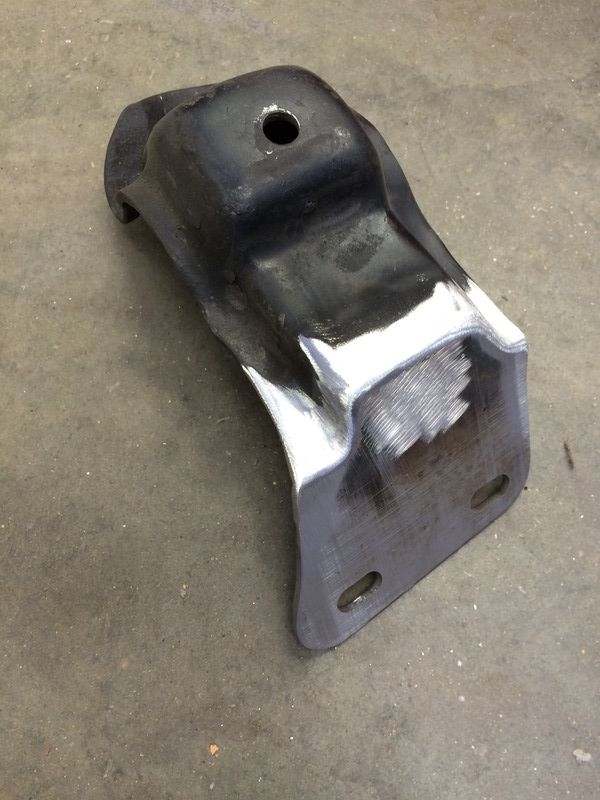 Gusseted under the edges to add back some strength and blasted: 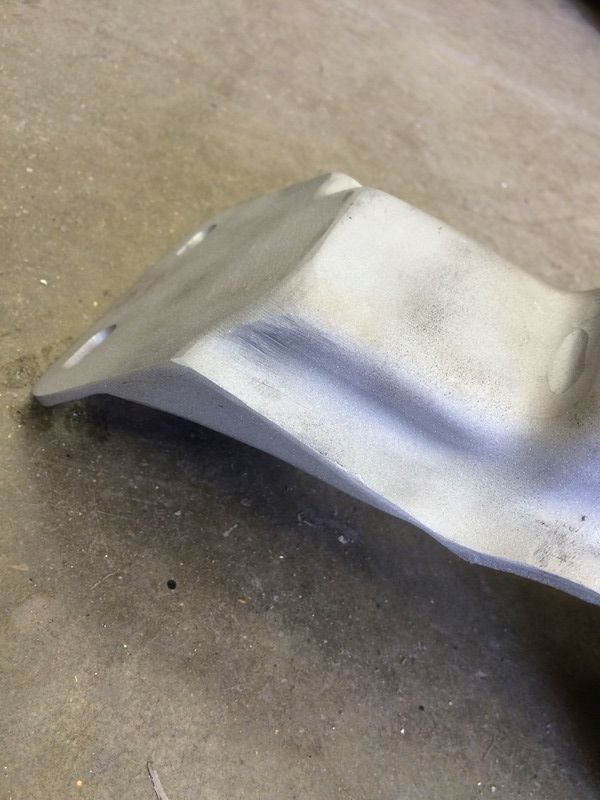 All done, in paint: 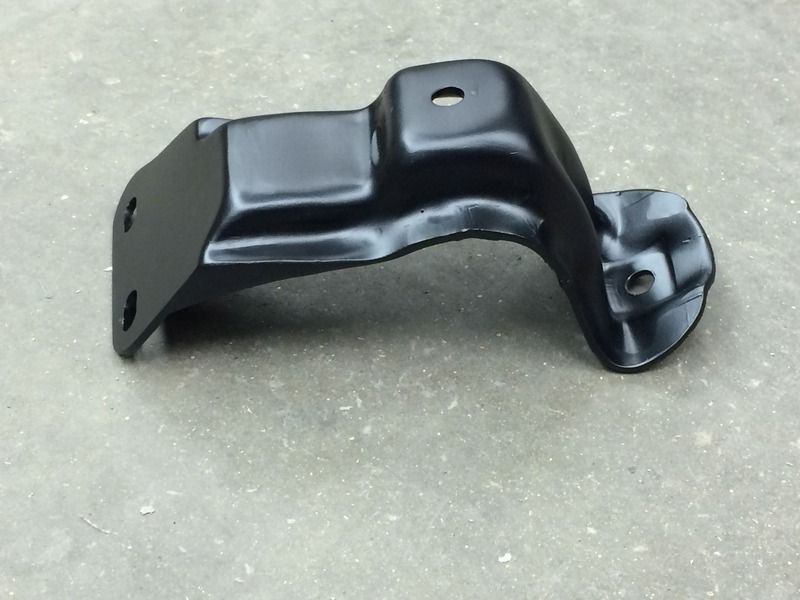
|

|

|
|
04-24-2015, 08:59 PM
|
#2 |
|
Senior Member
Join Date: Jul 2009
Location: Athens, AL
Posts: 499
|
Coil Relocation
It was around this point in the swap that I decided that I wanted the new engine to have an old look; Chevy orange and all. I was going to need coil relocation brackets. There are several choices out there for car coils. Truck coils, not so much. I decided that I wanted them behind the heads. So, the fabrication started.
The brackets started as simple angles to bolt to the back of the heads. I center drilled some spacers out of 3/4 rod on the lathe: 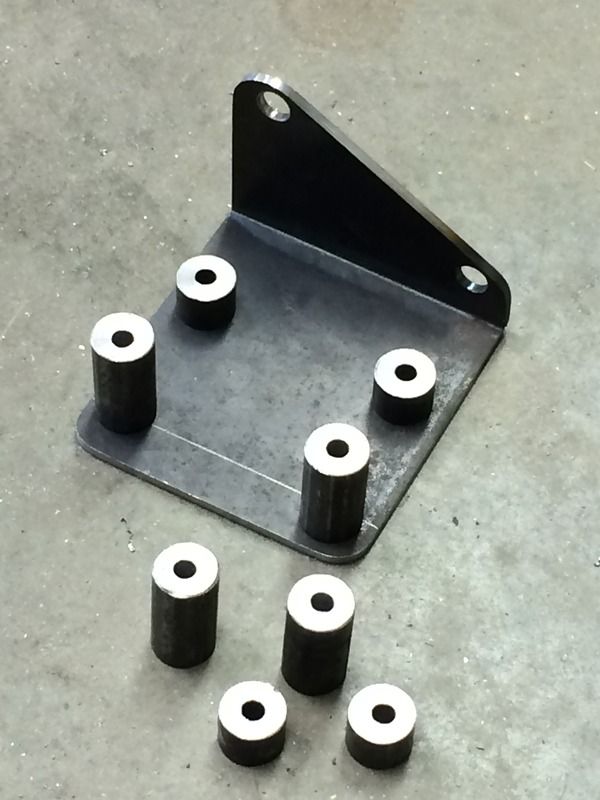 With coils attached: 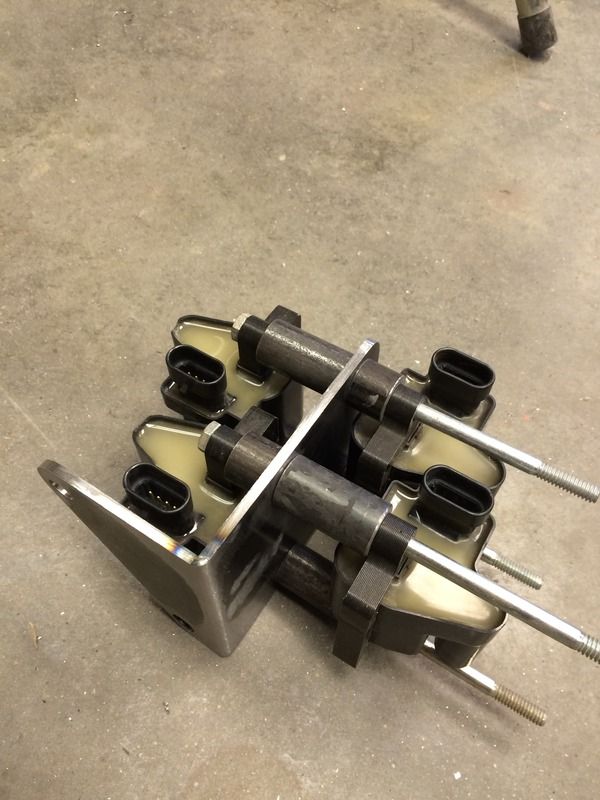 Painted and fully assembled. Notice that they aren't exactly the same since there is just a little less room behind the driver's cylinder head: 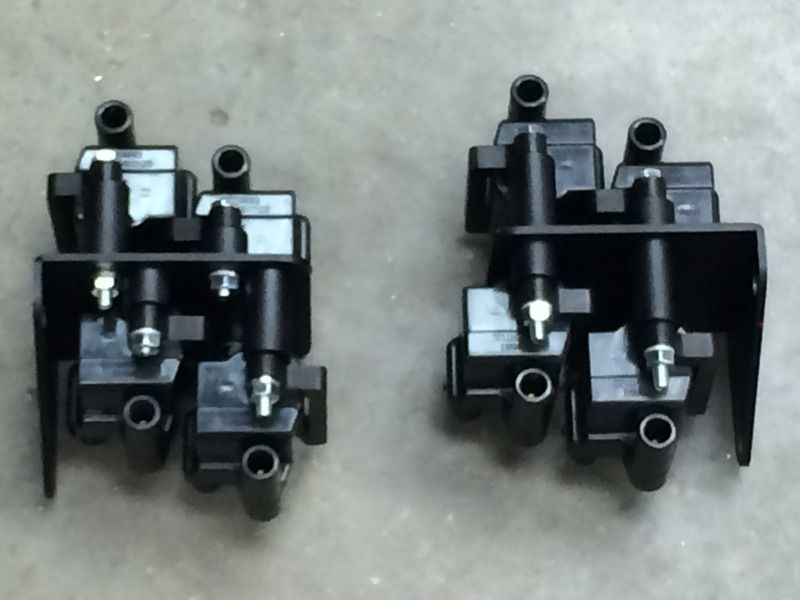 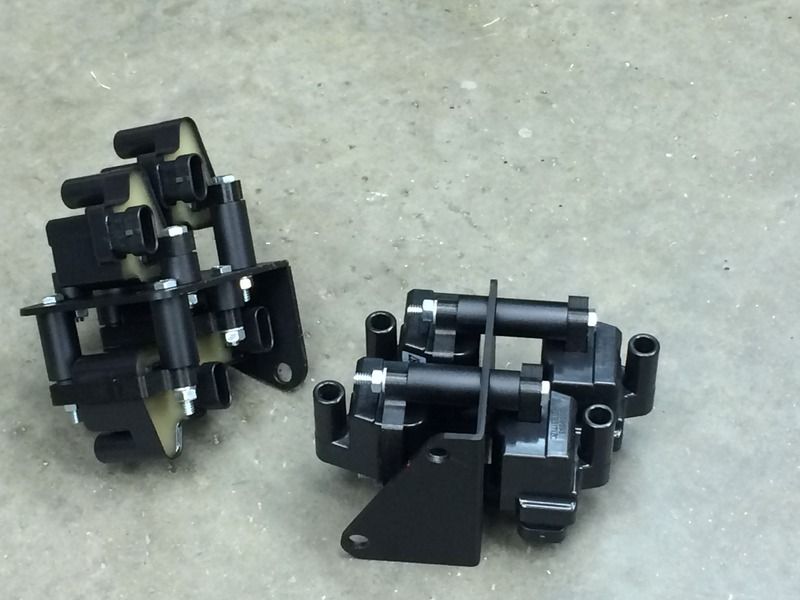
|
|
|
|
|
04-24-2015, 09:14 PM
|
#3 |
|
Senior Member
Join Date: Jul 2009
Location: Athens, AL
Posts: 499
|
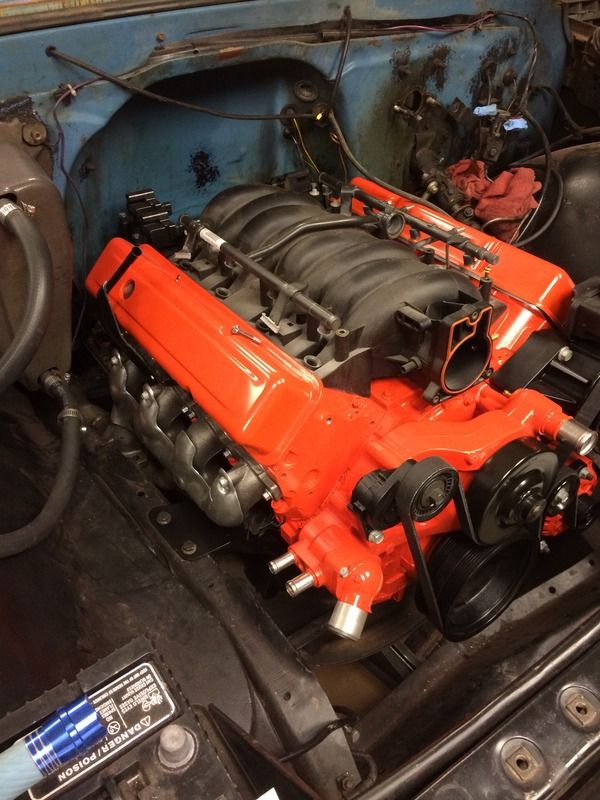
Motor mounted; exhaust clearance
After a coat of Chevy orange, the engine went in:
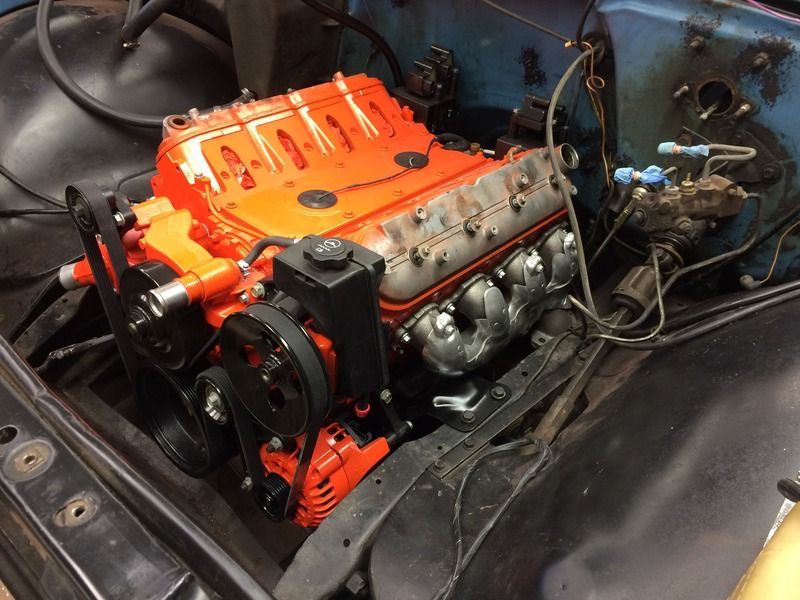 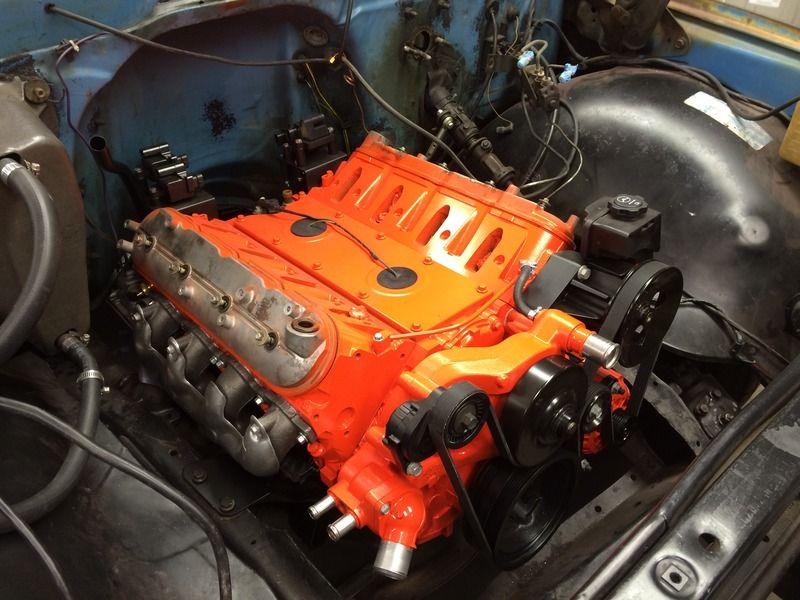 Those are Gen 5 Camaro exhaust manifolds. Here's some shots of the clearance to explain why I made the plates to raise the motor by 1/4" and why I removed the "hump" from the top of the passenger's side tower: 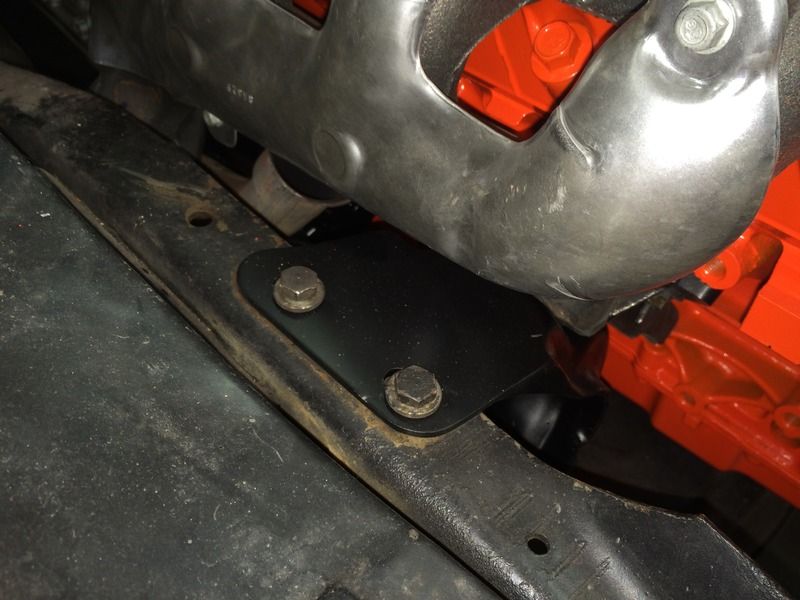 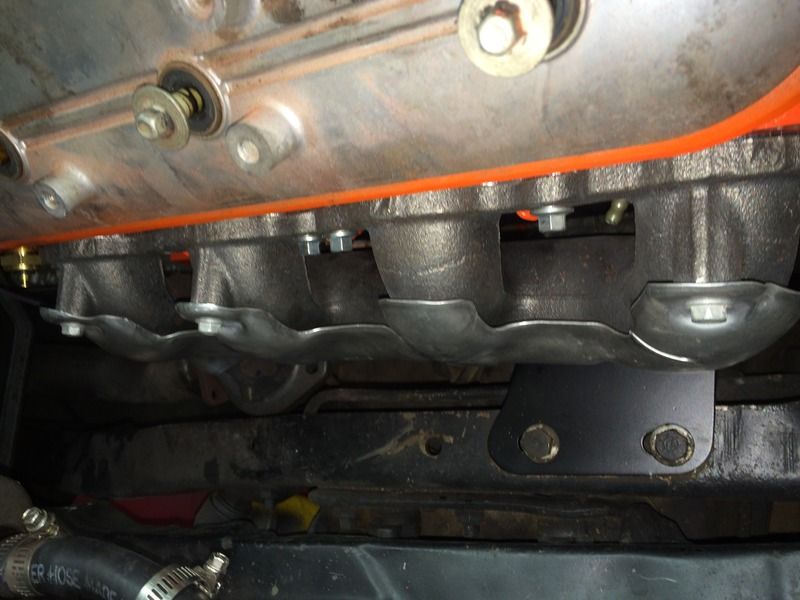 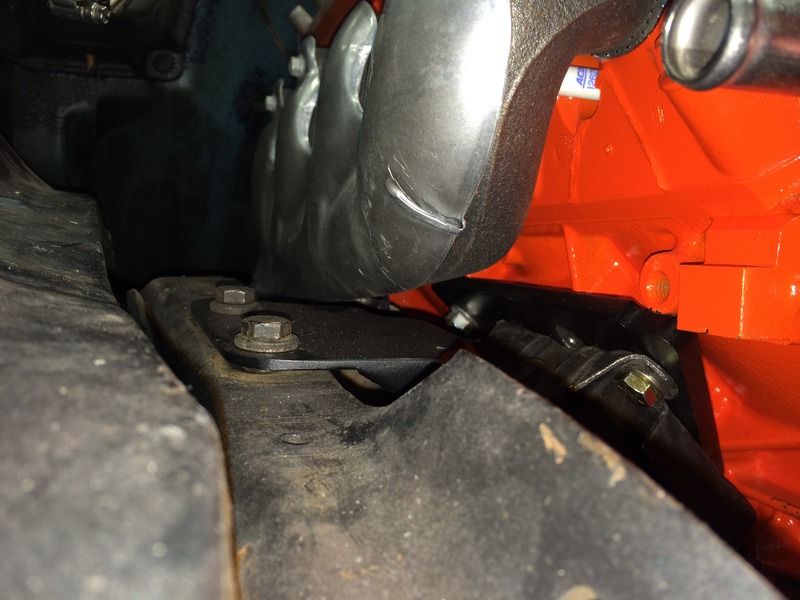 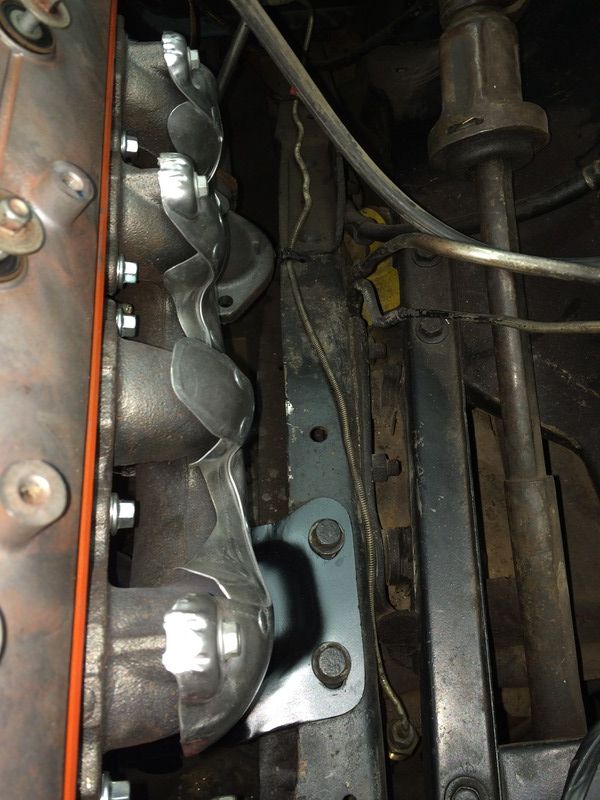 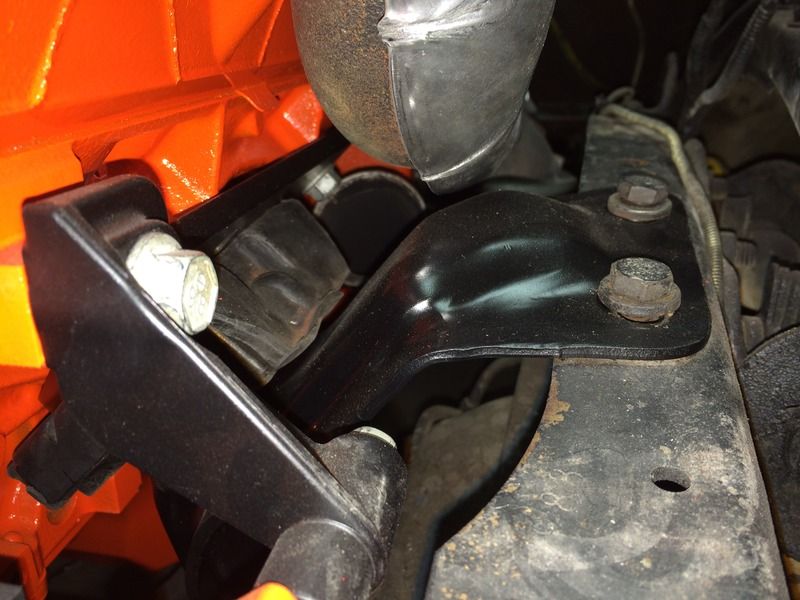
|
|
|
|
|
04-24-2015, 09:35 PM
|
#4 |
|
Senior Member
Join Date: Jul 2009
Location: Athens, AL
Posts: 499
|
Valve covers and Intake
I ordered some LS/SBC valve cover adapters on eBay and some plain Jane orange sheet metal valve covers. I also had to throw the intake on there just to see how it looked.
 I liked the look of the LS1 intake. But, it wasn't quite what I wanted and things really went off the rails. Friends with water jets are cool. Especially when you need things like a square bore to 3-bolt TB adapter: 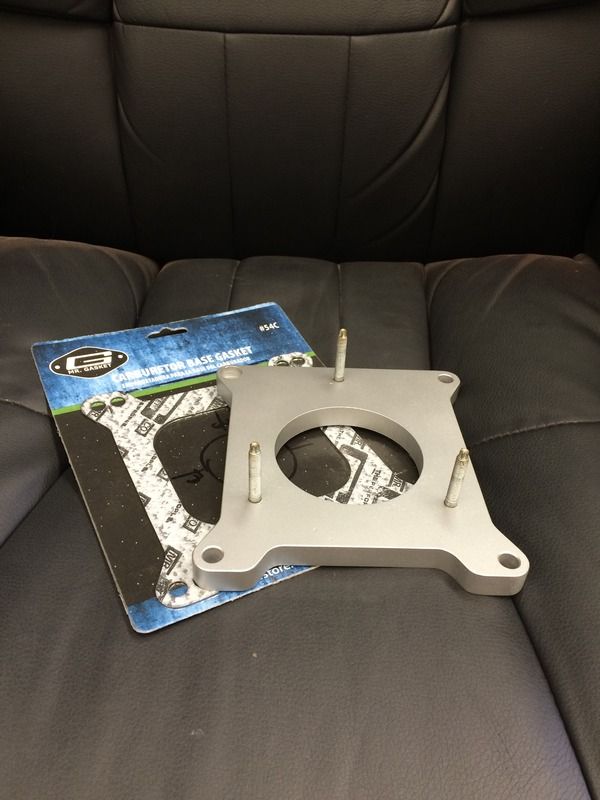 I ordered up a Holley intake and attached the adapter: 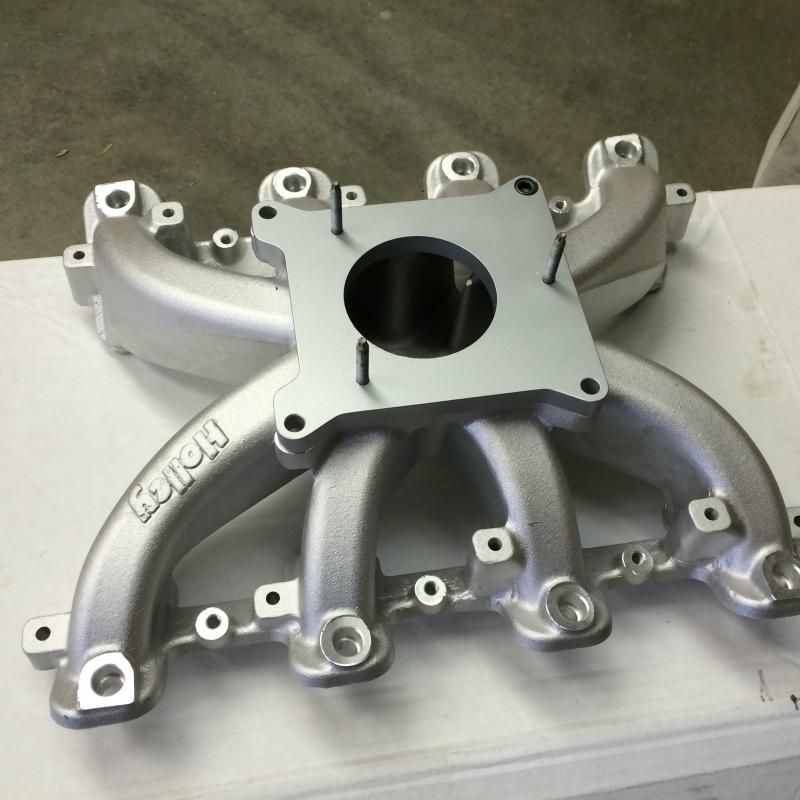 And a test fit of the TB. That's the #1 shop dog, Vance, in the background, BTW. 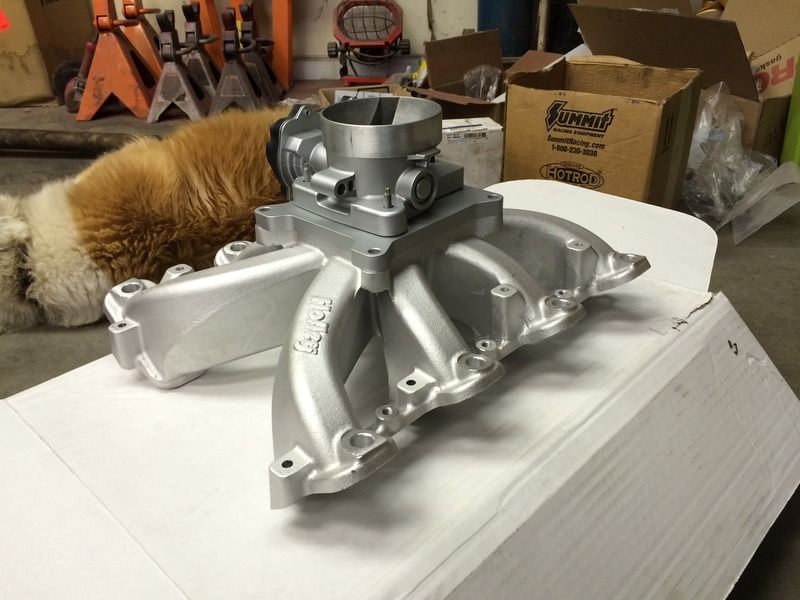 Here is is sitting on the engine: 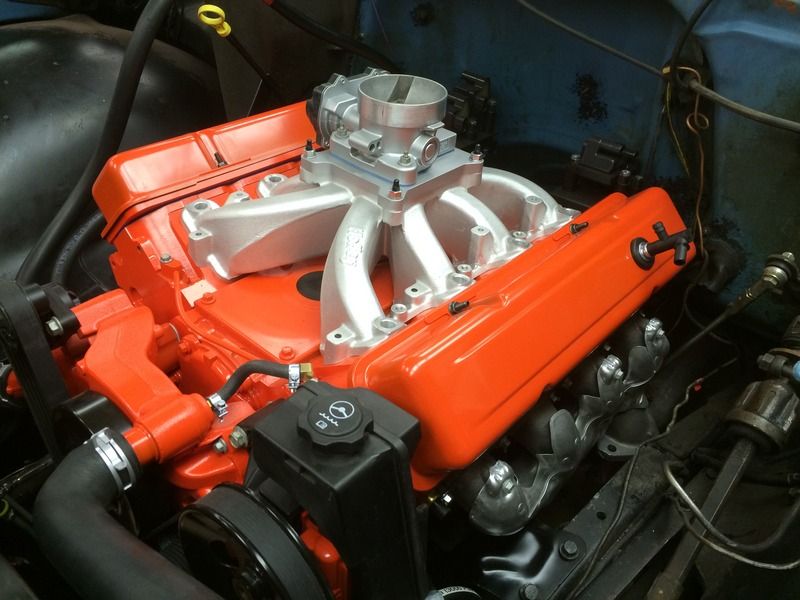
|
|
|
|
|
04-24-2015, 09:50 PM
|
#5 |
|
Senior Member
Join Date: Jul 2009
Location: Athens, AL
Posts: 499
|
Radiator
I took a break from the engine for a little while to work on my radiator.
I took the stock 4 core radiator to a local shop and, $50 later, it got a clean bill of health. I had the heater hose outlet on the tank brazed shut while it was there. After a little tin-bending: 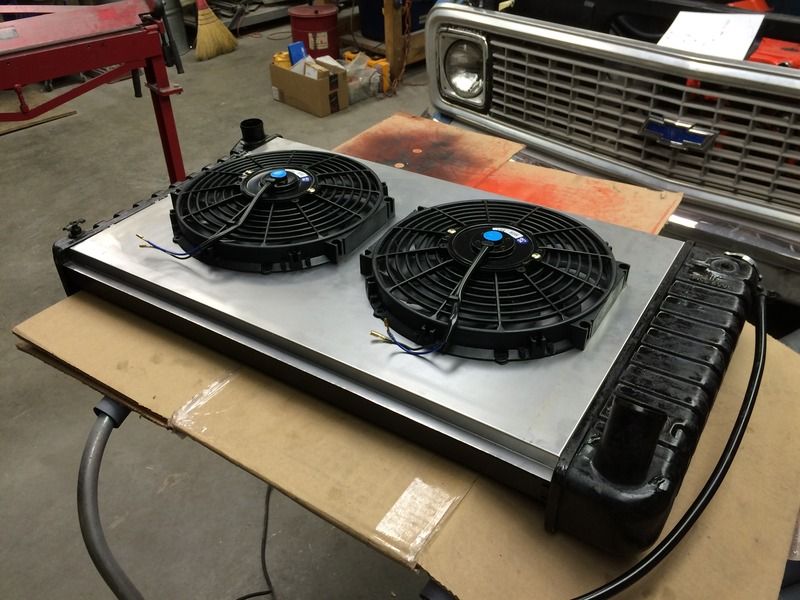 And some paint: 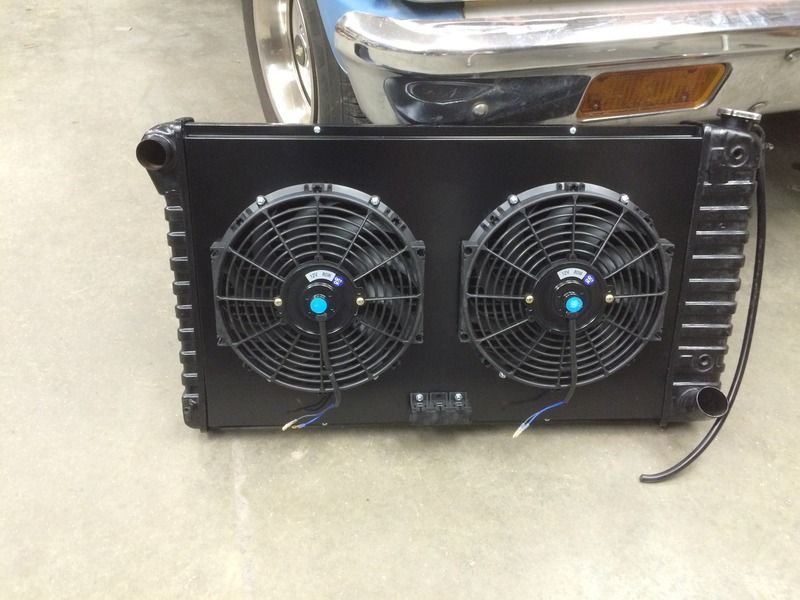 For a lower hose, I used the piece on the left: 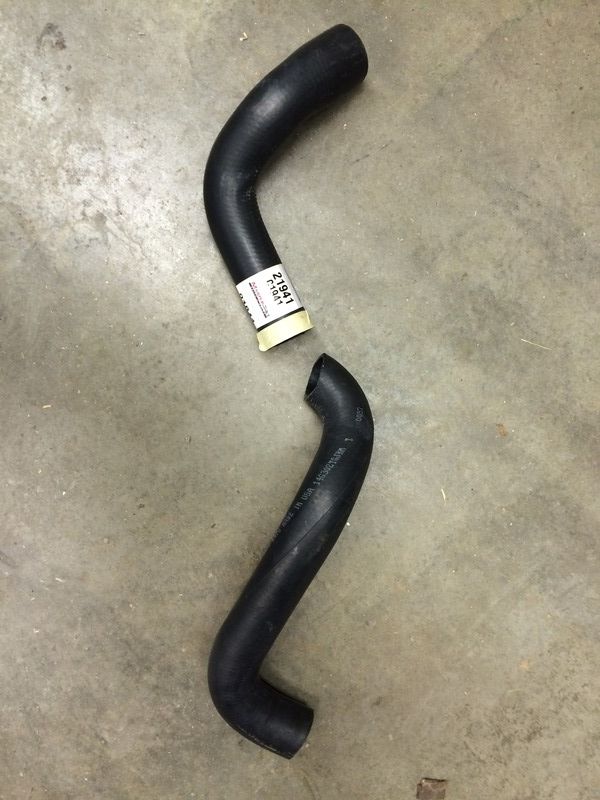 The upper hose was cut at the the tape: 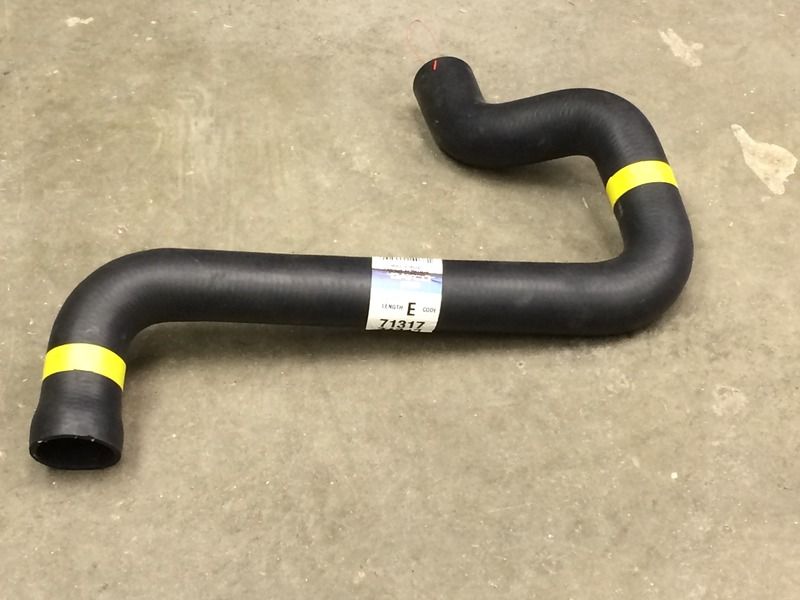 The upper hose also needed a reducer on the water pump end: 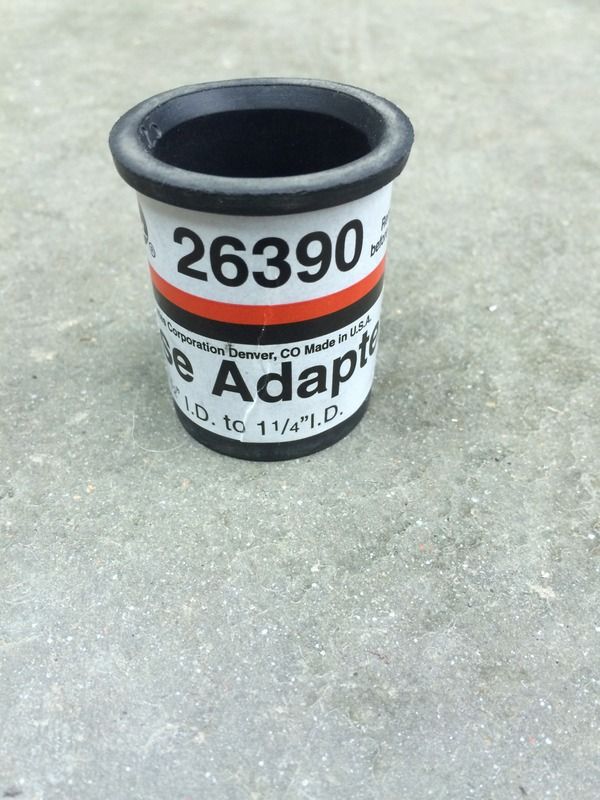 Istalled: 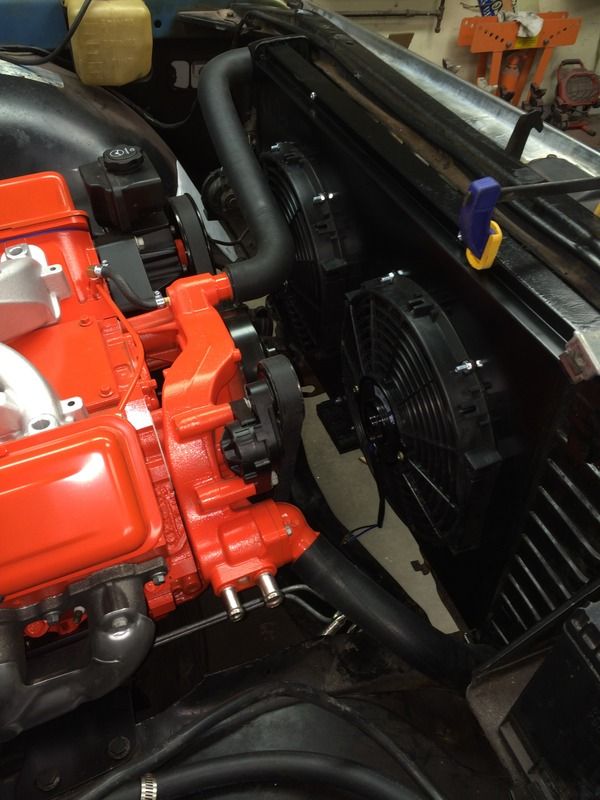 And, since I despise worm clamps, some spring clamps: 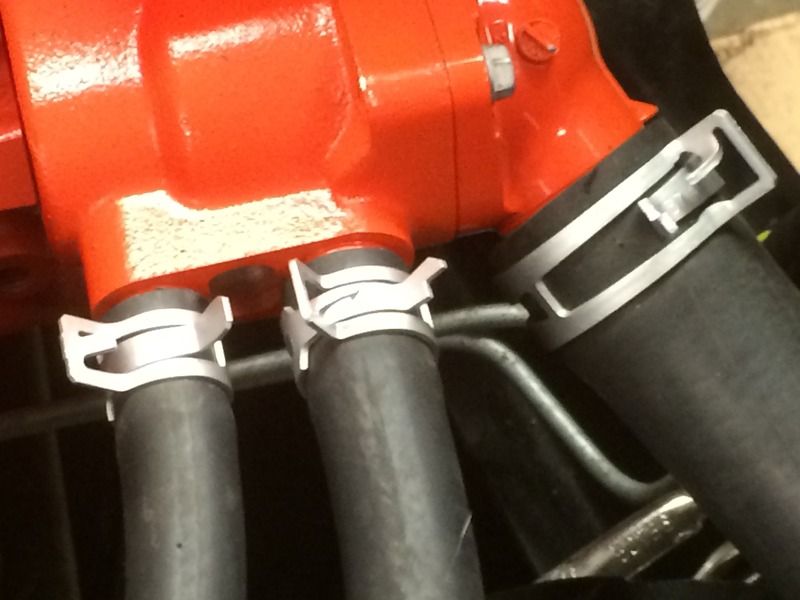
Last edited by dayj1; 04-24-2015 at 10:11 PM. |
|
|
|
|
04-24-2015, 10:03 PM
|
#6 |
|
Senior Member
Join Date: Jul 2009
Location: Athens, AL
Posts: 499
|
Brake booster
The truck didn't originally have power brakes. I sourced one of the small dual S10 boosters from a '93 model at a salvage yard and fabbed up a bracket.
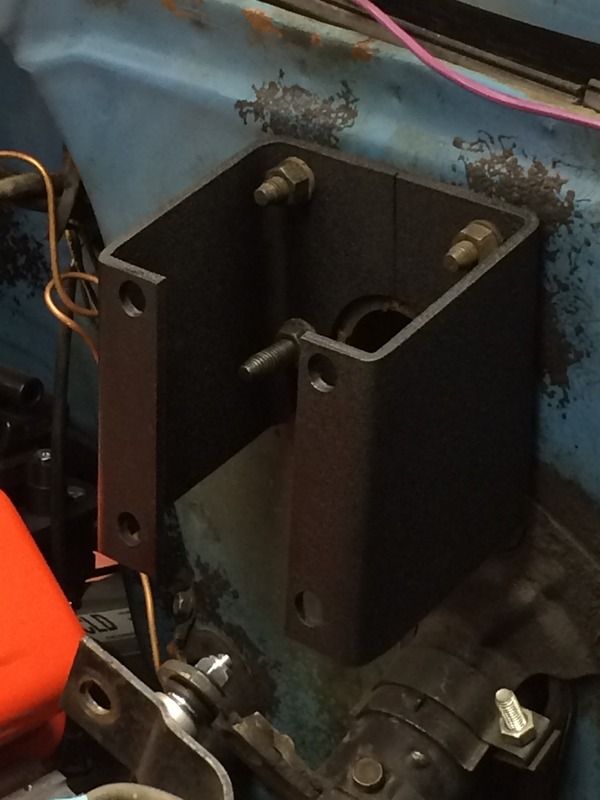 I threaded the pushrod in the booster to 5/16-24: 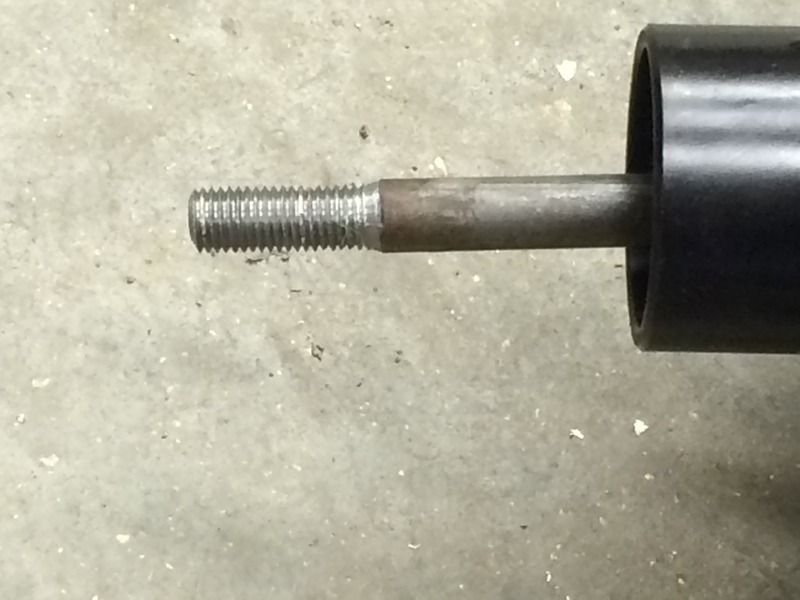 I turned down the end of the original '72 pushrod and threaded it to 5/16-24: 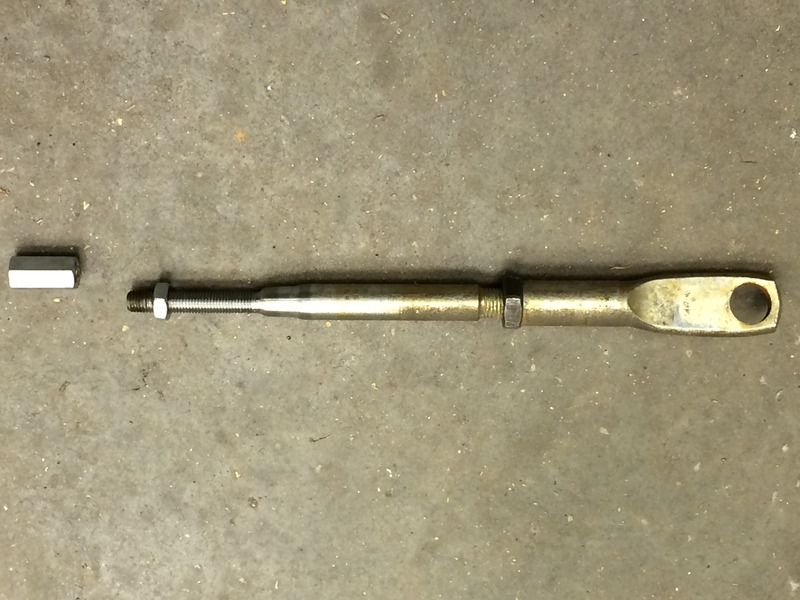 The two rods were joined with a coupling nut and installed along with a C3 style master cylinder that I had left over from another project: 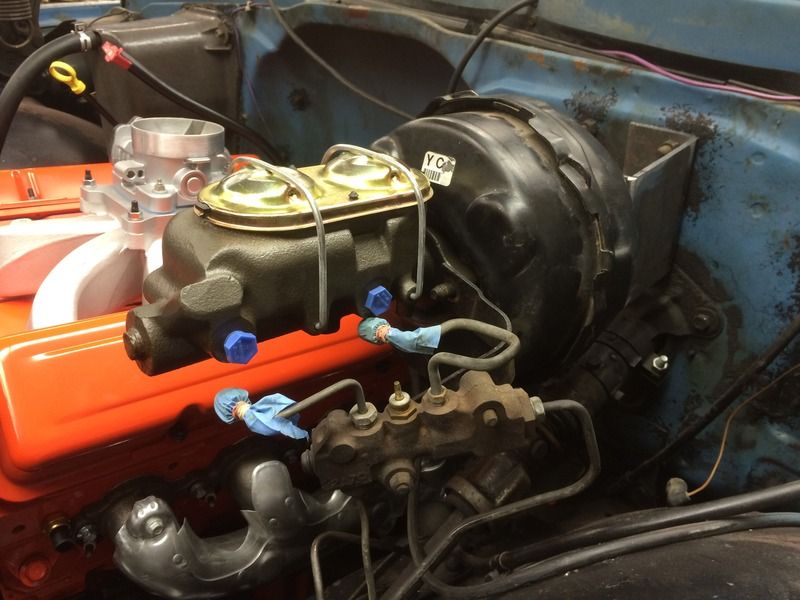
|
|
|
|
|
04-24-2015, 10:14 PM
|
#7 |
|
Senior Member
Join Date: Jul 2009
Location: Athens, AL
Posts: 499
|
Power Steering and Plug Wires
I went to the local Parker hose store and had them make up a flexible high pressure hose for the power steering about 20" long. Then I bent up and flared the ends to match the metric steering pump and standard box.
Here are the parts: 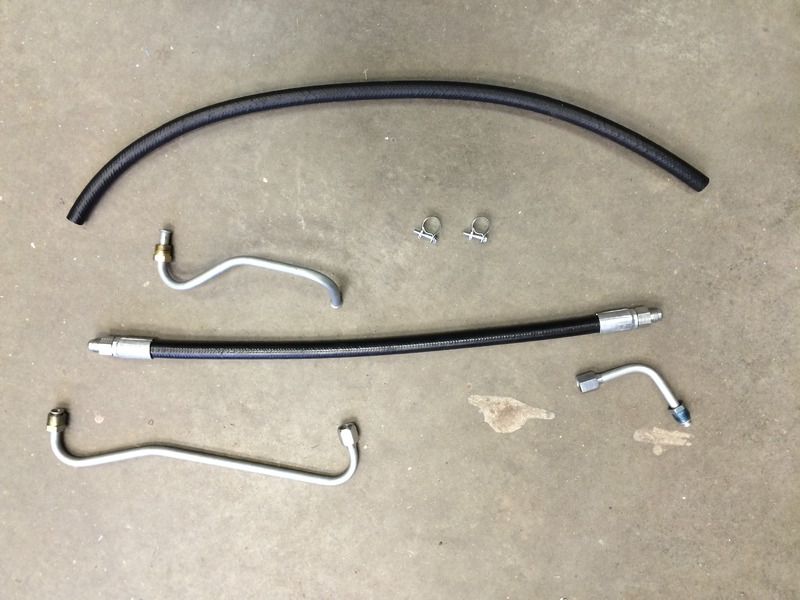 And installed: 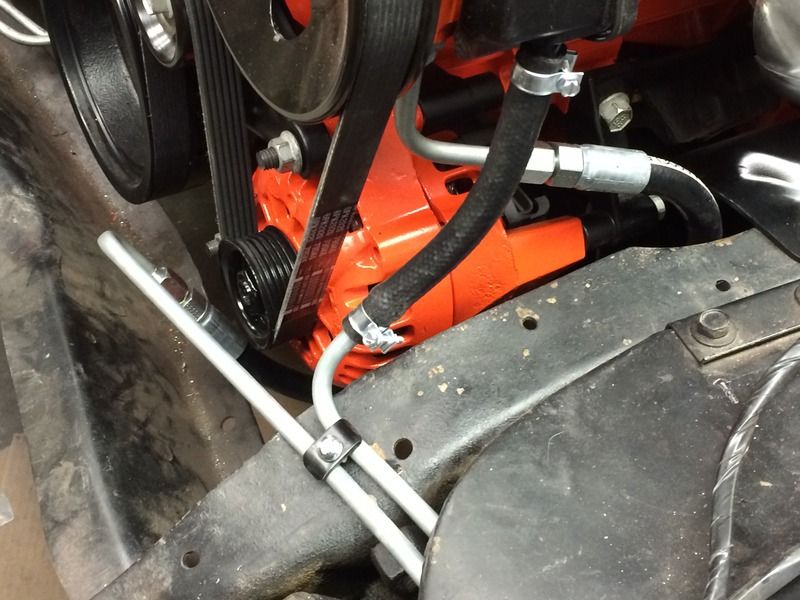 I also modified some SBC wire looms and crimped up a set of plug wires: 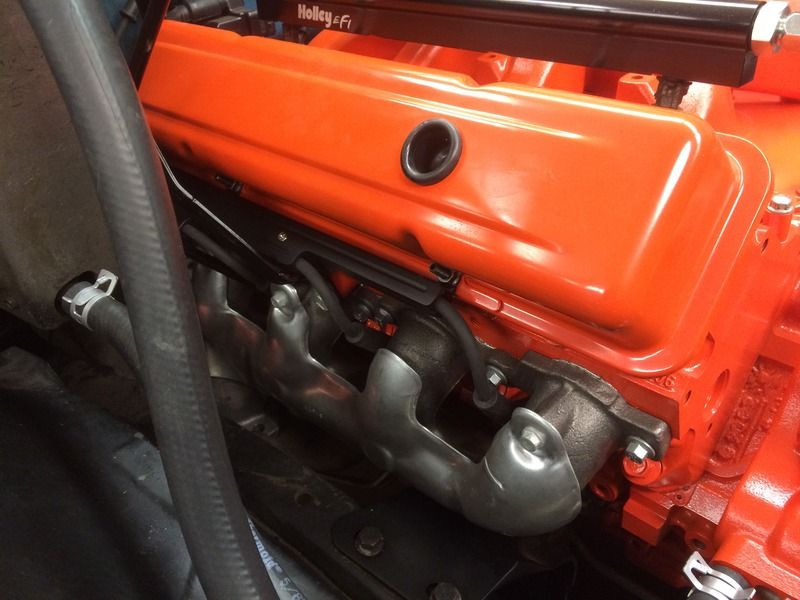
|
|
|
|
|
04-24-2015, 09:51 PM
|
#8 |
|
Registered User
Join Date: Oct 2012
Location: Miami, Florida
Posts: 917
|
Re: Another way to skin the cat; the High Torque 292 LS swap
I am dying to see/read the rest of this post. im interested to see the wiring and tuning for this application. I had a dream I completed a swap, just like this, using the same combination of parts such as intake and throttle body. I assume your going with a speed density tune? good luck. Clark. don't forget to spill all the beans. knowledge is power.
|
|
|
|
|
04-25-2015, 12:21 AM
|
#9 | |
|
Senior Member
Join Date: Jul 2009
Location: Athens, AL
Posts: 499
|
Re: Another way to skin the cat; the High Torque 292 LS swap
Quote:
|
|
|
|
|
|
12-31-2015, 12:39 AM
|
#10 | |
|
Registered User
Join Date: Jul 2010
Location: Victoria,B.C. Canada
Posts: 175
|
Re: Mounts:
Would this be considered in the "stock" location or inch back etc?
Quote:
|
|
|
|
|
|
12-31-2015, 12:52 AM
|
#11 | |
|
Senior Member
Join Date: Jul 2009
Location: Athens, AL
Posts: 499
|
Re: Mounts:
Quote:
|
|
|
|
|
|
01-01-2016, 01:10 PM
|
#12 |
|
Registered User
Join Date: Jul 2010
Location: Victoria,B.C. Canada
Posts: 175
|
Re: Another way to skin the cat; the High Torque 292 LS swap
Thanks for that, I'm not sure why that seems to confuse me... must be getting older.
|
|
|
|
|
| Bookmarks |
| Thread Tools | |
| Display Modes | |
|
|


 Hybrid Mode
