
|
Register or Log In To remove these advertisements. |
|
|
|
|||||||
 |
|
|
Thread Tools | Display Modes |
|
|
 02-26-2009, 05:01 PM
|
#1 |
|
Registered User
Join Date: Jul 2006
Location: Central PA
Posts: 12,201
|
Re: Project - '69 4x4 named "Patches"
I'm doing a straight fill neck with cap that "shouldn't" need a vent since it won't be going through a long hose.
I am going to add a bung to vent the outgoing fuel so it doesn't create a vacuum when the engine is drinking the fuel.
__________________
The Garage: 1968 K-10 SWB - "Project Money Pit" 1996 Z-71 - "huntin rig" 1969 C-10 LWB (SOLD) "Project flip that truck or else" 1993 Passport, F@rd 1-ton (SOLD)"Project Cousin Eddie" My Garage Build "The 1,000 footer" |

|

|
|
02-27-2009, 10:47 AM
|
#2 | |
|
The Few, The Proud
 Join Date: Jun 2007
Location: Ball Ground, Georgia
Posts: 1,830
|
Re: Project - '69 4x4 named "Patches"
Quote:
Thanks. I only welded the bottom plate back on. I didn't weld the entire tank up. Back when I welded for a living, I primarily tig weld with a little mig every once in a while. I used to weld stainless all the time and aluminum is like a treat for me. I'd rather weld it than stainless.
__________________
Shannon |
|
|
|
|
|
04-13-2009, 08:40 AM
|
#3 |
|
The Few, The Proud
Join Date: Jun 2007
Location: Ball Ground, Georgia
Posts: 1,830
|
Re: Project - '69 4x4 named "Patches"
I'm still here working on the '69 here and there in between this crazy Georgia weather. We just had snow and tornado warnings in the same week.
Anyway, I found another good deal on Craigslist here locally for a new repop unstamped Chevy tailgate for $100. The guy was restoring a '69 and lost interest in it. I'm not sure if I'll keep it or sell/trade it for a stamped gate. Many thanks to Alan's Classic for forwarding the Craigslist link to me.  I also took on the task of rebuilding my steering gear box. Advanced Auto wanted $190 for a remaned one with $65-$75 core charge or $45 for a rebuild kit. So being that I had 2 gear boxes I figured I could rebuild one and if that went south I at least had one to use as a core still. This shot was after I degreased everything and shot some etch primer on the housing. 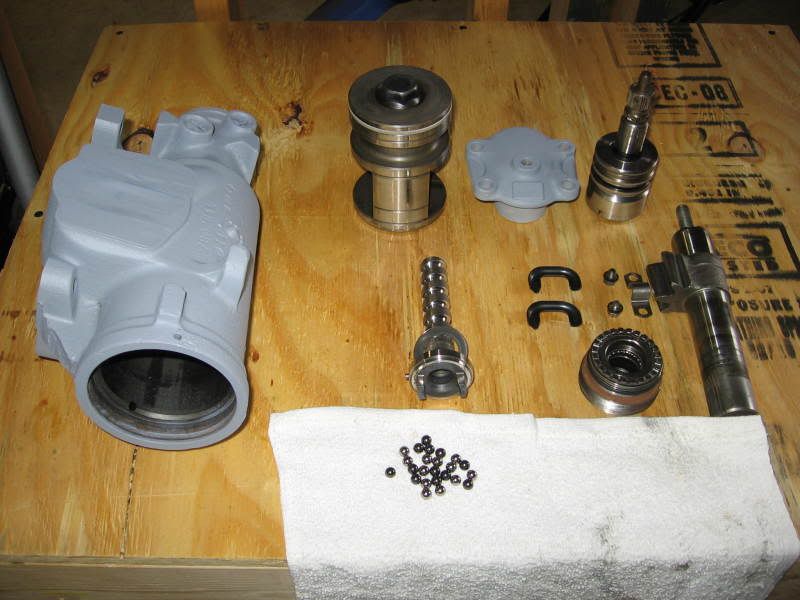 Here's the part number for the rebuild kit from Advanced Auto. 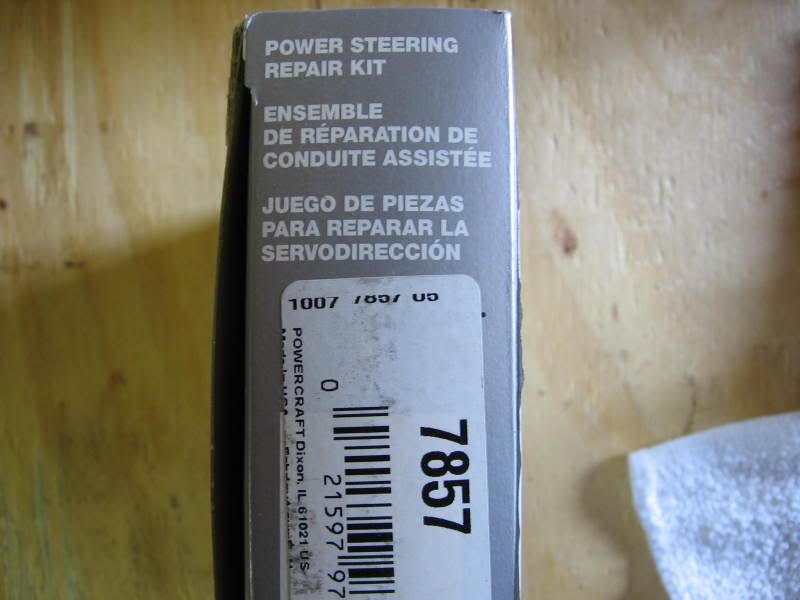 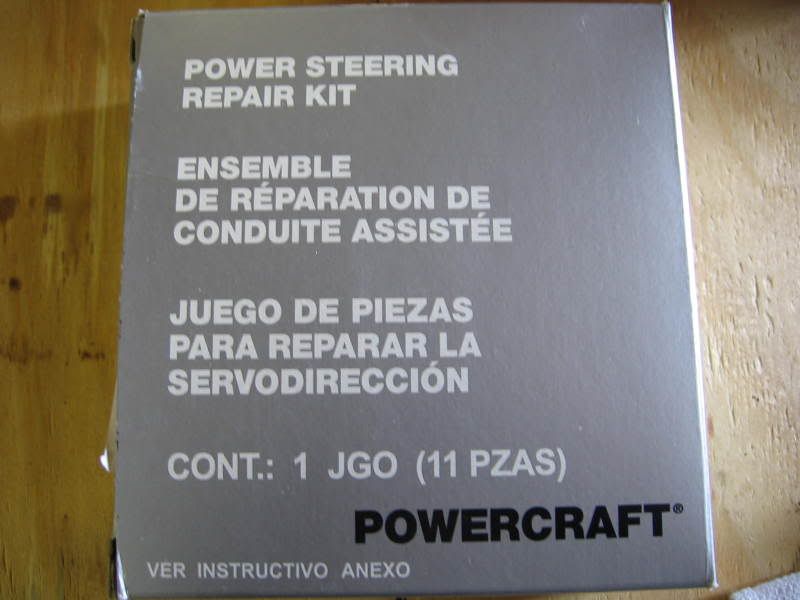 Here's an article from 4-Wheeler magazine that I used for the rebuild. I didn't take pictures of every step in my rebuild because this article has some good ones already. http://www.fourwheeler.com/techartic...ild/index.html Here's a shot after final assembly. 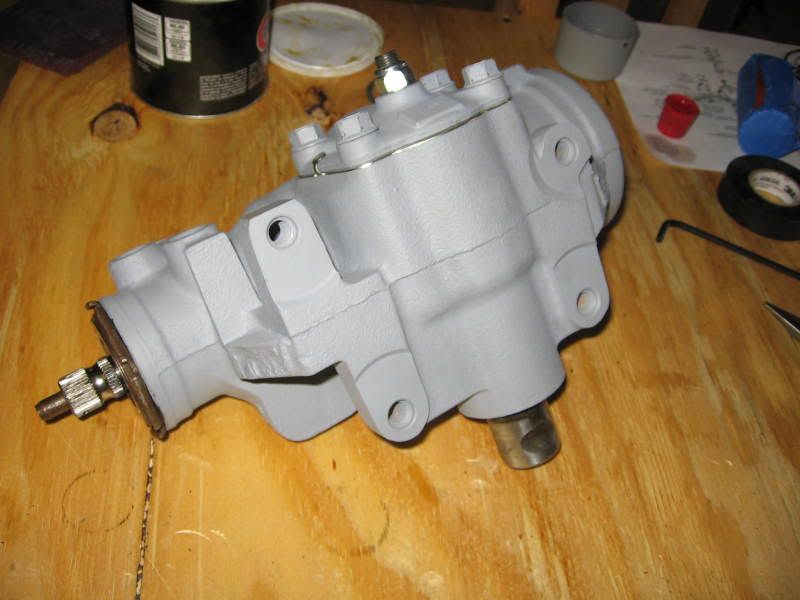 Poor Man's paint booth  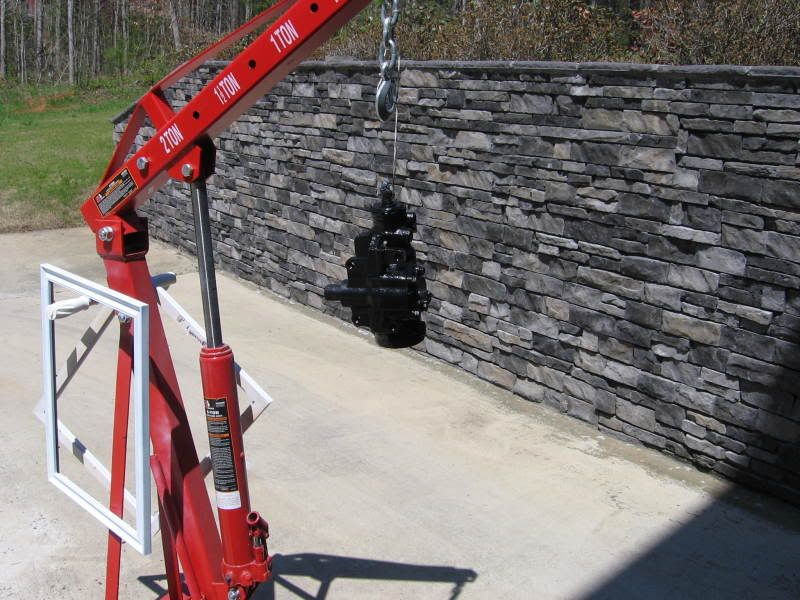 Of course, there was a honey-do list since I was painting already. 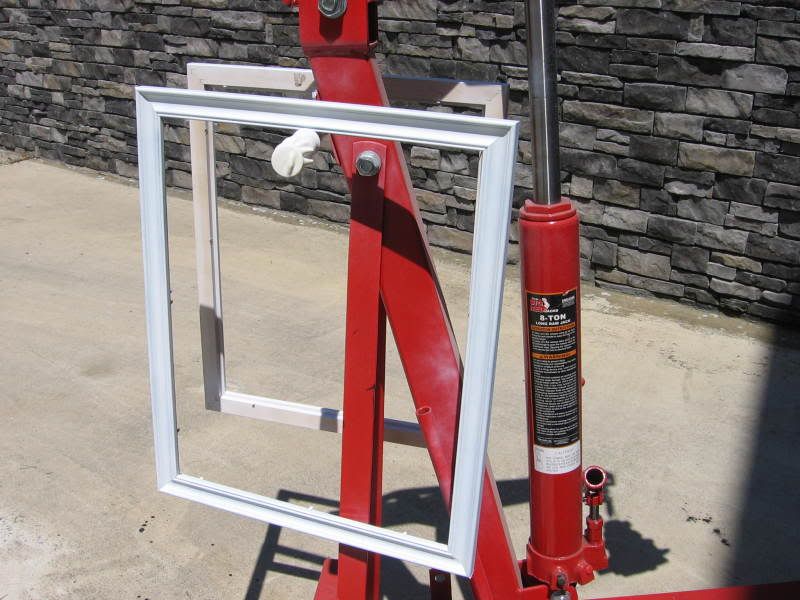 Then here it is installed. 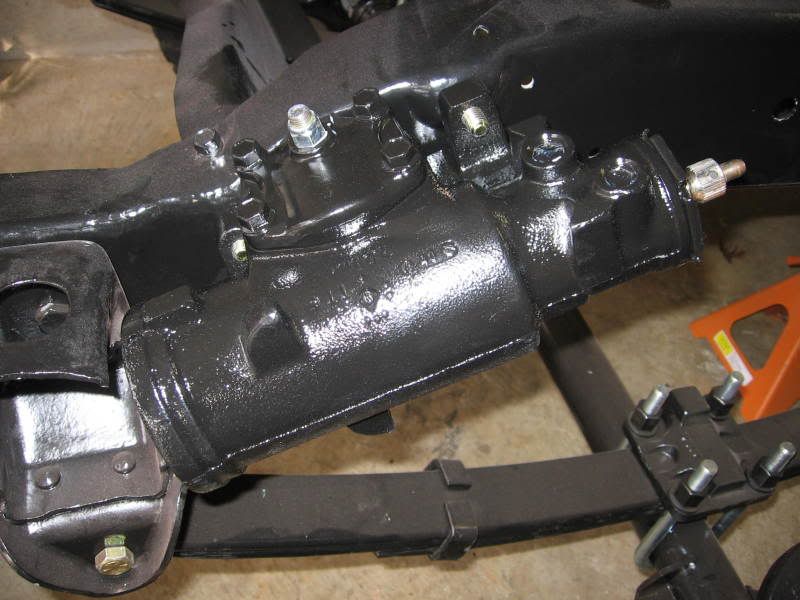 It's small progress but progress nonetheless. At least that's what I keep telling myself. Stay tuned.
__________________
Shannon |
|
|
|
|
| Bookmarks |
|
|


 Hybrid Mode
