
|
Register or Log In To remove these advertisements. |
|
|
|
|||||||
 |
|
|
Thread Tools | Display Modes |
|
|
 09-08-2017, 09:21 AM
|
#1 |
|
Senior Member
 Join Date: May 2007
Location: Doodah Kansas
Posts: 7,761
|
Re: Kell's Two Cents - 1946 build
the vent in the dash isnt a vent, its open like that for a map light that goes in the bracket you are describing, there was a switch under the dash to turn it on. it was for illuminating the choke and throttle bowden cables as well as the ash tray, or just for reading a map.
I wired a dash light in mine that turns on with the rest of the gauge lights so its on all the time with the headlights, but dimmer than it would have been originally, because I put my HVAC controls there and they arent backlit. the bracket you are missing is just a light box that keeps the light from scattering anywhere but straight down, I think I have one out of a dash already and if I do I will snap a picture, I didnt use it on mine because its a dim little dash bulb. the zip tied wiring looks great, very clean. look up how to do aircraft lacing on youtube, you will save money and time if you ever do it again with the nylon string, I used to do it as an aircraft tech a million years ago. very very clean work!
__________________
the mass of men live lives of quiet desperation if there is a problem, I can have it. new project WAYNE http://67-72chevytrucks.com/vboard/s...d.php?t=844393 |

|

|
|
09-08-2017, 12:33 PM
|
#2 |
|
Registered User
Join Date: Nov 2014
Location: Oakland, CA
Posts: 114
|
Re: Kell's Two Cents - 1946 build
thanks dude yeah the bracket that is imaged is mine, I have that part. We tacked it onto the dash when I had some dash work done, but I have been looking around for a little self grounding socket and haven't found a part number. I figure I can find some generic one to work, I just haven't begun looking down that path yet so I have nothing figured out so far
|
|
|
|
|
09-09-2017, 06:14 PM
|
#3 | |
|
Senior Member
Join Date: May 2007
Location: Doodah Kansas
Posts: 7,761
|
Re: Kell's Two Cents - 1946 build
Quote:
I think this is it http://www.ebay.com/itm/OLD-DASH-PAN...T/142454929907
__________________
the mass of men live lives of quiet desperation if there is a problem, I can have it. new project WAYNE http://67-72chevytrucks.com/vboard/s...d.php?t=844393 |
|
|
|
|
|
09-09-2017, 09:11 PM
|
#4 | |
|
Registered User
Join Date: Nov 2014
Location: Oakland, CA
Posts: 114
|
Re: Kell's Two Cents - 1946 build
Quote:
I swear I over complicate things so much, after that link you sent a quick search for "single contact socket" brings up part numbers from both summit and American Autowire. I really appreciate that attentiveness Joe thanks for the help |
|
|
|
|
|
09-11-2017, 01:23 AM
|
#5 |
|
Registered User
Join Date: Nov 2014
Location: Oakland, CA
Posts: 114
|
Re: Kell's Two Cents - 1946 build
alright so I got a full day on the truck like I was hoping and made all the progress I was hoping to make. I want to step back real quick and update on the brakes and how they were giving me so much trouble. Now that I have experience in this area I feel I could go back in time and knock out everything I needed to do to get them bled and done in a day. I think it took all the time that it did because I wasn't even aware how to approach the situation with a thorough, systematic way in order to get them done right the first time. I think it's made all so worse just cause you're dealing with brake fluid and getting that dripping all over the place
Anyways, here we go Right off the bat I needed to change the location of the remote reservoir fill. I always find myself trying to be slick, thinking I'm being smart then finding that it's really more of a headache. I mounted it on the back wall of the under seat area, where with the seat on I couldn't even get a funnel to it. I went ahead and moved it near the front on the side and got it so I could fill it quite easily. Progressive Automotive offers to make you a brake linkage, all you gotta do is call in with your dimensions and they'll send one out to you. My booster is placed so far back that when I saw the dinky thing they sent me I went ahead a cut a new one out of solid 3/4" stock and went with that instead. So at this point I was ready for day one of bleeding the brakes. We went old school with it and had a buddy over pumping the brakes for like an hour straight and us not getting anything out. I was starting with the farthest wheel, so I'm in the rear and just not getting anything... I go ahead and send him off. The fronts seemed to at least be getting fluid in the lines, though those didn't seem to be bleeding either. Even with no pressure on the line I found a leak on the front left line coming off of the front distribution block. Now this is another situation where I thought I was being slick and tucked the distribution block all funky in the frame... It made it a b**ch to get to and now I know that especially on brake lines, or any type of plumbing for that matter, try to keep the connections in easily accessible locations... Being as that my cheapo flare tool was probably the suspect, I went down to the autoparts store and picked up a pre-flared line that happened to be the perfect size and got it switched out. So now day 2 I realized I should really try more aggressive means, and I went and picked up a harbor freight vacuum bleeder. With this I was getting somewhere. The fronts seemed to be getting fluid through but I was getting absolutely nothing but air out the backs. I sat doing it for an extended time just thinking it was coming slowly but surely, however it never did... I began having concerns about my rear brake cylinders, as I had changed the bleeders on them but not the actual cylinders. They were old and original, so if something were wrong I figured that could be a cause of a bunch of air getting through. Not sure if they were ever actually an issue, but as a precautionary measure I went ahead and switched those. On the third day I added teflon tape to the bleeders as to try to cut down on the air getting pulled in through the threads. This seemed to help ALOT and by now I was finally getting some pedal inside the cab. Around this time however I began realizing that I had been skipping the steps of double checking the gap between the booster and cylinder and also bench bleeding the cylinder. I figured these were adding to my soft pedal woes. I pulled the cylinder, realized my huge gap, closed it up and bench bled the cylinder. Put it all back together and was finally actually getting decent pedal. 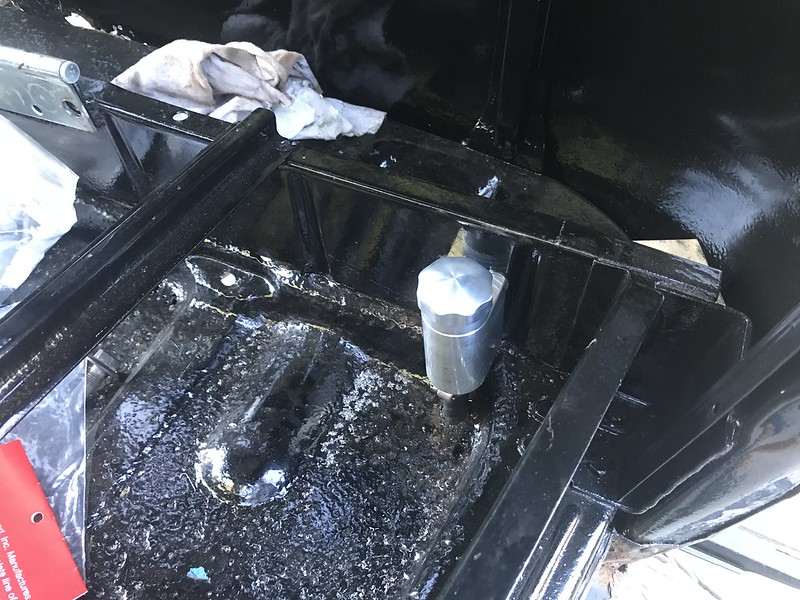 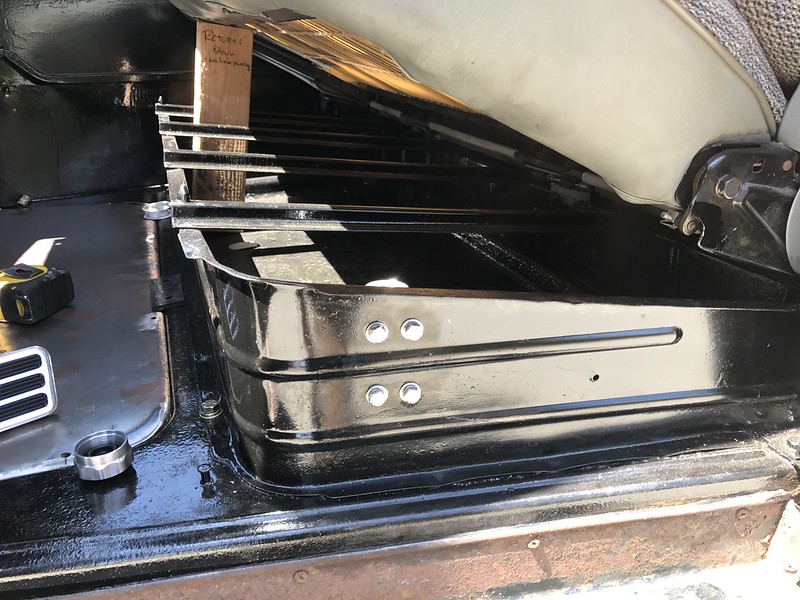 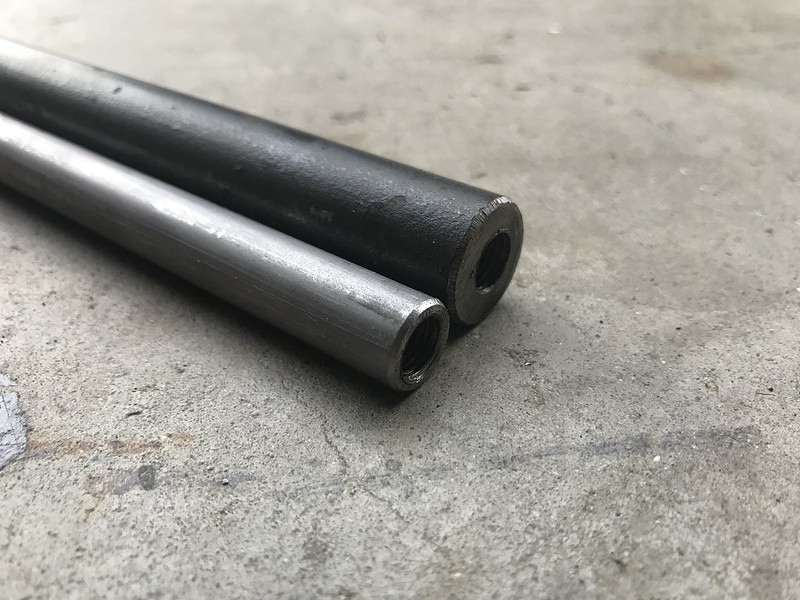 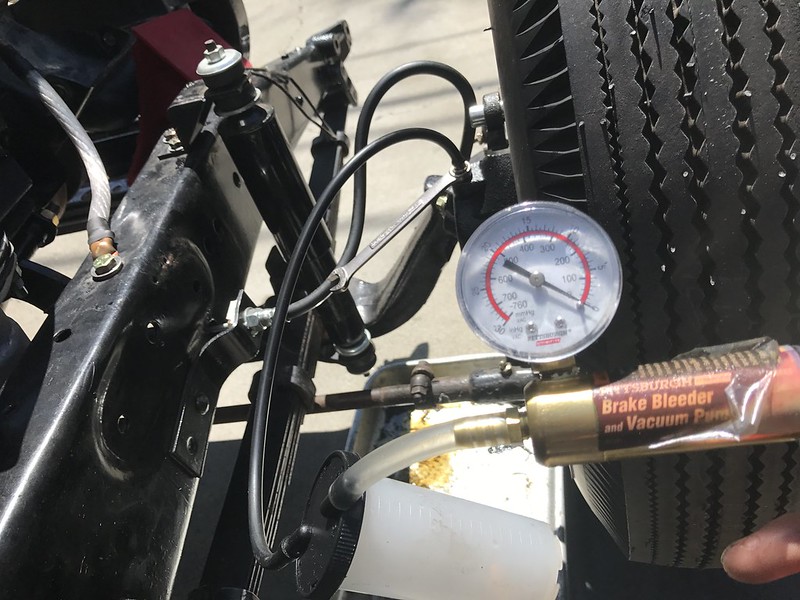 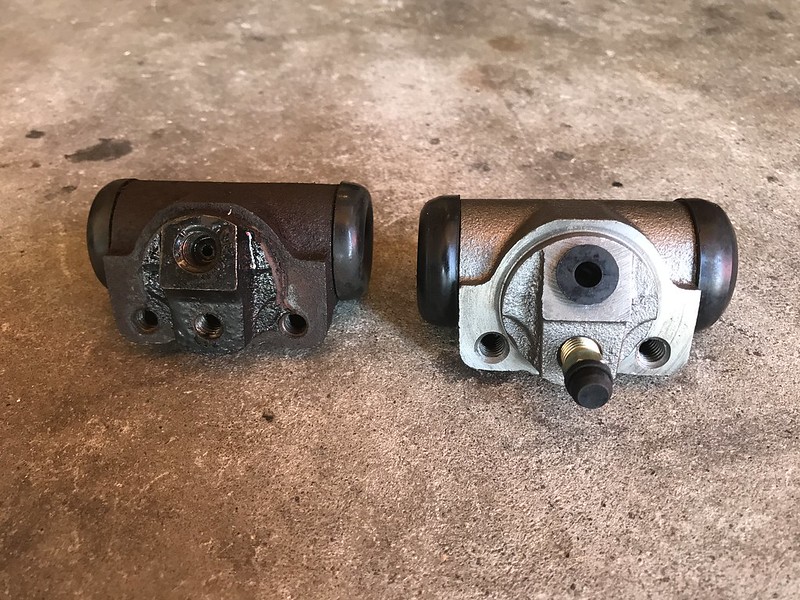 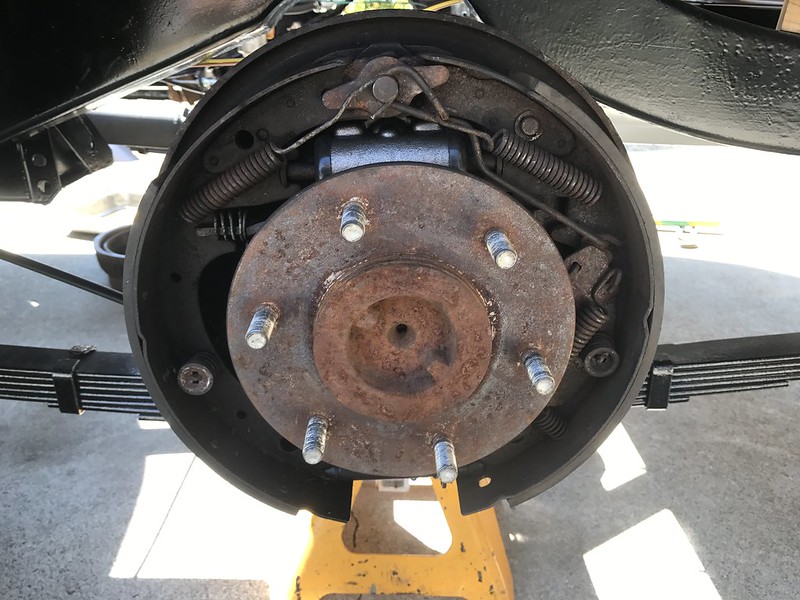
Last edited by gokellurself; 09-11-2017 at 12:31 PM. |
|
|
|
|
09-11-2017, 01:32 AM
|
#6 |
|
Registered User
Join Date: Nov 2014
Location: Oakland, CA
Posts: 114
|
Re: Kell's Two Cents - 1946 build
I had set the gap at about a 1/4", but later found something call the spec for .020" So today I pulled everything again to reset the gap. Got some photos this time, bench bled the cylinder again and got it all back together. Vacuum bled everything and was getting solid streams of fluid out of each bleeder. Brake pedal was feeling really good so I went on and moved to the other things I had going on to get the truck up and on the street
To answer Paintman's question, looks like a 1" cylinder. I had to extend the bolt an 1 1/16" beyond the face of the booster to close up the gap. With the truck running this evening the brakes seem somewhat non responsive for the first 1/4 of the pedal, then they proceed to be very strong beyond that. Idk if that sounds similar to Paintman's issue but with them working so well I'm gonna let them be for the moment 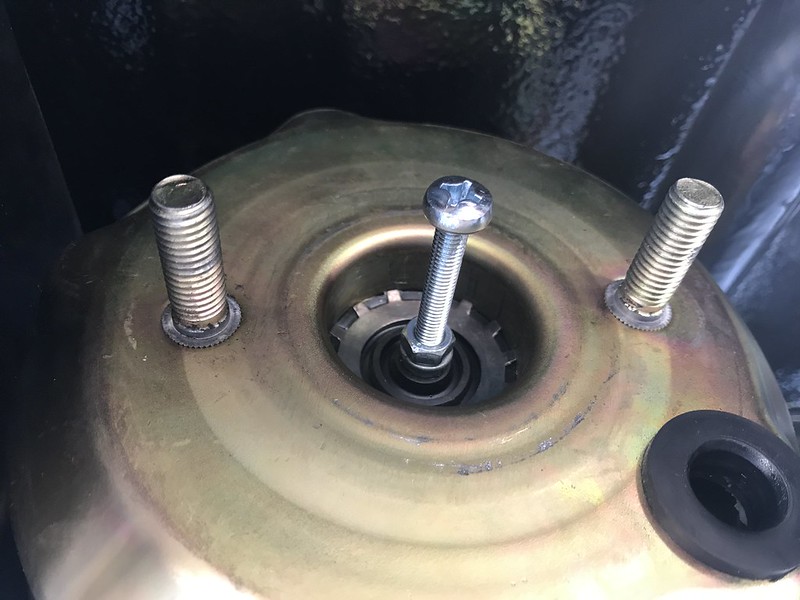 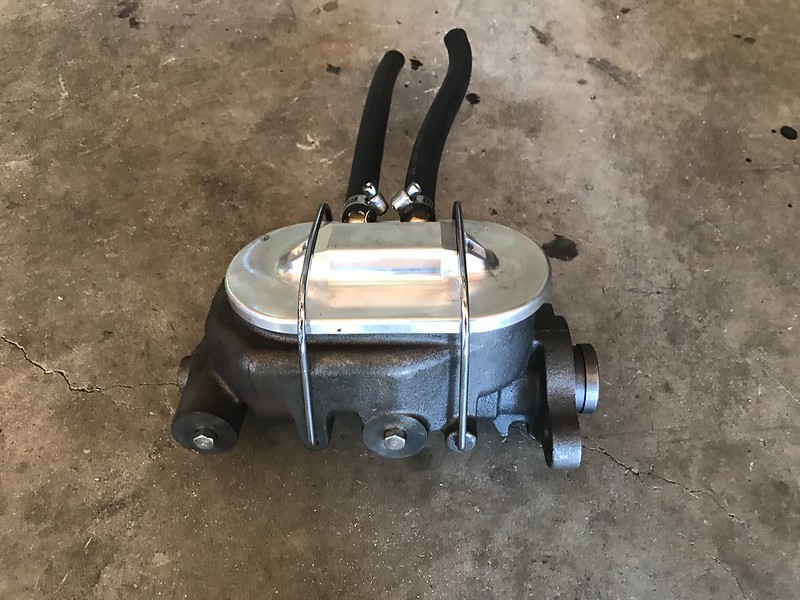 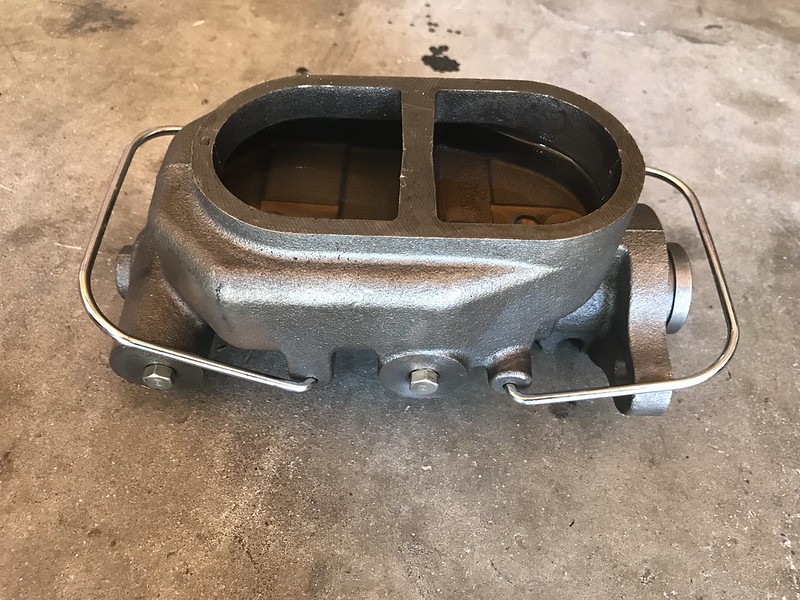 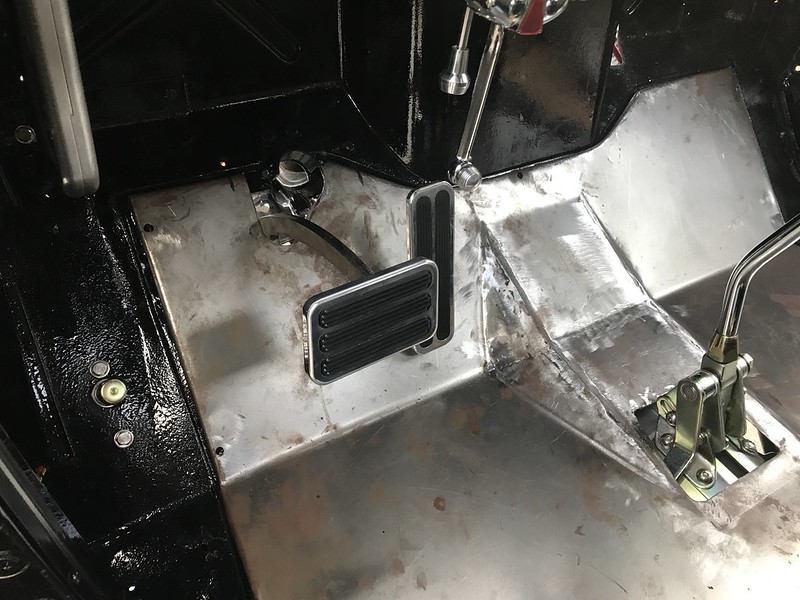
Last edited by gokellurself; 09-11-2017 at 01:46 AM. |
|
|
|
|
09-11-2017, 02:07 AM
|
#7 |
|
Registered User
Join Date: Nov 2014
Location: Oakland, CA
Posts: 114
|
Re: Kell's Two Cents - 1946 build
Now for some other stuff I had going on
My gauges all seemed to be reading funky and/or not reading at all. I had ran them all in series and I had even thought about the fact that if even one gauge messed up that it was going to mess up the rest of them, but I swear sometimes I'm too positive and I just figured I was going to wire it all correctly and there weren't going to be any issues.. Of course I didn't sit down and do the Ohm's law math and figure out what the result of running everything like that was gonna be, but when I began doing some troubleshooting I knew I needed to switch everything to parallel before I started anything. So this was another example of me being slick and it backfiring But actually running everything in parallel seemed to fix it all. In series I must have been getting too much drop for anything to be working right. I seem to be getting about 30 psi oil pressure at idle. The only thing not reading right was the water temp, so I needed to get it up to operating temp to actually see about that one I went ahead and fired up the truck and was filling up the trans fluid while it was idling and getting up to temp. Started right up today and seems to be running well.. I might still be idling a little high but without a tach idk.. I might end up adding a tach on the column for this So basically the water temp gauge would be at zero, then later would be fully tacked out. It was months ago when I had installed the temp switch for the fan and the temp sender for the gauge, so apparently I had forgotten which one was which lol I had the gauge hooked up to the switch, so when it reached operating temp and switched on, it'd ground out the circuit and max out the gauge. I switched the wires between the two and then all my gauges seemed to be working correctly. I ordered a speedometer cable from Bowtie Bits, so that thing showed up. My fan seems to run pretty much all the time once it gets up to operating temp, so idk that might just be how it's gonna be.. I went ahead and put everything back together, installed the inner fenders, steering, topped off steering fluid, and double checked everything I could. One thing to mention is that the truck is highly likely a '41 and with that it had the '41 inner fender supports that bolt to the frame. I wanted to run the '46 supports that bolt to the cab however, so a while back I had grabbed a set at the old man's junk yard and got them drilled and bolted onto the cab. I had modified the inner fender to pass my steering through (sorry Paintman) and in fact on the passenger side I am still running an inner fender that is meant for a '41, and is slightly modified to hit the new 46 supports. I tried a few test runs while the rear tires were in the air, then I set it on the ground and inched down the street on it's first maiden voyage 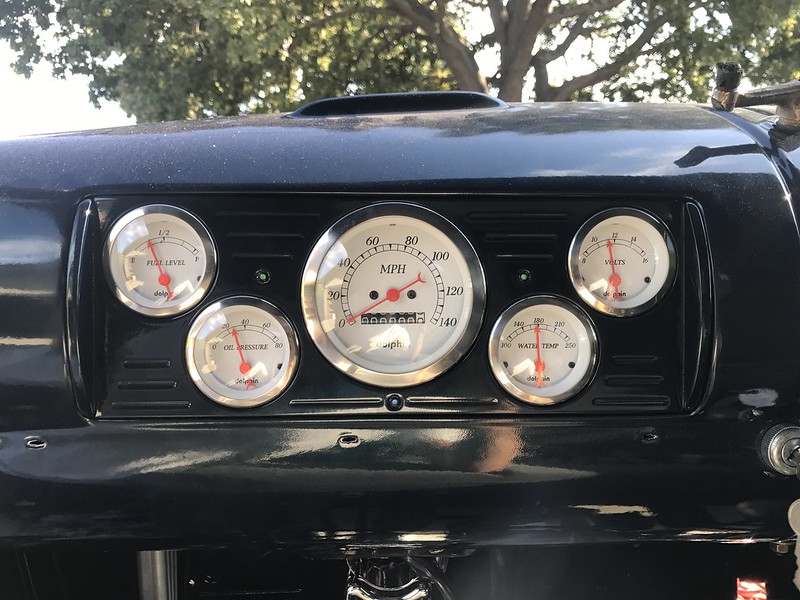 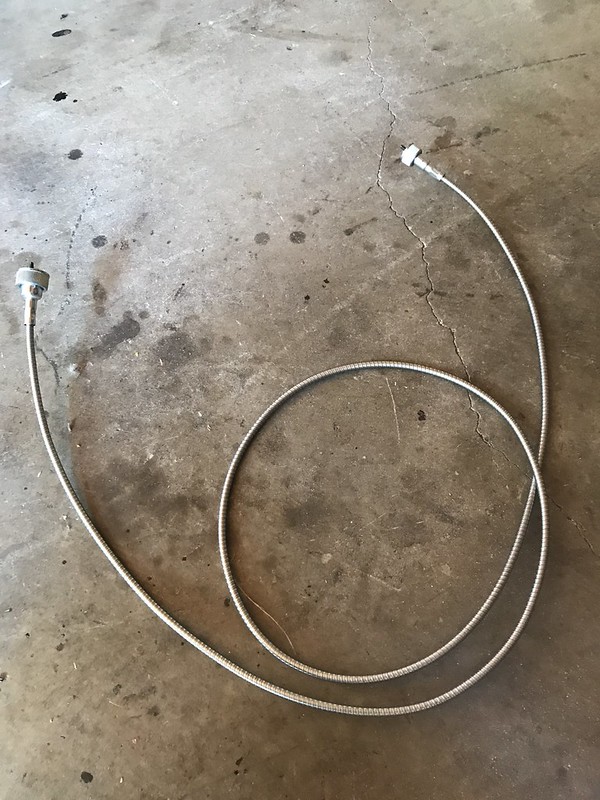 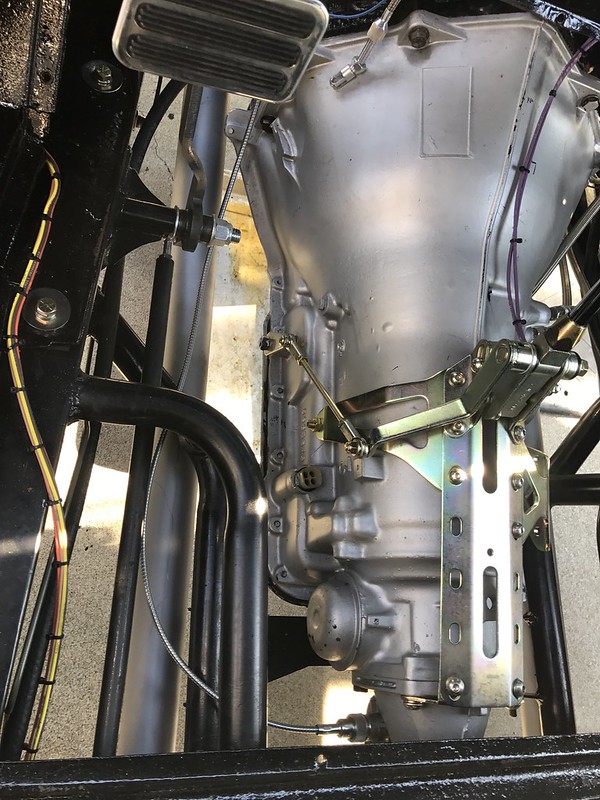 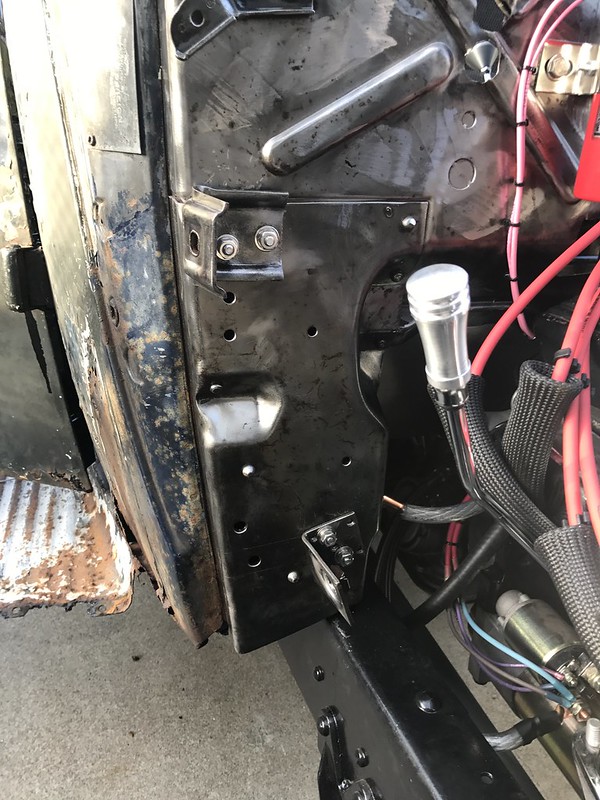 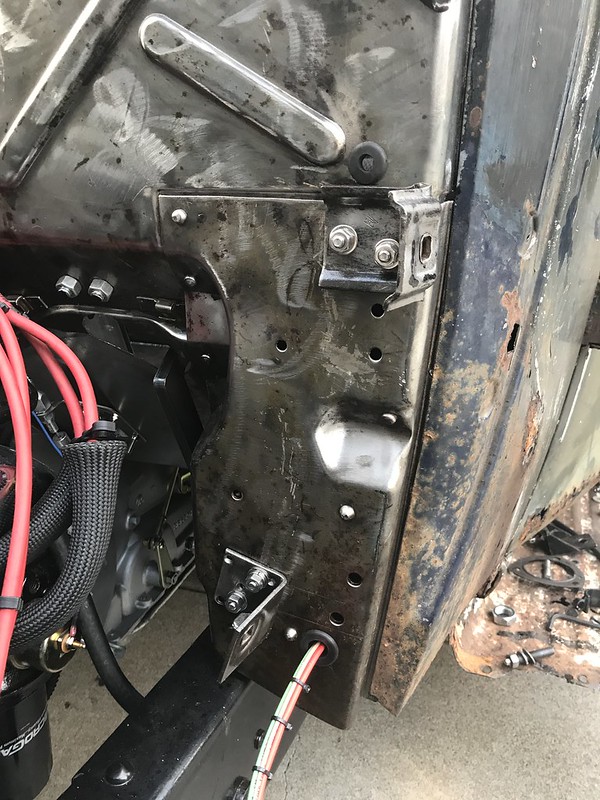 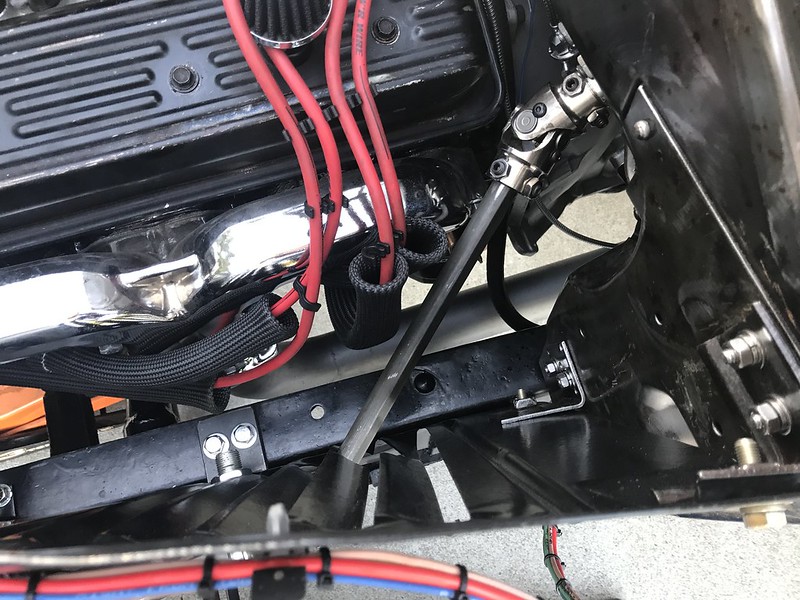 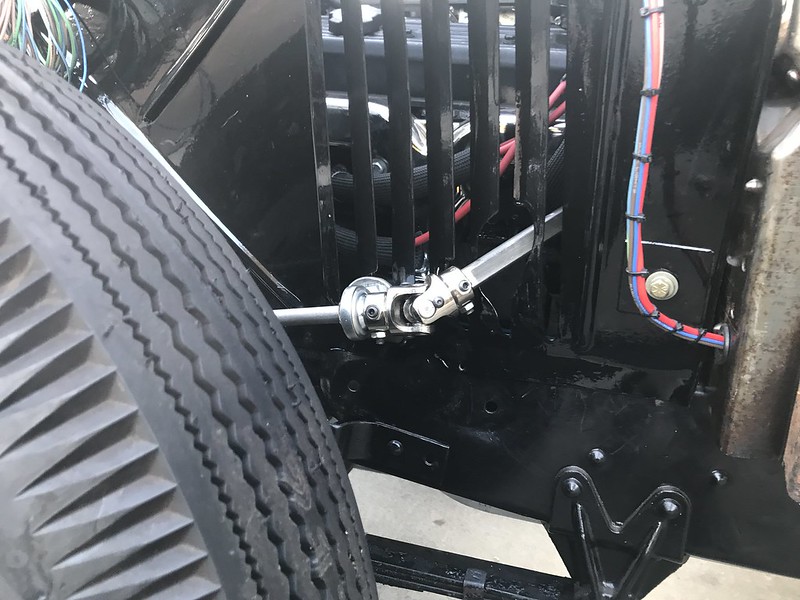 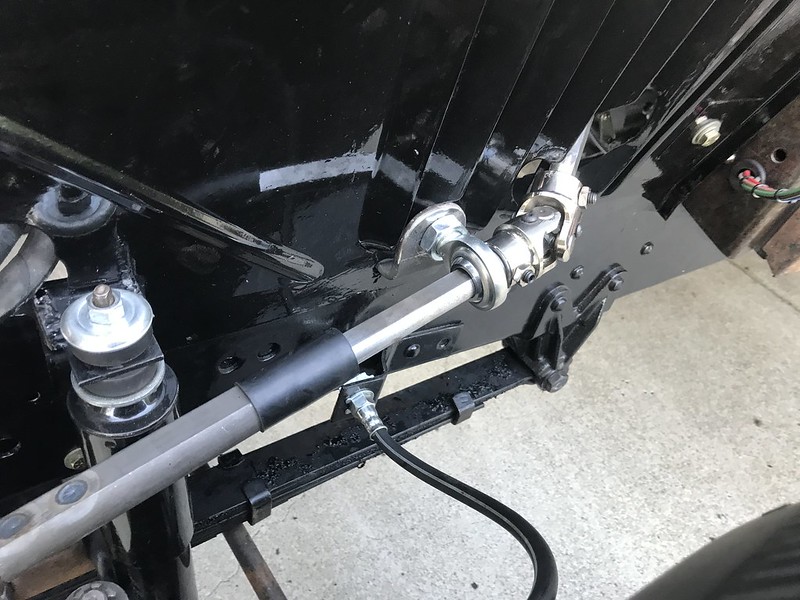 
|
|
|
|
|
| Bookmarks |
|
|


 Hybrid Mode
