
|
Register or Log In To remove these advertisements. |
|
|
|
|||||||
 |
|
|
Thread Tools | Display Modes |
|
|
 04-01-2021, 03:15 PM
|
#1 |
|
Registered User
Join Date: Jan 2013
Location: Leonardtown, MD
Posts: 1,636
|
Re: Roof patch causing warp / oil canning
As it relates to metalshaping, planishing is a smoothing action. If you were to rough out a shape in a panel using a blocking hammer into a shot bag, it would add shape but the resulting finish would look about like a bag of walnuts. Planishing would be the process to smooth out those "walnuts" to a consistent finish. It would be accomplished using a planishing hammer, then English wheel, etc.
As it relates to welding in a patch.... As you weld, the heat will cause some expansion of the metal as it gets hot. This takes place at the weld and heat affected zone (HAZ-the metal surrounding the weld that has changed color) When it cools off, the molecular structure of the steel realigns such that it shrinks back down more so than what it was previously. Side note- whether you are welding sheet metal or 1" thick plate, any welding process will result in shrinking of the weld and HAZ. Planishing in this case would be the process to add a bit of stretch to the area that has shrunk in order to restore the original shape of the panel. It is done directly on the weld itself, using a hammer and dolly. When you strike a hammer face into a dolly you will hear a PING. When you are planishing, it is hammer on one side, dolly on the other, and you want to hear that PING. You hear the ping, you are stretching. So when using the hammer and dolly to planish welds, it is advantageous to have a weld proud on both front and back side of the sheet metal, as these give you a "target" that is off the surface of the sheet metal for a more effective stretch of that one weld dot by its lonesome self. Dolly on one side, hammer on the other to strike the weld dot. I will typically grind down the individual weld tacks after planishing, as this get the weld proud out of the way for when you start overlapping, and it returns the metal thickness to what we set the welder up for. Looking at your weld "dots", they have a divot on many of them. This is an outgassing that occurs as the puddle cools. I think you can remove some of that by using a hotter weld. Turn your heat up, add more wire feed speed if it tends to blow out, and shorten the trigger pull elapsed time.. So in essence, despite the heat being hotter from the machine's perspective, because the trigger is not pulled as long, the heat the panel sees is the same or less. (if we can get the operator adjusted as well ) I think you'll see that a hotter, shorter time-weld has the puddle sitting there boiling less, so the pin holes and divots SHOULD be less an issue. It should also give a flatter weld for less cleanup. For your welds on a round patch, I would follow a similar pattern as you'd do with doing lug nuts on a wheel.. Where you said you turned down the heat due to blown holes, that may be due to having a gap in the panel. I would strongly suggest getting some scrap metal the same thickness as your roof skin, and practice on that, and not the truck, until the process and settings are dialed in.. and don't weld on a steel work bench. Your practice welds should be in free air, just as the panels on your truck are. I've got a weld test coming up probably next week, a gap VS no-gap on two virtually identical panels so we can do a quantitative monitor of any difference in the results. Started with two panels stacked and added some low crown on the power hammer, then smoothed them out on the English wheel.  Then some profile templates were made so we can monitor any changes...  .one for each direction.... 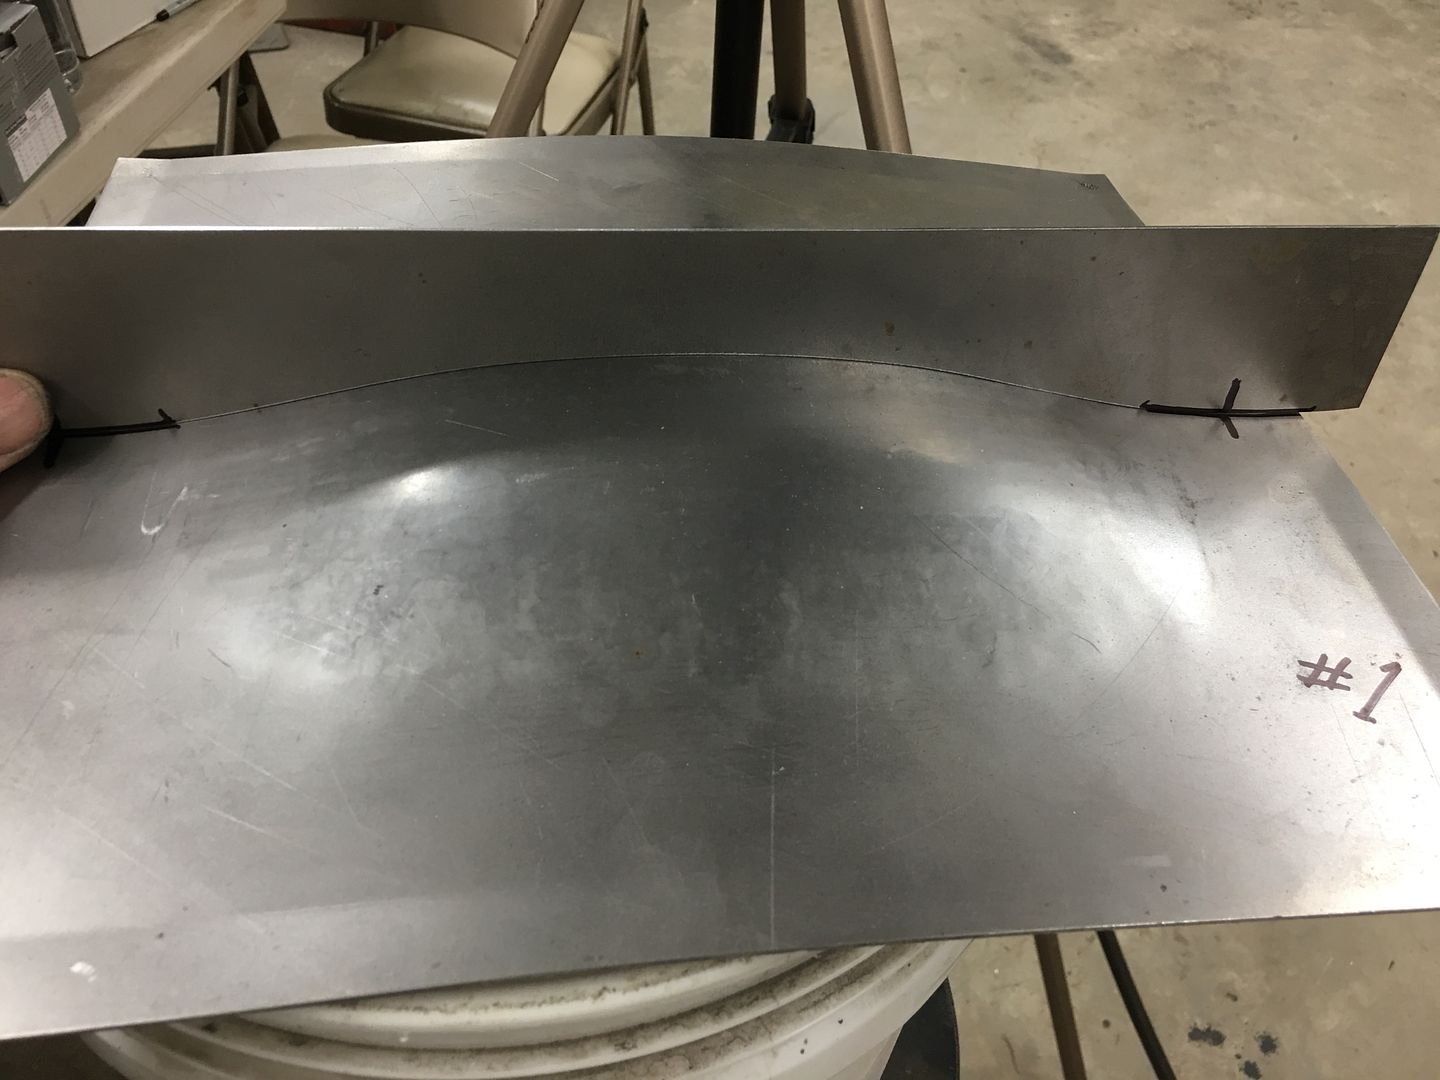 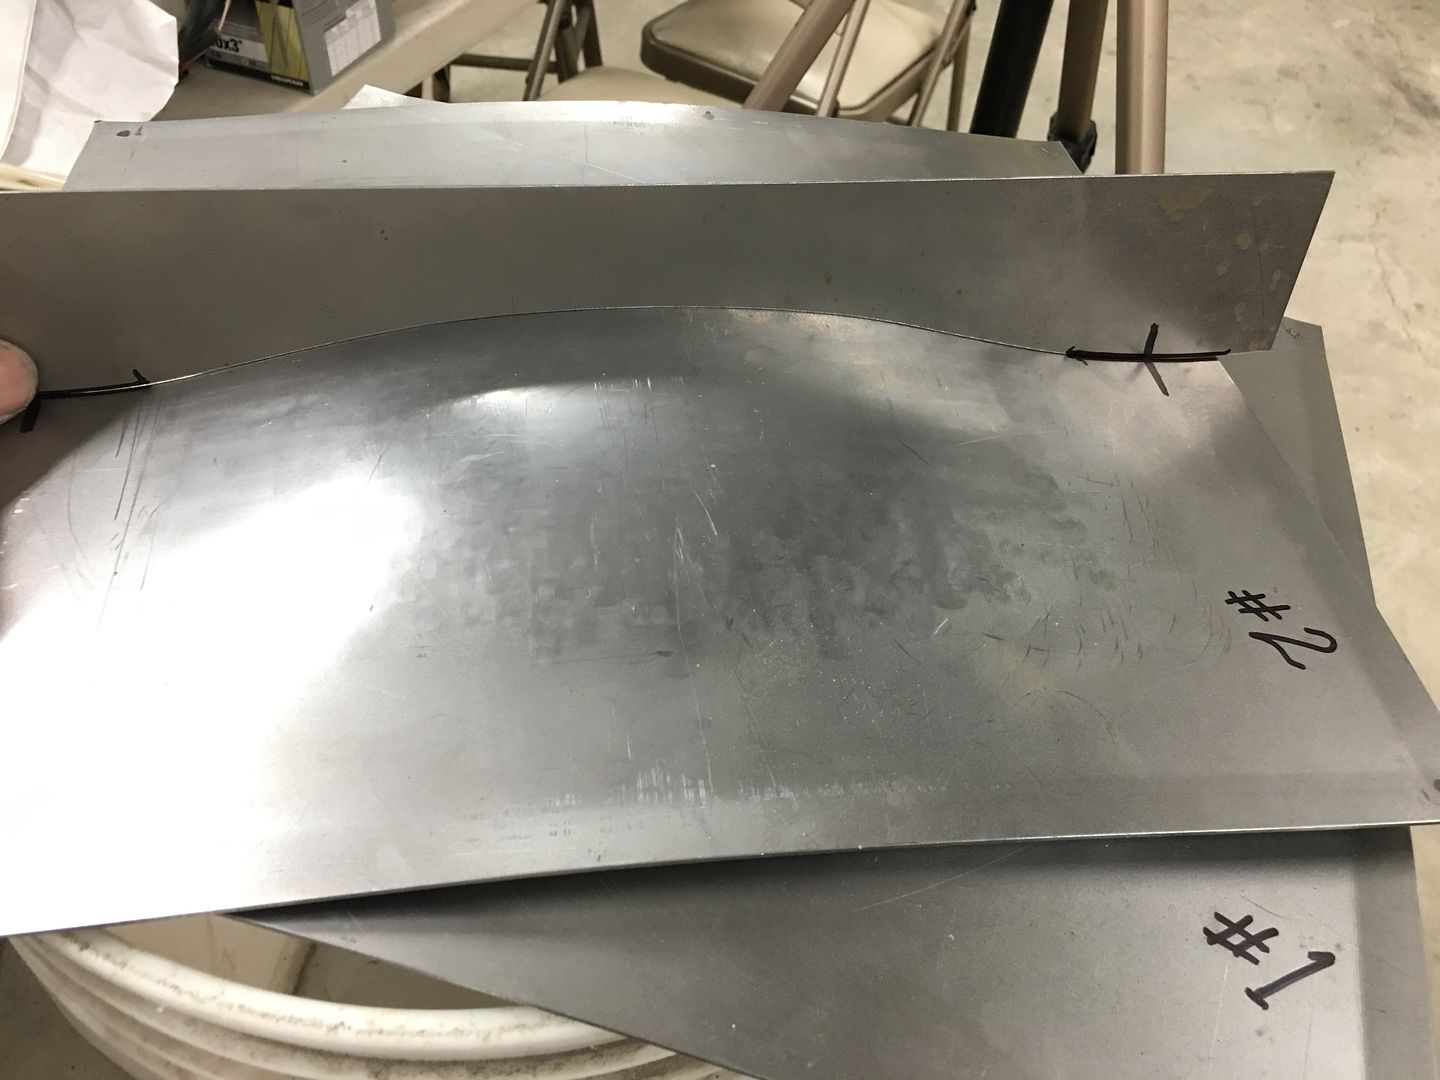 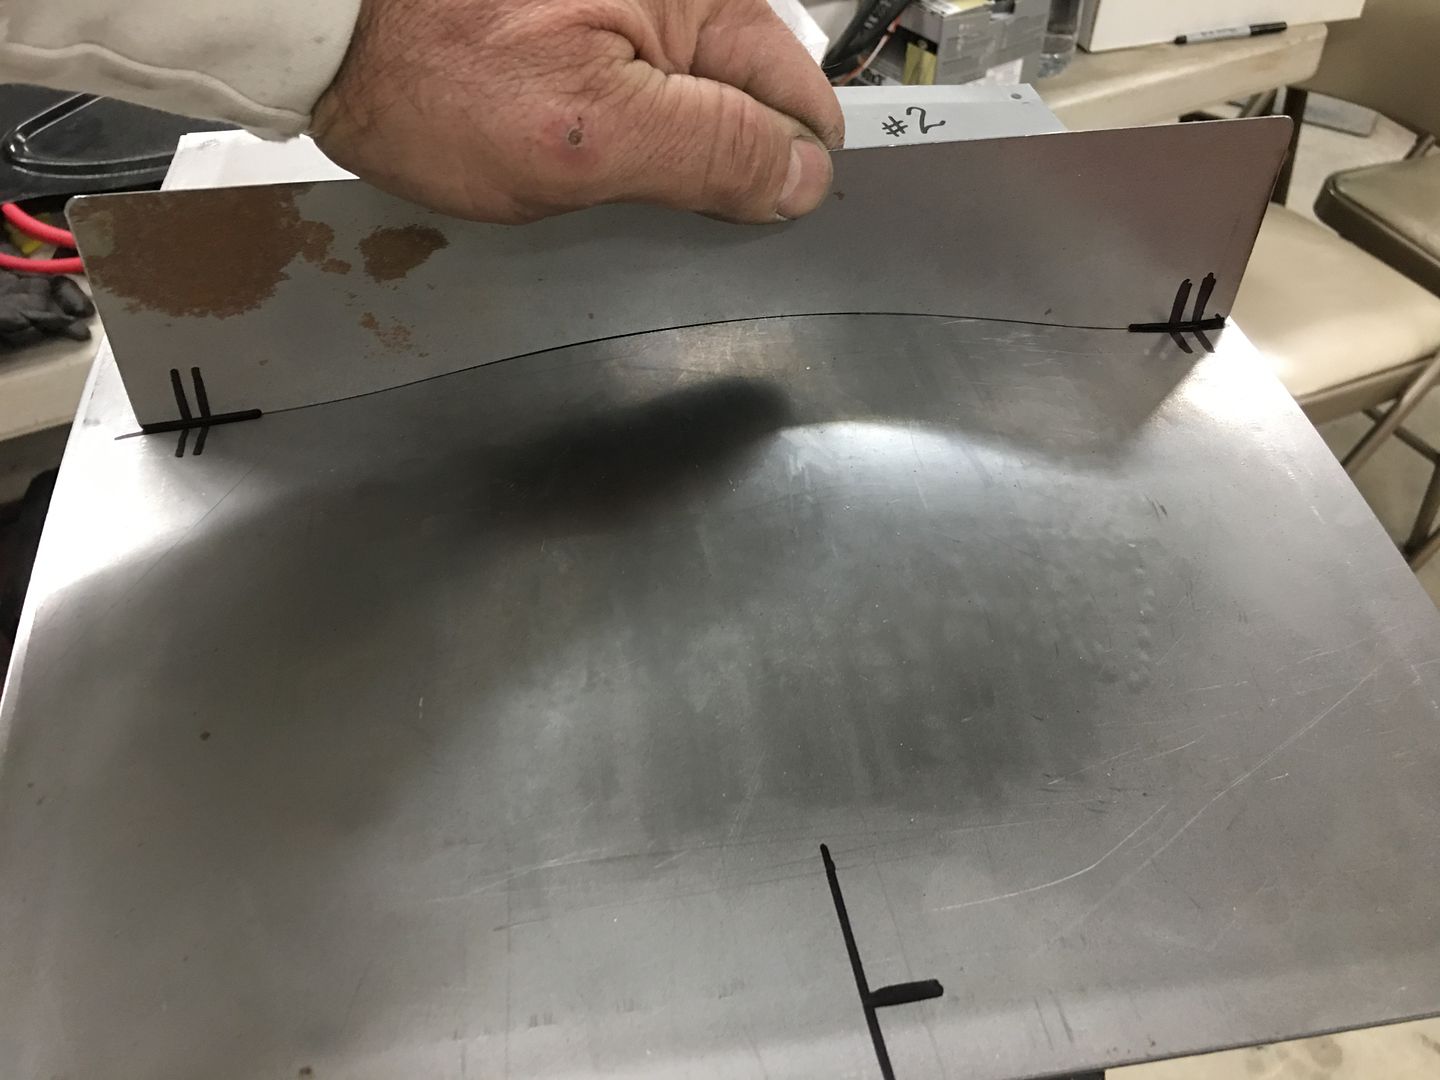 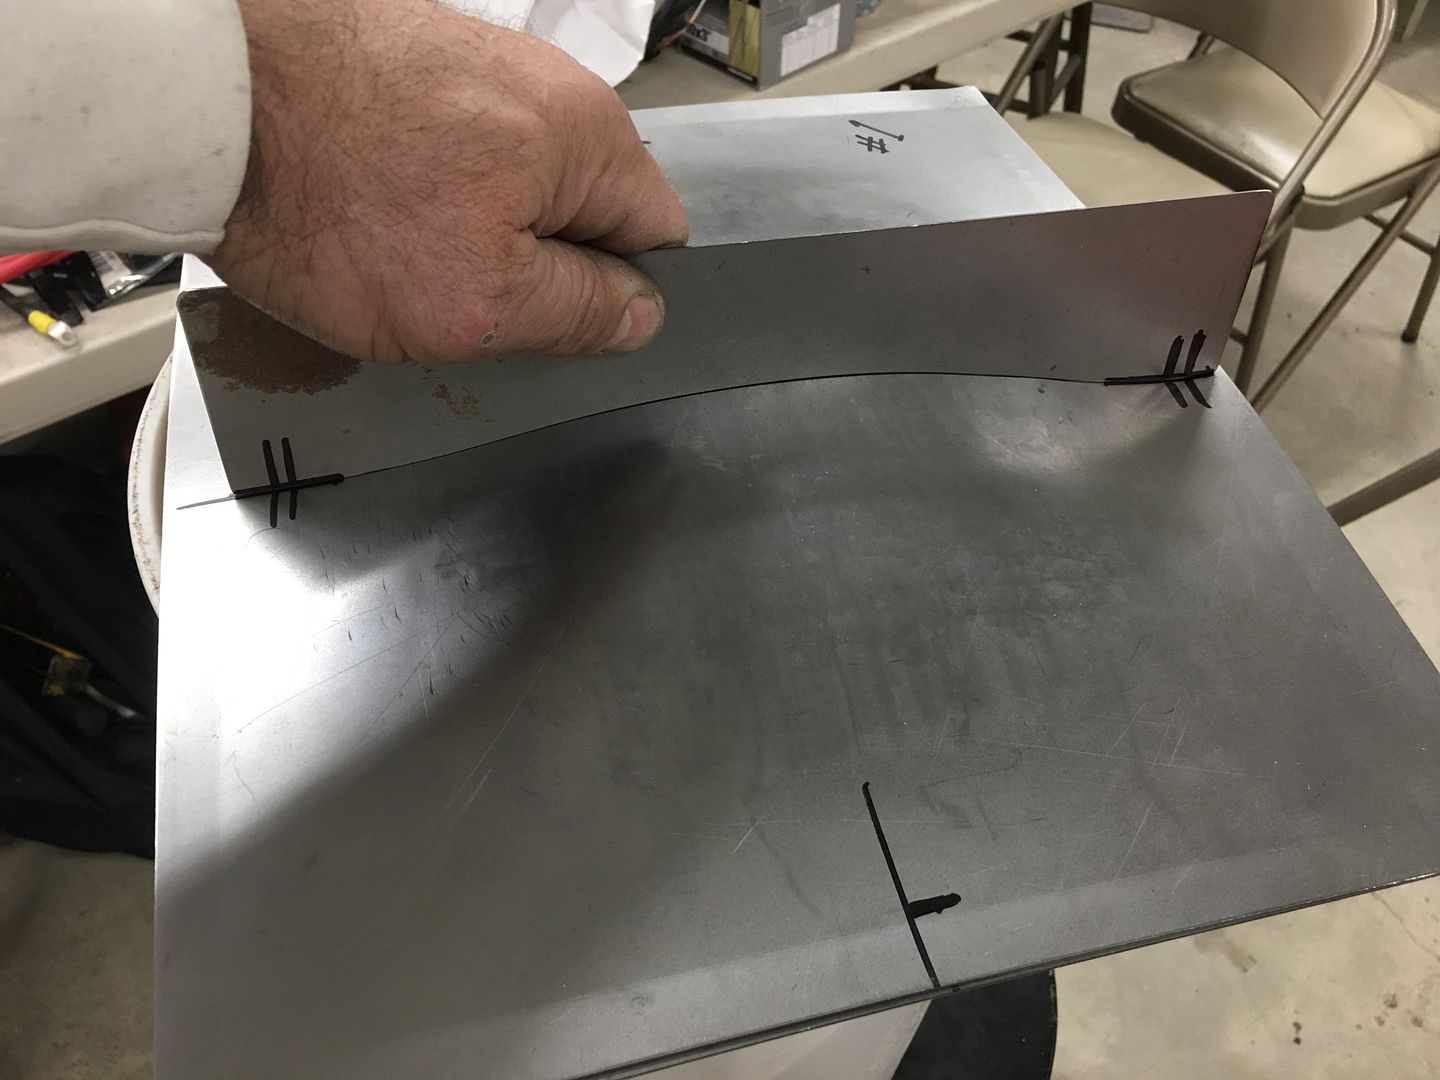 We'll cut equal sized "patches" out of each, leave a gap with one and the other will be tightly fitted. Both will be welded using MIG to keep that a constant. You may or may not be done when I get to that, but wanted to let you know we will be doing that. We should be doing some videos to better show the process...
__________________
Robert |

|

|
|
04-01-2021, 07:32 PM
|
#2 | |
|
Registered User
Join Date: May 2013
Location: You're the only 10 I see
Posts: 367
|
Re: Roof patch causing warp / oil canning
Quote:
I am planning on tacking this in tomorrow, pending some more thought and review of the info above. If I understand correctly, I don't really have any real planish or "correction" options with this fix since I cant get behind it. My best bet is a good patch fit, slow welding, hotter welding to reduce the overall heat input? Should I be looking for / hammering down high spots as I tack, if they come up?? I am using a patch that is cut from leftover replacement floorpan material. The material is tri plus or key parts and just thick (if not thicker) than original. Ill probably do a small test as you mentioned with the heat higher than I am used to just to get comfortable.
__________________
1972 C20 |
|
|
|
|
|
04-01-2021, 08:27 PM
|
#3 |
|
Registered User
Join Date: Dec 2015
Location: Beaver Falls, Pa
Posts: 165
|
Re: Roof patch causing warp / oil canning
For the situation you are in, I would use some metal adhesive (Fusor 208 would be my choice) to put the piece(s) in & limit your "effected" area. Over the years I've done several antenna/light holes in ex-police vehicles, ect. with no issues.
A round "backer" slipped in, half under the original skin & half to sit the patch on will allow for a better/flatter finish. You'll want to do it in two stages, put in the backer...let it dry, then install the filler piece. This way you can work through the hole to hold the backer in place until it dries I'm sure you have realized now that it would have been best a week ago to ask: "How would you guys go about filling this 1" round hole in this roof?", but hey...thats what makes it all a challenge. Lorne |
|
|
|
|
04-02-2021, 09:20 AM
|
#4 | ||
|
Registered User
Join Date: May 2013
Location: You're the only 10 I see
Posts: 367
|
Re: Roof patch causing warp / oil canning
Quote:
Quote:
__________________
1972 C20 |
||
|
|
|
|
04-03-2021, 03:17 PM
|
#5 | |
|
Registered User
Join Date: Dec 2015
Location: Beaver Falls, Pa
Posts: 165
|
Re: Roof patch causing warp / oil canning
Quote:
I look at it this way, years ago someone made a mess by drilling the hole & then tightening down the antenna, raising up the area around it with the little bar/foot (Im guessing was the reason for you to cut the bigger hole?)...you didnt help matters by welding in the square cornered patch. Without cutting some inner cab away to properly work the weld area, the whole thing is going to be a compromise at best. The middle of a Roof (or Hood) is NOT the place to learn/practice...get something stuck in there to keep the water out & move on. You may see a "ghost line" around you patch under certain light being the sun heat will be beating on it some, but the outcome for the situation (no access, somewhat limited tools & knowledge) I feel its the best answer. Like I said earlier, Ive done several antenna holes (Roof & Trunks) just like what you had starting out without a problem. A couple I just tapped down a bit & glued a piece on top. NOT Robert-like, but for a 6 or 8 year old ex-police car...it works real well If its something you have interest in, I can go into detail of how to prep the parts, ect for the best results. My intentions are not to be-little your efforts or ability, just being a realist with the situation. Lorne |
|
|
|
|
|
04-04-2021, 08:50 AM
|
#6 | |
|
Registered User
Join Date: Jan 2013
Location: Leonardtown, MD
Posts: 1,636
|
Re: Roof patch causing warp / oil canning
Quote:
 Sometimes we do what we have to do. In this case as long as the truck is stock height nobody should see any ghost lines..
__________________
Robert |
|
|
|
|
|
04-04-2021, 09:21 AM
|
#7 |
|
Registered User
Join Date: Dec 2015
Location: Beaver Falls, Pa
Posts: 165
|
Re: Roof patch causing warp / oil canning
THAT is my point! I love to follow along to your posts & have some pretty good skills...I think that is why I appreciate what guys like you can do. Sometimes the vehicle design, time, tools & skills should just lead in another direction for some folks.
Get it done & enjoy the truck is my thoughts. If the worst/most noticeable spot on the whole truck is that ghost line on the roof...the man did a mighty fine job for his first rodeo! Just my Thoughts, Lorne |
|
|
|
|
04-04-2021, 09:28 PM
|
#8 | |
|
Registered User
Join Date: May 2013
Location: You're the only 10 I see
Posts: 367
|
Re: Roof patch causing warp / oil canning
Quote:
I have not looked into the metal adhesive up to this point, and havent heard of it to be honest (did I say I was ignorant yet?). I must say I am a bit skeptical of a product like this but do like the idea of avoiding this issue altogether. Is there a drawback to the metal adhesive? is there a risk this bond will break in 10 years and I will have a major issue? I do need to look into this in more detail. One additional option I thought about was to take hybrid approach to the recommendations so far: I could cut this circular patch as precise as possible and weld in as clean and slow as possible and cross fingers/hope/pray there is no warping. If there is warping, I could cut a square out of the inside roof liner to get a dolly behind it if needed and properly correct the warping. I could then metal adhesive the roof patch back in place, and put a headliner in the truck to cover the patch since there are some grooves in this metal here I could never clean up to look 100%. I'm still mulling this over and thinking through the advice so far before taking any action - please keep comments and advice coming, thanks everyone for the help.
__________________
1972 C20 |
|
|
|
|
|
| Bookmarks |
|
|


 Hybrid Mode
