
|
 03-31-2024, 09:59 AM
|
#376 |
|
Senior Member
 Join Date: Jun 2002
Location: Murray, Kentucky
Posts: 3,388
|
Re: "Midnight Rider" 1970 C10 SWB Fleetside
Nice work throughout the whole build. I can appreciate how long it takes to get some of these things done! Rg
__________________
Roger '68 Short step - https://67-72chevytrucks.com/vboard/...d.php?t=849675 '69 ('70?) 2wd Blazer '70 GMC Jimmy 2wd |

|

|
|
04-21-2024, 03:13 PM
|
#377 |
|
Senior Member
Join Date: Jul 2010
Location: Race City U.S.A.
Posts: 1,005
|
Re: "Midnight Rider" 1970 C10 SWB Fleetside
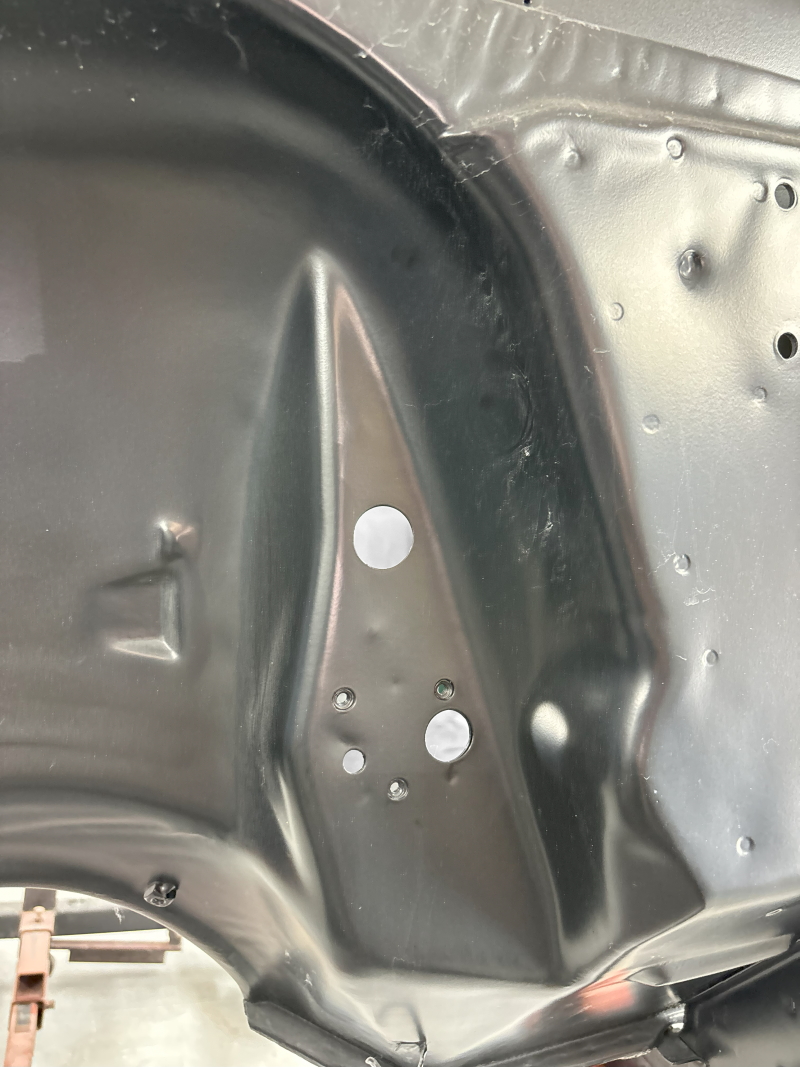
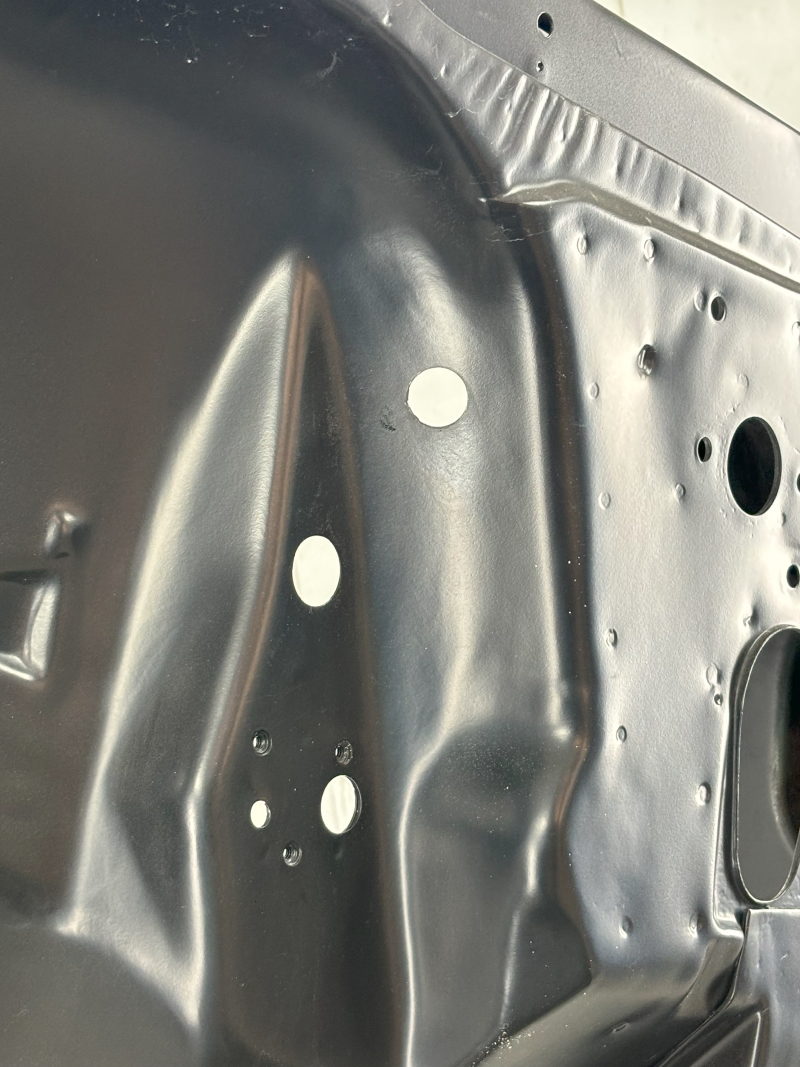
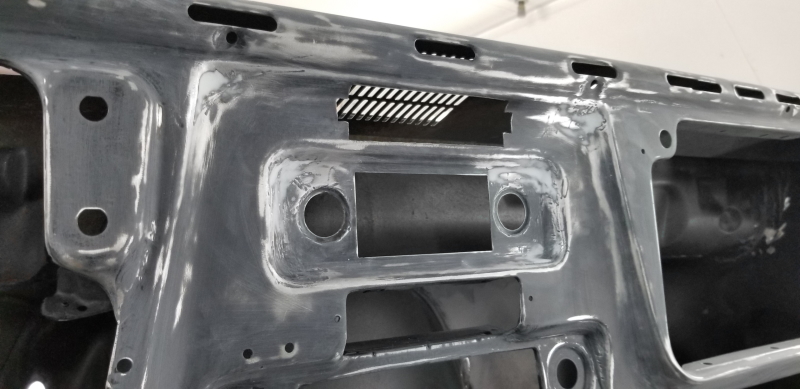
I was organizing some parts related to the windshield washer/wiper system. I realized during this, that the hole in firewall for the washer hoses was accidentally deleted. Fortunately, it is still very apparent where the hole is suppose to be. A one inch hole saw made quick work of it. I'm glad to not be in a rush and have extra time to find things like this.
__________________
Board Member #87725 My build thread... http://67-72chevytrucks.com/vboard/s...d.php?t=813848 Last edited by omodified; 05-04-2024 at 03:53 PM. |
|
|
|
|
04-21-2024, 07:16 PM
|
#378 |
|
Senior Member
Join Date: Jul 2010
Location: Race City U.S.A.
Posts: 1,005
|
Re: "Midnight Rider" 1970 C10 SWB Fleetside
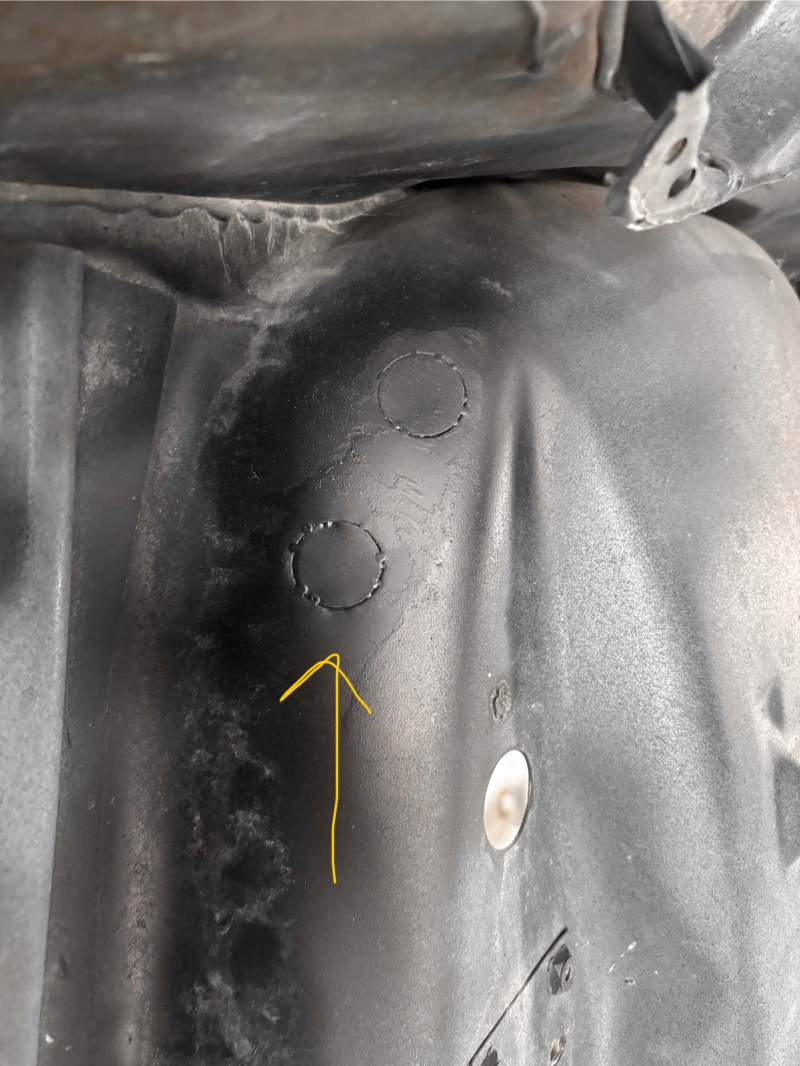
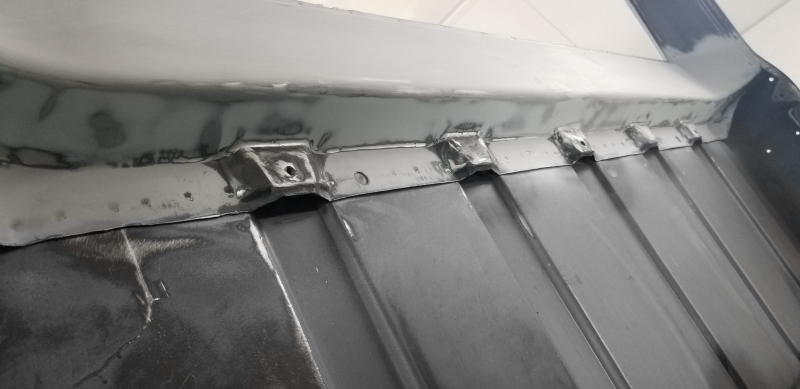
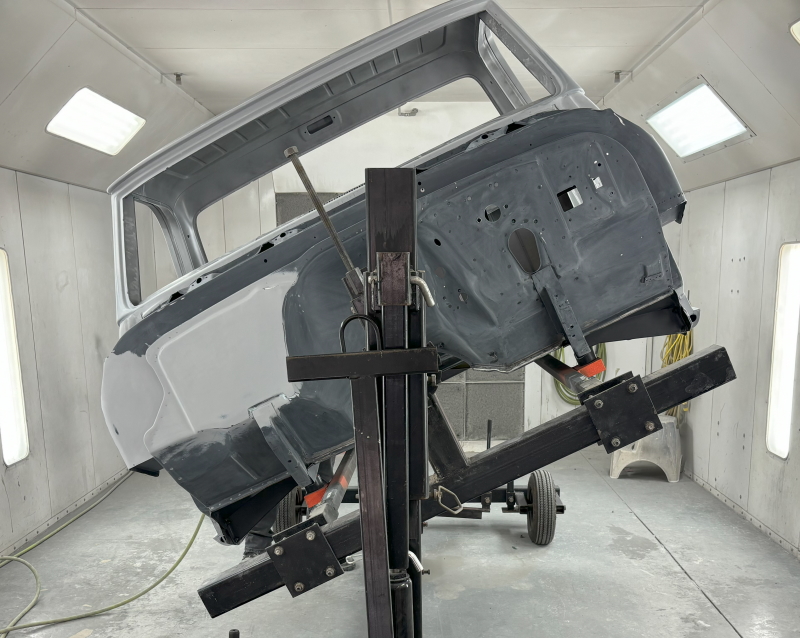
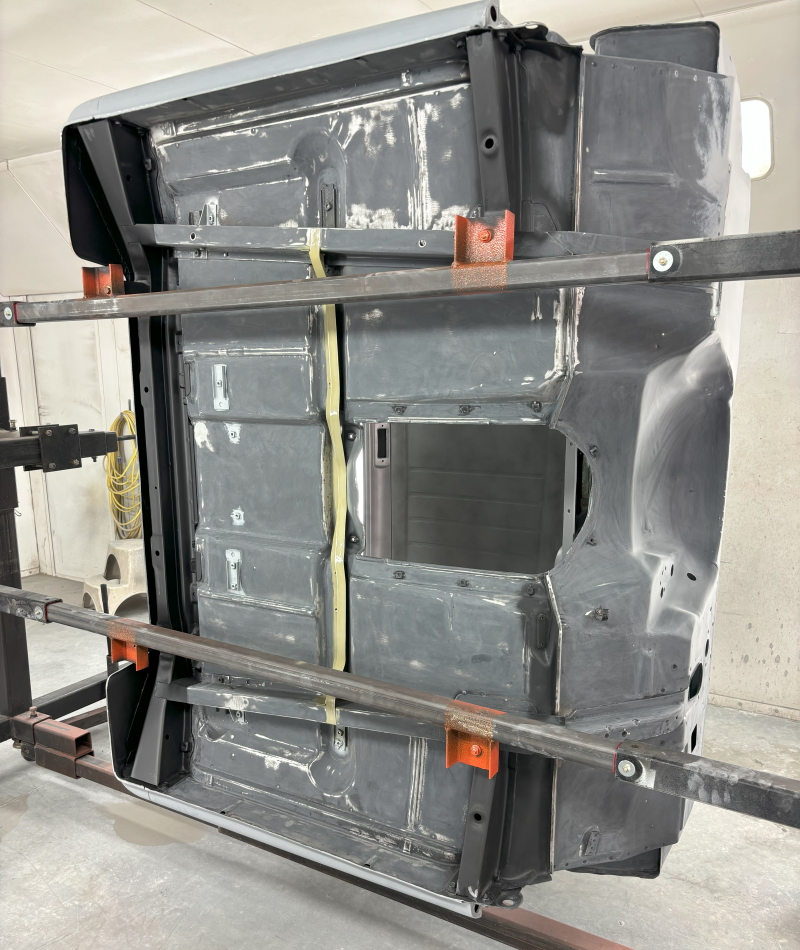
I noticed the first time the cab was on the rotisserie that there were a few areas that were going to be hard to prep for paint. One of the areas is where the floor pans meet the weather-strip. There is a pretty good recess there that makes it hard to get anything in there to prep the surface. The other area is on the underside in the back where the rear crossmember meets the back panel. Again, this area is recessed and it's hard to get anything in there to prep the surface. What could be reached, got sanded and a wire wheel was used to get the rest. Also, sanded some factory undercoating off of the front side of the rear crossmember.
 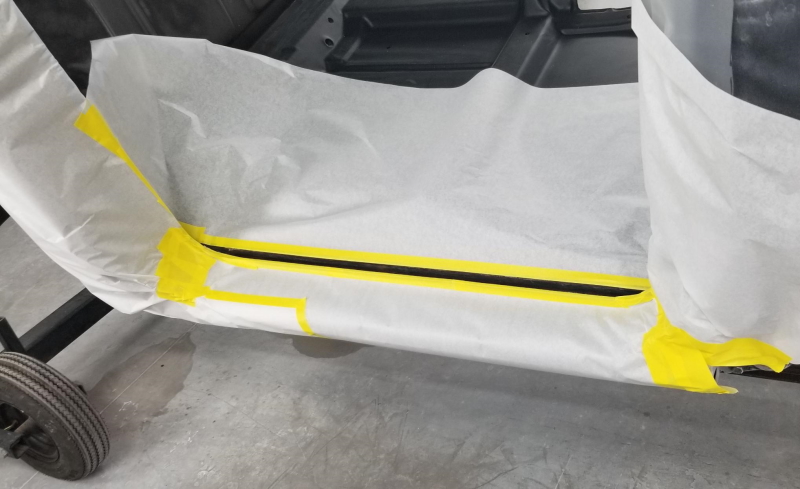 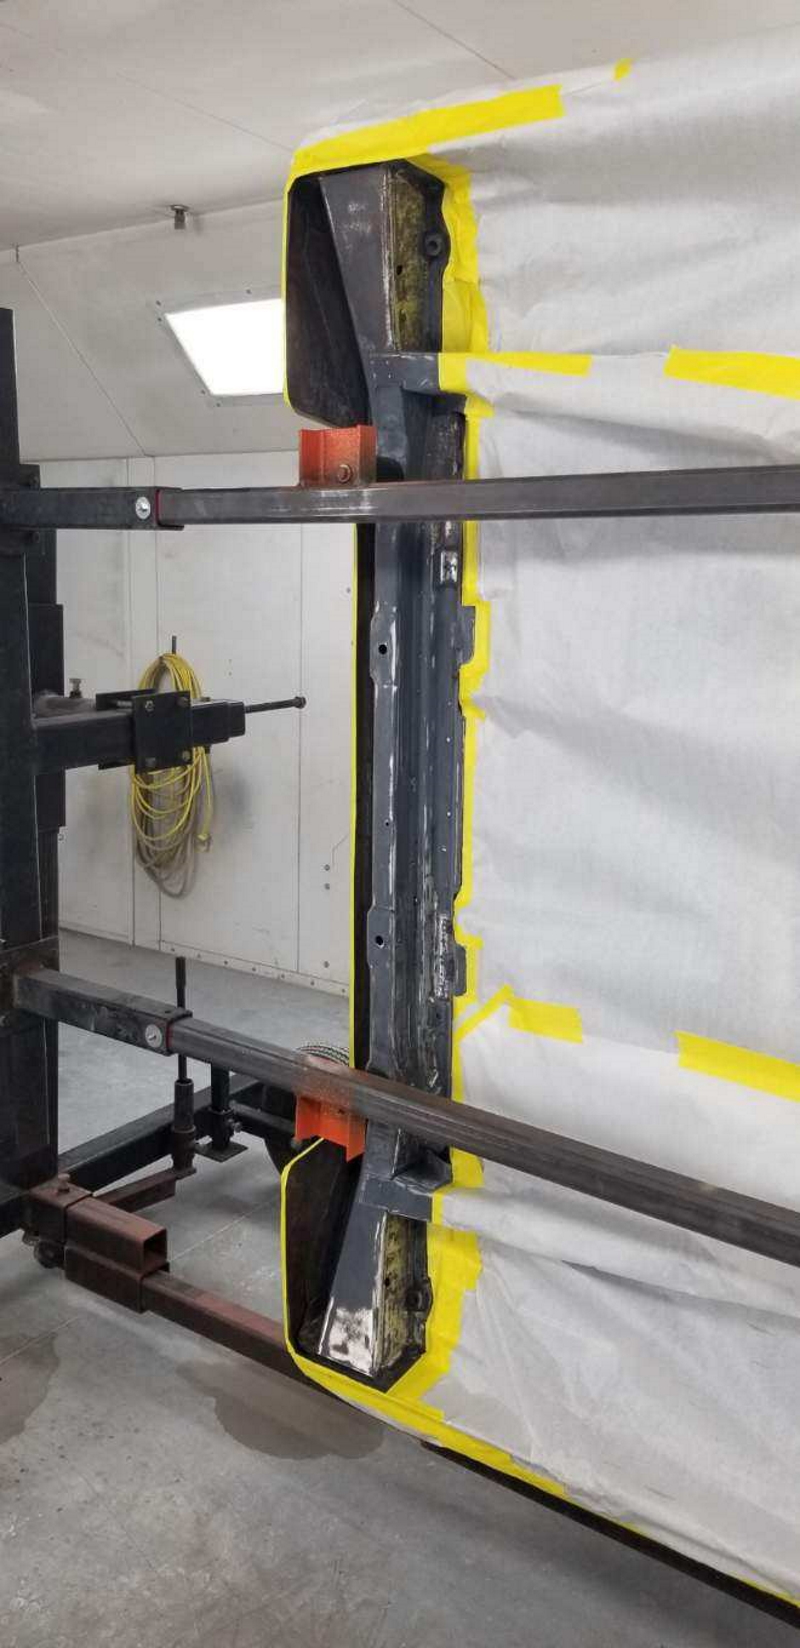 To protect these surfaces, we sprayed a rust encapsulator from Eastwood. 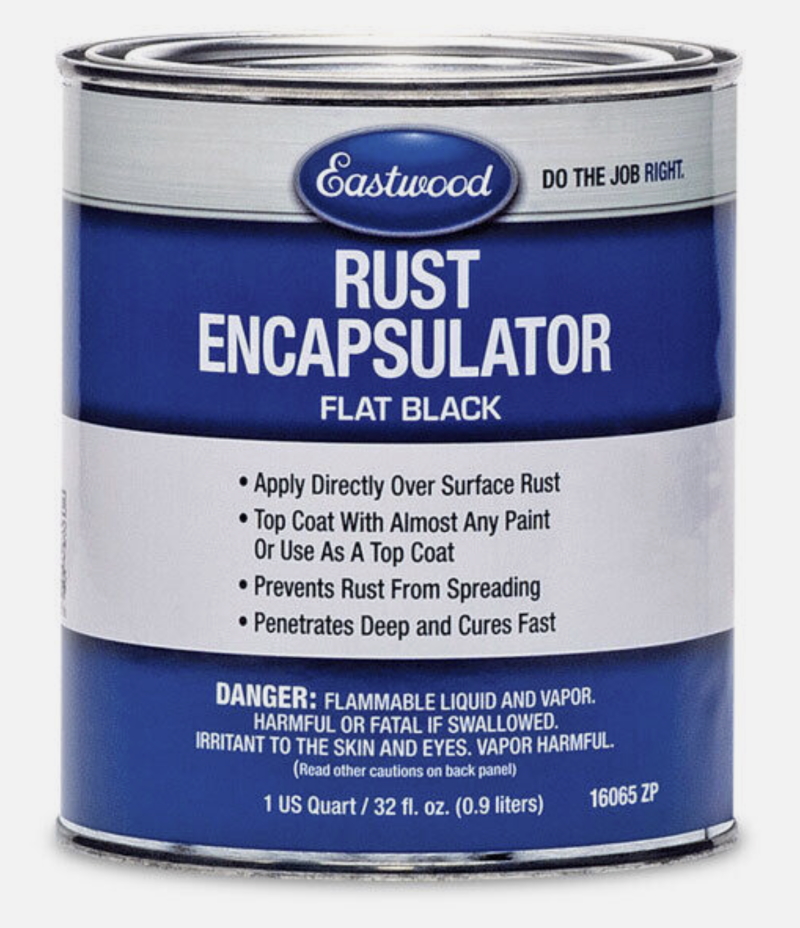 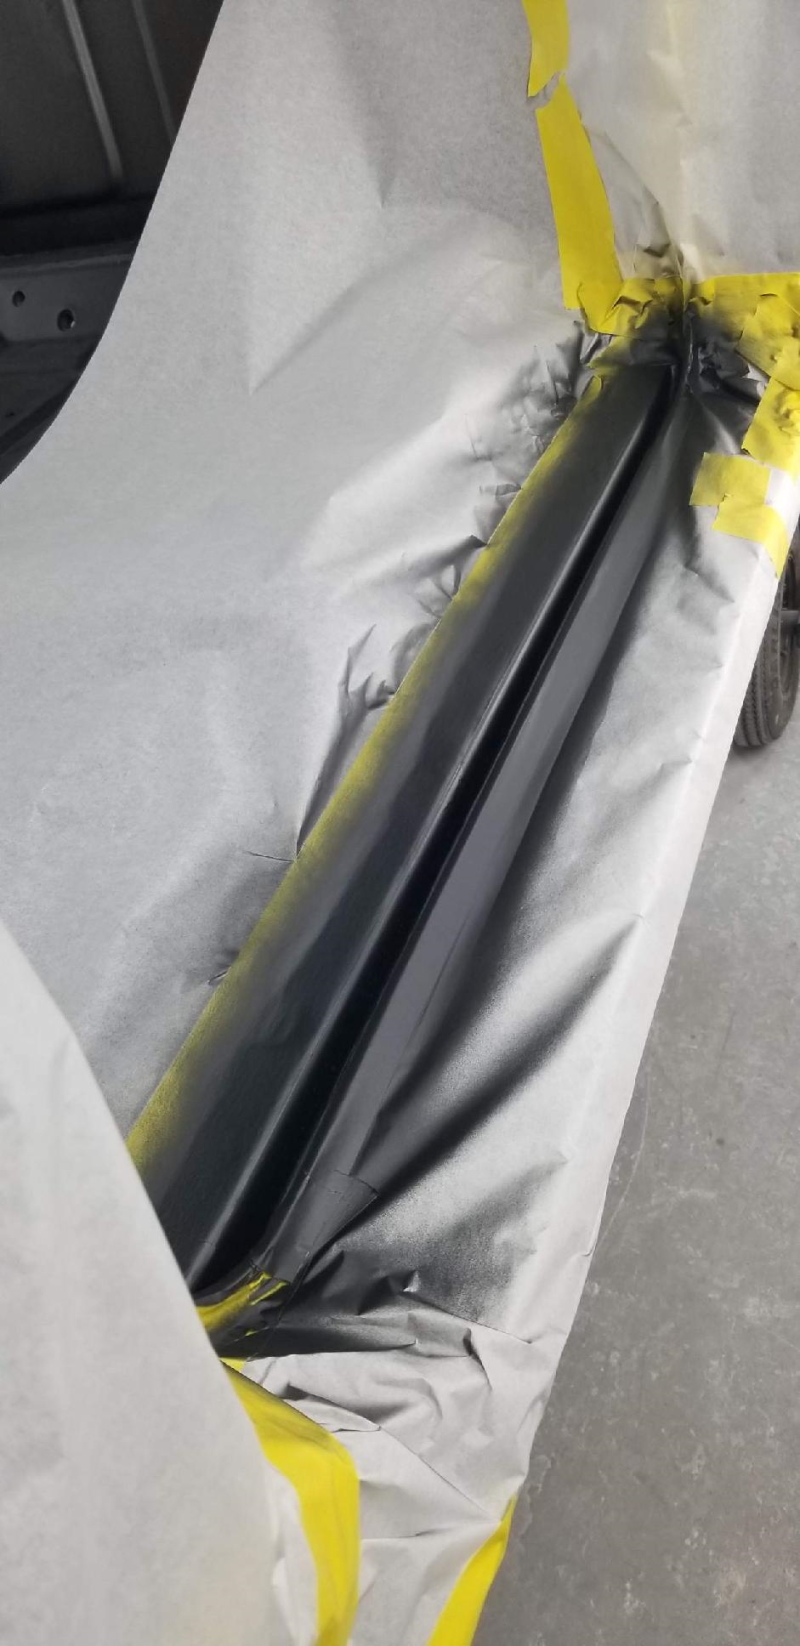 
__________________
Board Member #87725 My build thread... http://67-72chevytrucks.com/vboard/s...d.php?t=813848 Last edited by omodified; 05-04-2024 at 03:53 PM. |
|
|
|
|
04-21-2024, 07:36 PM
|
#379 |
|
Senior Member
Join Date: Jul 2010
Location: Race City U.S.A.
Posts: 1,005
|
Re: "Midnight Rider" 1970 C10 SWB Fleetside
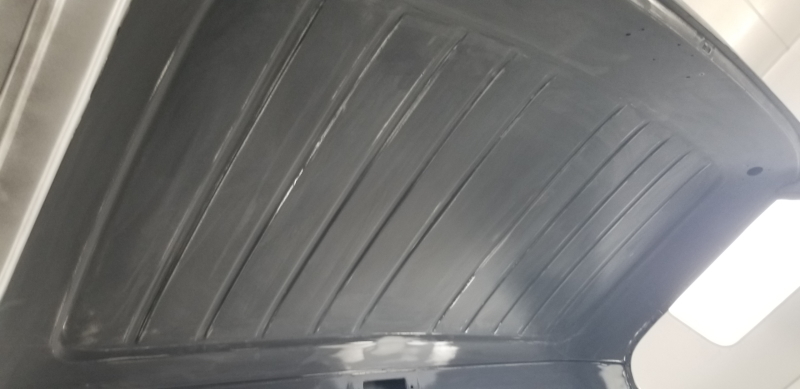
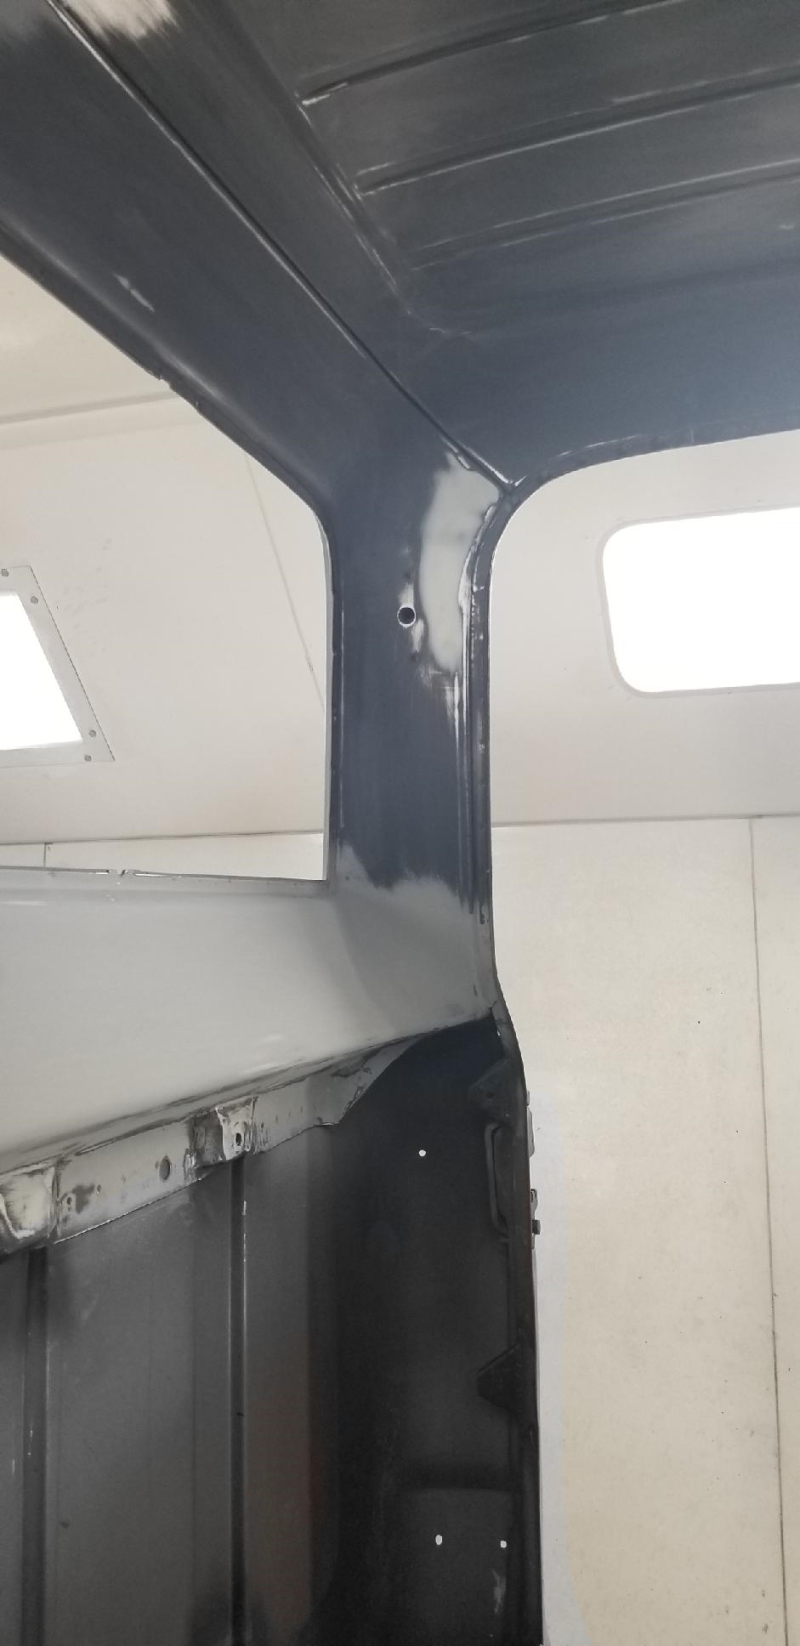
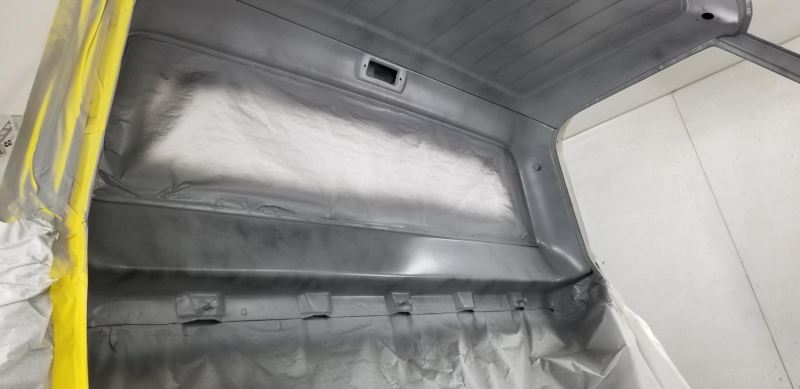
Working on the inside of the cab. Found some areas that needed a little massaging. Final sanding other areas, getting ready for paint. Soooo close now...
__________________
Board Member #87725 My build thread... http://67-72chevytrucks.com/vboard/s...d.php?t=813848 Last edited by omodified; 05-04-2024 at 03:54 PM. |
|
|
|
|
05-04-2024, 02:44 PM
|
#380 |
|
Senior Member
Join Date: Jul 2010
Location: Race City U.S.A.
Posts: 1,005
|
Re: "Midnight Rider" 1970 C10 SWB Fleetside
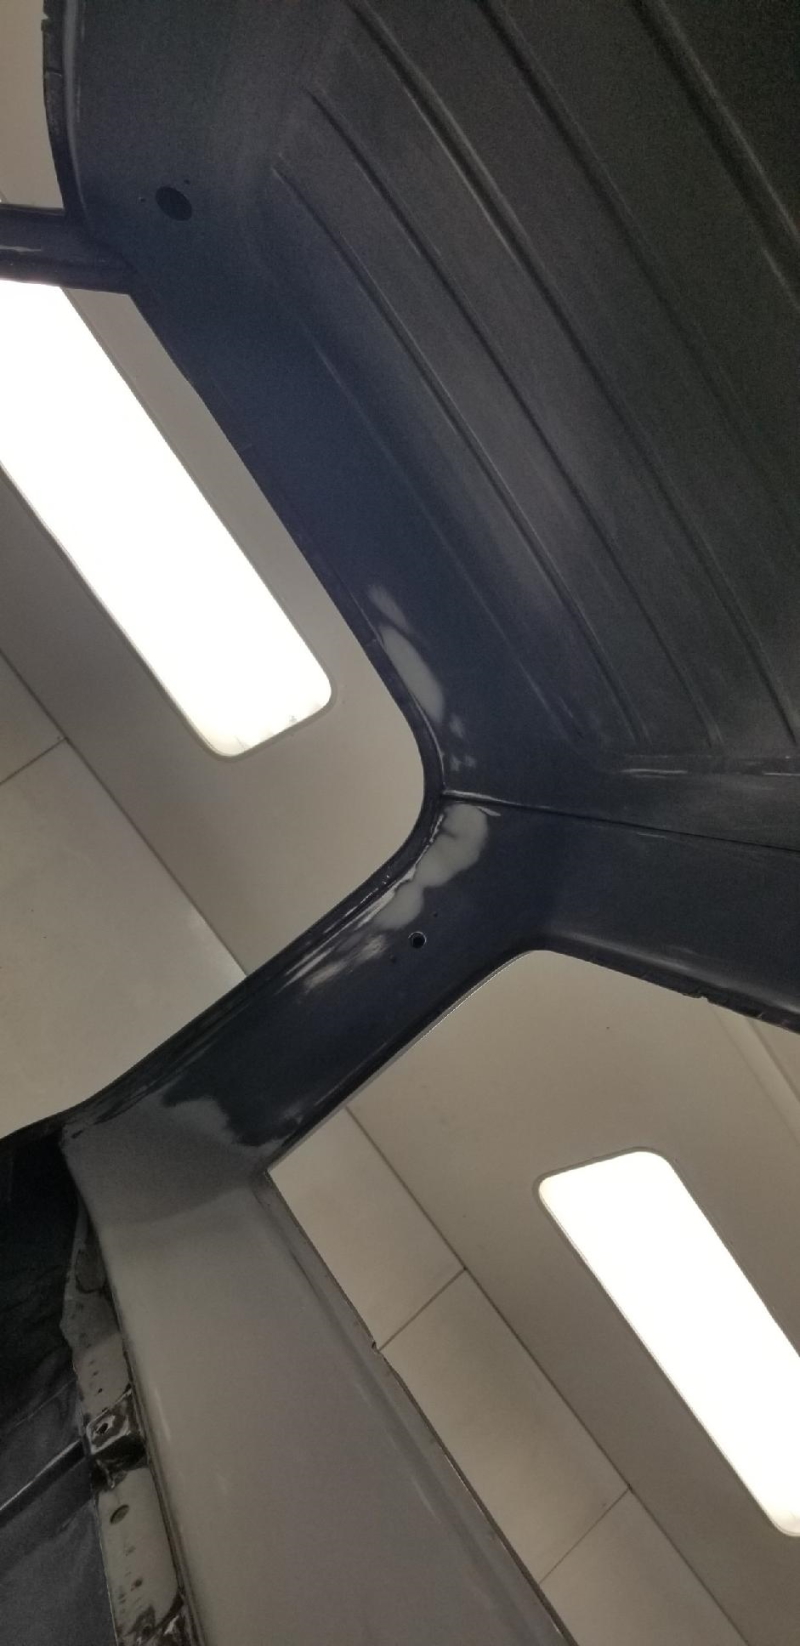
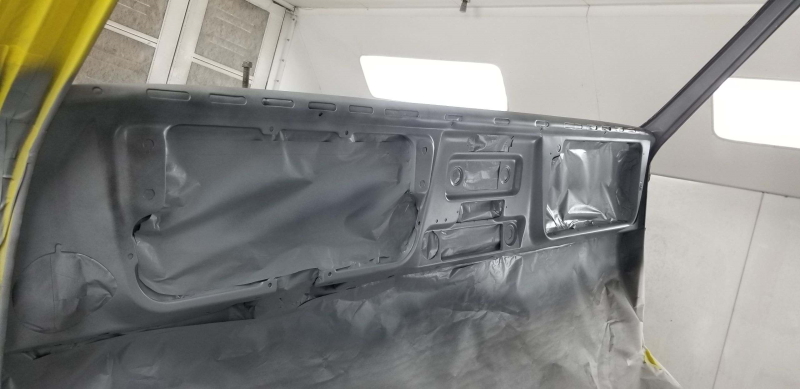
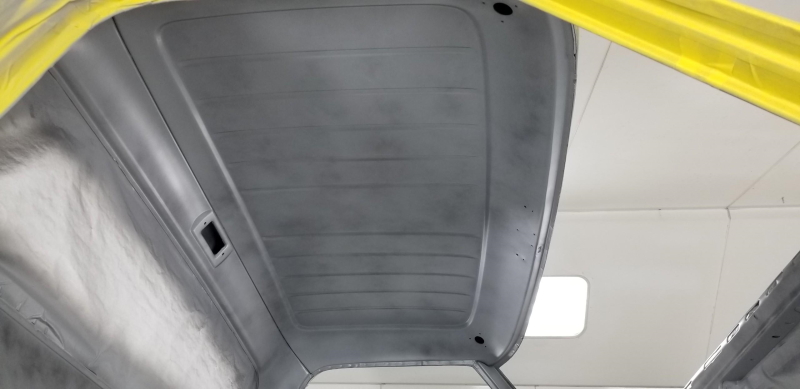
Some more progress photos for documentation of the last few weeks. A little more sanding going on. Also, decided to prime the eye level interior stuff to check details.
     I also noticed during this process that there is a number stamped on the cab, behind where the mirror gets mounted. I guess this is generally hidden by the mirror and the the windshield weatherstrip. Well, I had always kind of questioned if my hood was original or not, despite the original spot welds and other factory looking markings. This stamping confirms it for me as the hood has a similar stamping on the back drivers side. Does anybody know what these numbers mean or what the factory used them for? I can't find any info about it. 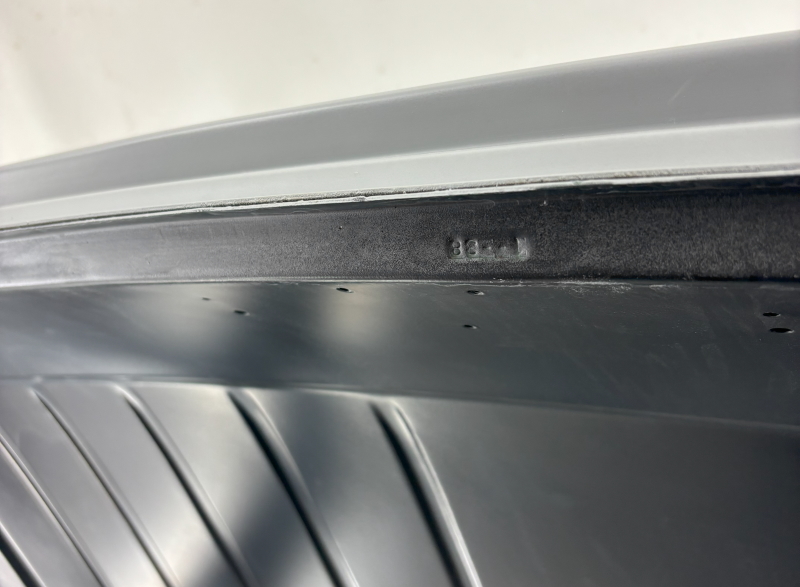 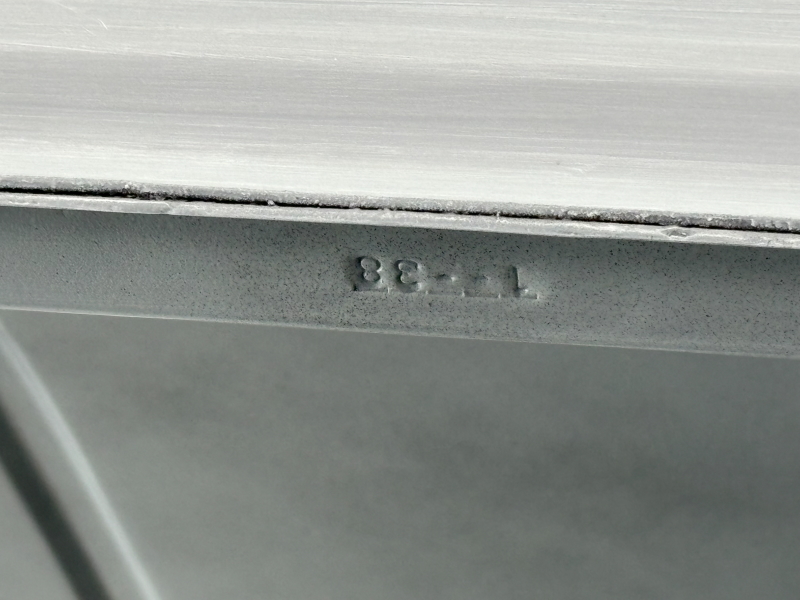 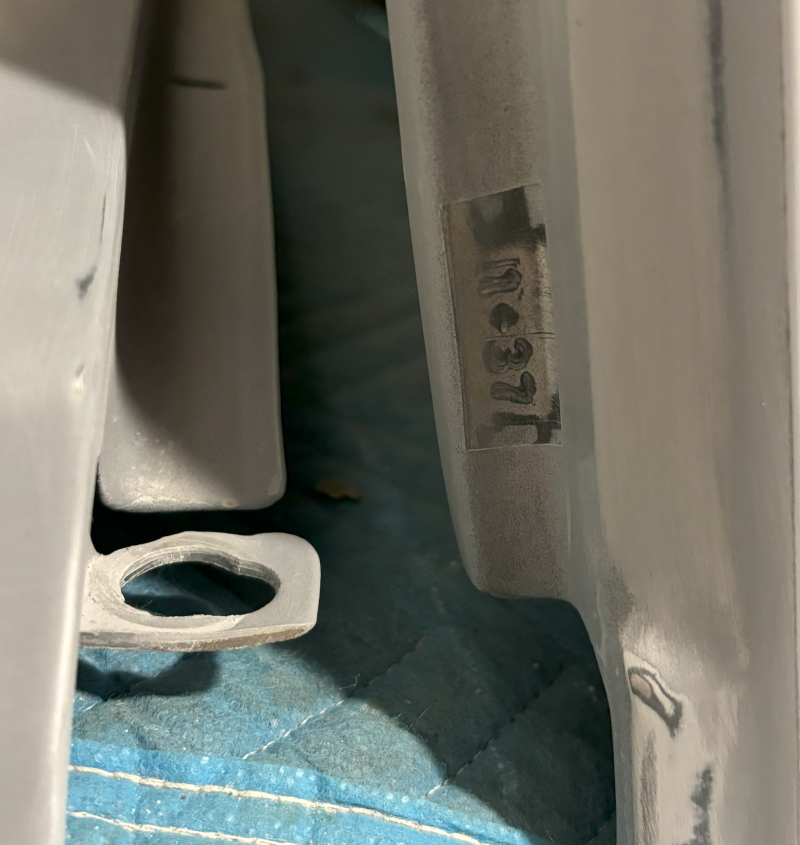
__________________
Board Member #87725 My build thread... http://67-72chevytrucks.com/vboard/s...d.php?t=813848 Last edited by omodified; 05-04-2024 at 03:55 PM. |
|
|
|
|
05-04-2024, 03:16 PM
|
#381 |
|
Paint, Body & Metalworker
Join Date: Jan 2008
Location: Airville, PA
Posts: 22
|
Re: "Midnight Rider" 1970 C10 SWB Fleetside
Looks to be turning out well. Seems you've found a shop receptive to what you want and are willing to do the work it takes.
|
|
|
|
|
Yesterday, 03:24 PM
|
#382 | |
|
Senior Member
Join Date: Jul 2010
Location: Race City U.S.A.
Posts: 1,005
|
Re: "Midnight Rider" 1970 C10 SWB Fleetside
Quote:
      
__________________
Board Member #87725 My build thread... http://67-72chevytrucks.com/vboard/s...d.php?t=813848 |
|
|
|
|
|
Yesterday, 05:23 PM
|
#383 |
|
Registered User
Join Date: Jun 2014
Location: Mocksville, NC
Posts: 1,732
|
Re: "Midnight Rider" 1970 C10 SWB Fleetside
Looking awesome Mr. O. I agree, the pinch welds are very noticeable on these trucks so they need to be straight on a build of your quality.
__________________
Builds: Green Gus the 68 C10 ; Sullii the 72 1500 - Instagram: @dr.hewitt - C10 Concept/Development Photos: Master Thread |
|
|
|
|
Yesterday, 06:43 PM
|
#384 |
|
Paint, Body & Metalworker
Join Date: Jan 2008
Location: Airville, PA
Posts: 22
|
Re: "Midnight Rider" 1970 C10 SWB Fleetside
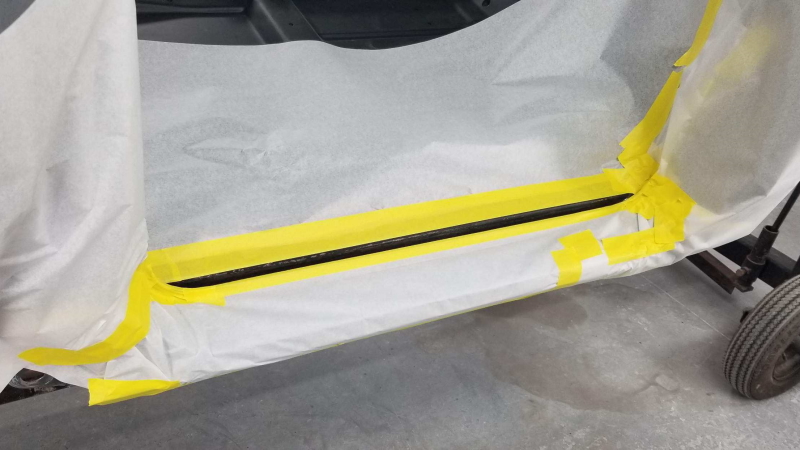
Pinch welds are often overlooked. I personally like to, after the vehicle is painted. Tape them off separately from the vehicle, scuff and shoot in a satin black. The pinch weld is still there but from 20+ ft you're eye isn't drawn to it and you get a better body profile. Beings the satin black is ontop of the paint, as it chips over it's life. You can just remask and spray a fresh coat.
|
|
|
|
|
Yesterday, 07:32 PM
|
#385 |
|
Senior Member
Join Date: Jul 2010
Location: Race City U.S.A.
Posts: 1,005
|
Re: "Midnight Rider" 1970 C10 SWB Fleetside
I know paint is coming just around the corner. So, I'm thinking about assembly coming just after. In the last few years, I have acquired some more parts/hardware that will be part of the build, but need nickel plated to match everything else. The issue is, the place I used has gone out of business and there aren't any options around anymore. I found an electroless nickel kit made by Caswell that actually looked like I could use in my kitchen. It seemed easy enough to work with and the kit comes with almost everything I would need. So, I ordered a kit to try it out. In hindsight, I should have done a better job estimating the size of the kit I needed to order....
To start, I rounded up all of the parts I could find. Mostly it was just random hardware. Specifically, I recently purchased several sets of 12 point hood latch bolts in order to find a matched set. I also threw in some radio mounting brackets and an early takeoff ball bearing ashtray.    Preparing to plate, you have to get two solutions ready. One is a detergent bath for degreasing and the other is the plating bath. The plating kit came with two - two gallon glass lined tanks. For the detergent bath, I mixed a 1/2 pound of detergent with one gallon of distilled water and warmed it to 190°. For the plating bath, I mixed one quart of solution with 1.35 gallons of distilled water and warmed it to 185°. The kit came with a thermometer so keeping track of temps was easy.       Once the temps became stable, it was time to prepare the parts for plating. The first thing to do was strip the first batch of parts in muriatic acid. Since this is toxic and smells really bad, I did this in the garage sink, with the doors open. I let the parts soak for three minutes, then rinsed with water. I immediately transferred the parts to the degreaser bath so there was no flash rust.   Next was plating. Caswell, has a very specific formula for you to understand how much solution you need for you project. They refer to it as credits. The numbers of credits you use is calculated as time in bath x surface area (in²). They would also have you measure each part to be plated. I refused to spend that kind of time on this so I just grouped everything into 5"x5" batches. Caswell says once your credits reach 80% of your starting credits, you have to replenish with 4oz of solution to bring your credits back to the original number or the bath will crash. Using 5x5 batches in the formula, I would need to replenish 4oz every 14 minutes. One batch would be finished after 28 minutes. Based on this, I would only have enough solution to complete two batches. I organized the batches by priority, in case I didn't have enough to do everything. Well, I followed Caswell's instructions and replenished when I was suppose to. I had enough to start the third batch as planned. I decided to let this batch sit the entire 28 minutes to see how it would turn out. It actually turned out fine. So good, that I decided to take a chance on the last batch, which was the ash tray. I'm glad I took the chance because it turned out nice too. I'm not sure how much further I could have gone or how many more parts I could have put in each batch, but I'm glad I didn't have to push it any more than I did. This stuff actually turned out better than any of the stuff I paid for in the past. This is a little expensive for what I actually got, but it was way worth it seeing how it turned out. Not afraid to do this again if I have to!!!  
__________________
Board Member #87725 My build thread... http://67-72chevytrucks.com/vboard/s...d.php?t=813848 |
|
|
|
 |
| Bookmarks |
|
|


 Linear Mode

