Quote:
Originally Posted by robnolimit

this is the hard part to fit. I made a tape template first to get the shape, the trimmed the metal to fit.
|
Hi Rob.....
I sure hope you are still subscribed to this thread (it's been 4 years!). I work slowly, so it took me a while to get to the point where I could ask you this question. I've been studying these photos for a while and trying to understand how you accomplished this:
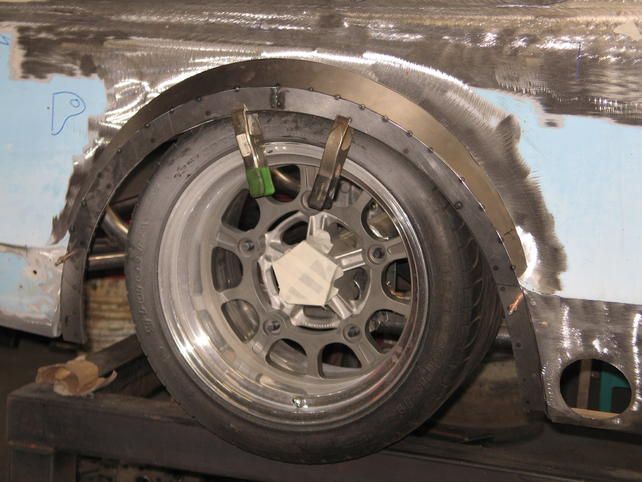
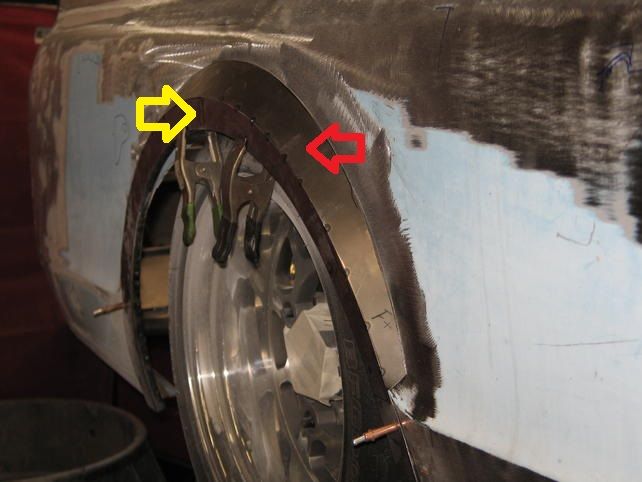
There are two major components to this, the front vertical arch shape (Yellow Arrow) and the transition piece that connects that wider arch to the original bedside. (Red Arrow)
The first part (vertical arch) seems pretty straightforward. Just pick a new larger radius and cut a band that is between 1.25" and 1.5" wide (to match the factory lip dimensions)... then attach it to the lower bedsides with Clecos and start finessing the top of the arch to whatever amount of extra flare you like.

The filler section (red arch) is the one that I'm most confused about. How did you determine how wide to make that filler at the very top of the arch? It looks like maybe 3.5 - 4"?? Then tapers-down to perhaps 1.25" at the ends? I was curious if there was a specific trick to picking those dimensions or if it was purely based on aesthetics and a lot of trial-and-error?
I'm asking because I've got a similar problem to solve on my 1972 K5 Blazer. The additional challenge is that the tires stick out about 3" beyond the stock fenders, so I can't see any possible way to build a decent looking flare that will actually cover the tire. The best I can hope for is to follow the tire shape and leave maybe 1/2" of clearance all the way around it when the suspension is fully-bottomed out so that it won't touch.
I moved my rear axle back about 3".....so my wheel arch is nowhere near "centered" as a starting point.
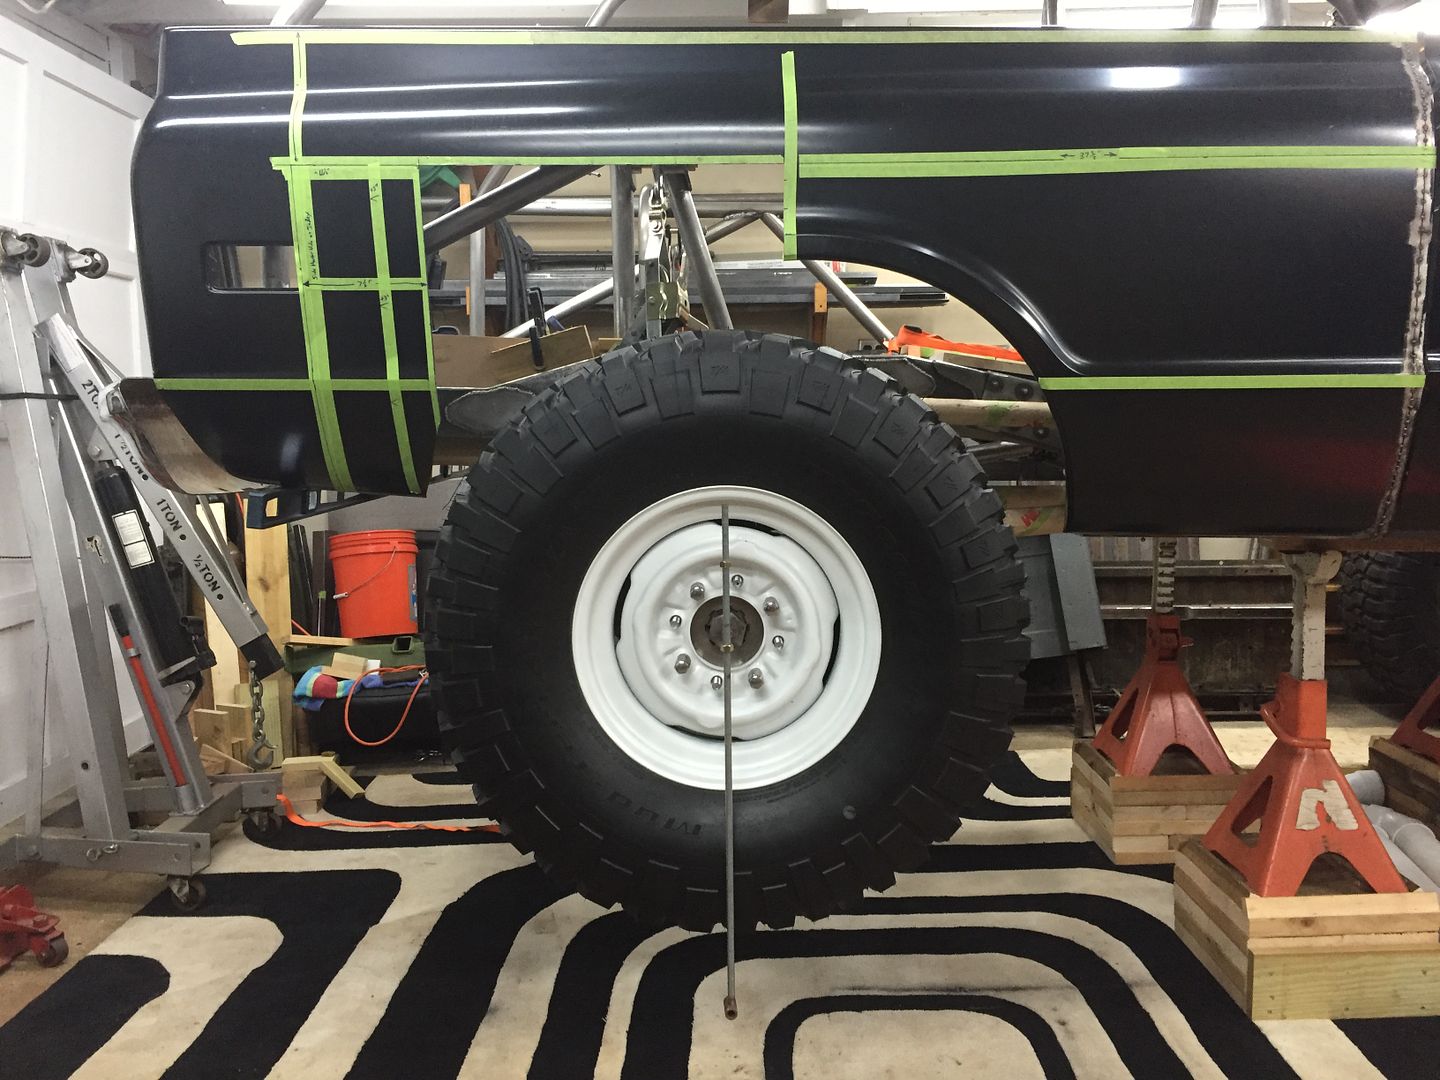
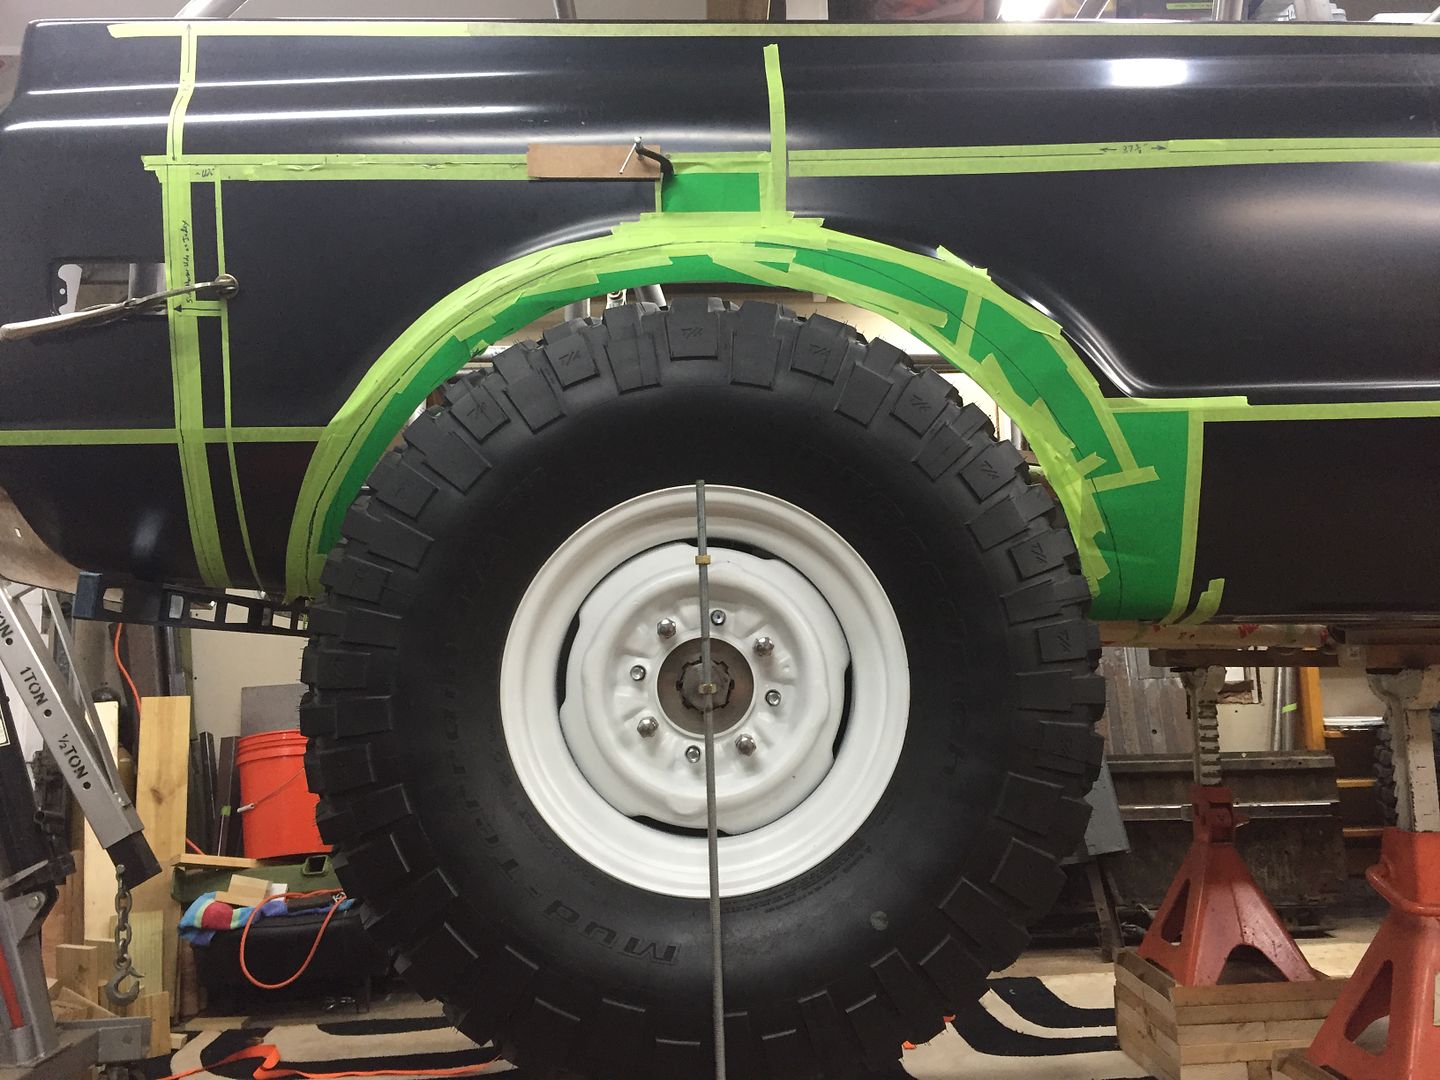
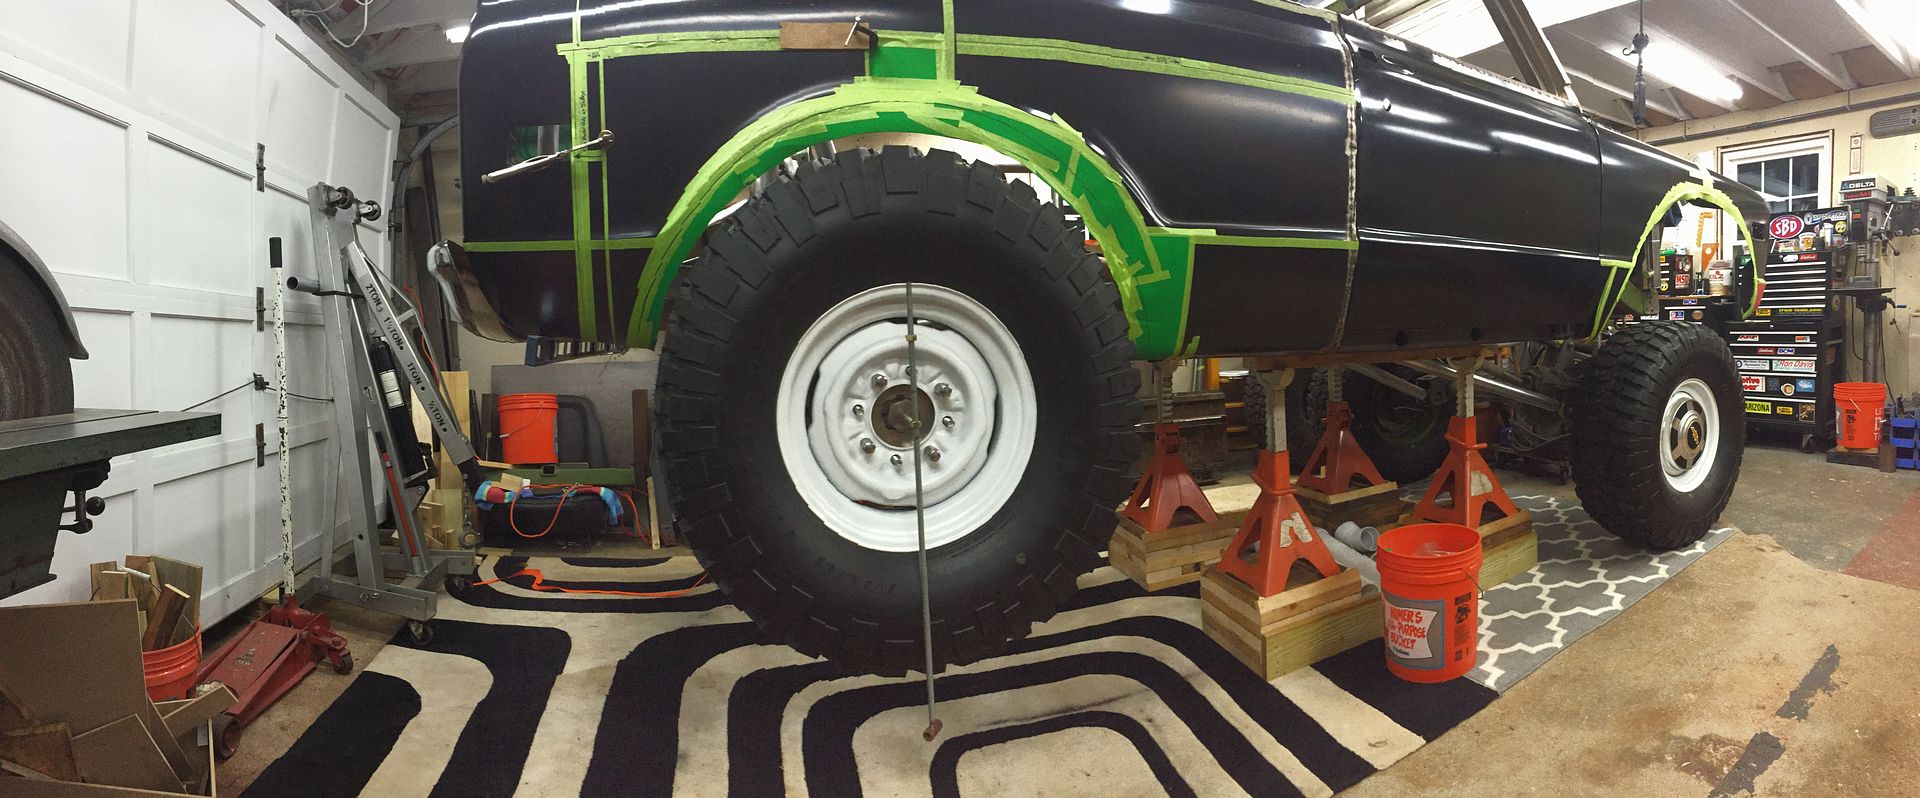
This is basically how it looks with tape and paper to create a radius from the wheel center (suspension at full-compression). This allows me to draw the marks for the "yellow arrow" arch piece that goes on first.
I'm just using a long section of threaded rod and nuts to create a large "compass" that can hold my Sharpie markers and transfer the curves to paper.
My questions are:
1. How did you create that filler panel shape initially? Was that traced out on flat sheet and then rolled gently to give it the right "curve"?
2. Were you somehow able to determine the taper ahead of time (where it touches the bedside) or what that just a tedious process of trimming, test fitting and marking to eventually get a tight fitment?
3. Any other cautionary tales or lessons-learned you'd be willing to share about that process?
I'm going to struggle through this process and get it figured out no matter what, but I was hoping you might have a few words of advice or help to get me through it a little easier.

Thanks in advance.
-G