
|
Register or Log In To remove these advertisements. |
|
|
|
|||||||
 |
|
|
Thread Tools | Display Modes |
 11-30-2016, 12:16 AM
|
#1 |
|
Registered User
Join Date: Jan 2013
Location: Leonardtown, MD
Posts: 1,634
|
Tacking with the TIG welder
The first step for TIG welding your seams is tacking from one end to the other.. Here's how we use the TIG to tack panels together
https://youtu.be/aTqQJoecqCw .
__________________
Robert |

|

|
|
12-02-2016, 10:34 AM
|
#2 |
|
Registered User
Join Date: Jan 2013
Location: Leonardtown, MD
Posts: 1,634
|
Re: Tacking with the TIG welder
Welded some more TIG coupons last night. I had some questions about weld placement, so I decided to do some samples that mimicked various body shape types.
First, we have a flat version, this would simulate the flat area at the bottom of a door skin... 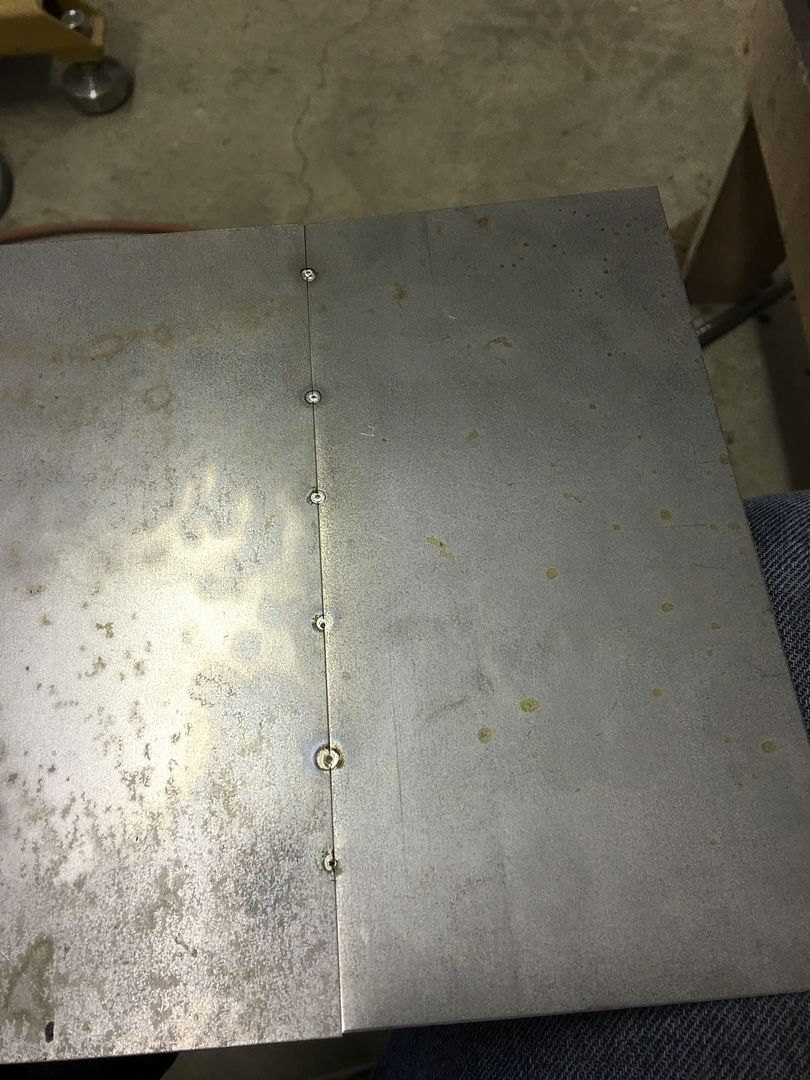 The second panel has more crown, such as toward the top of a quarter/door skin.... 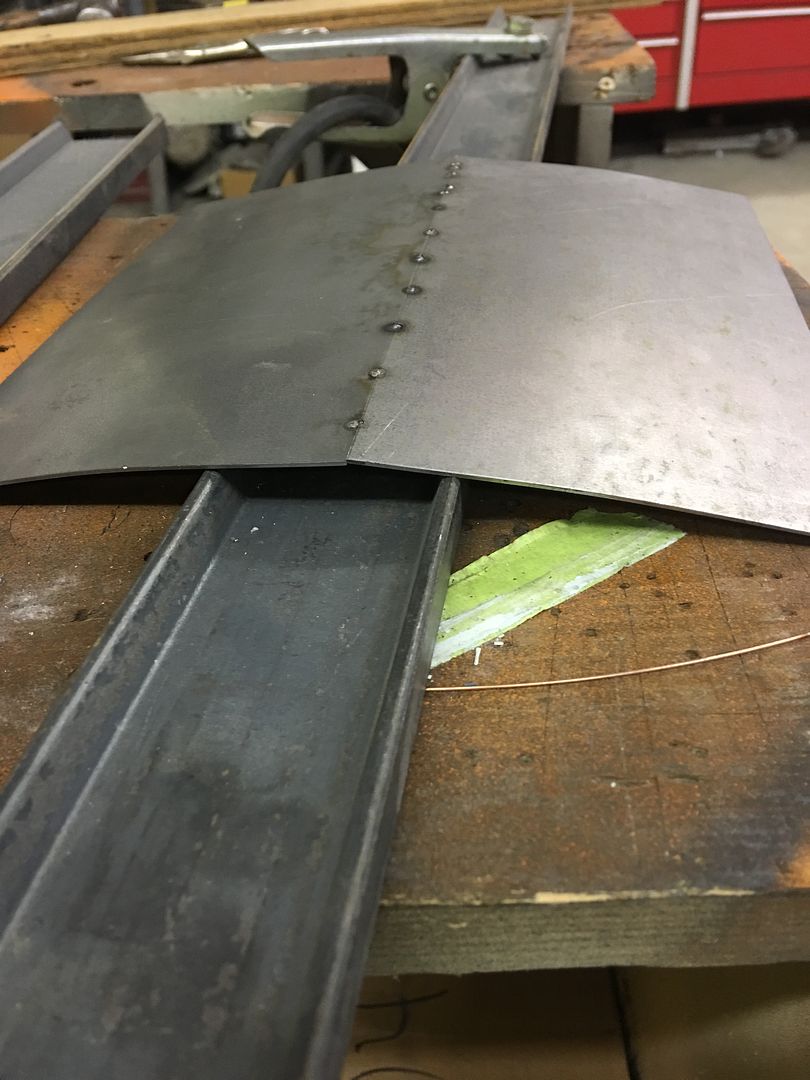 Comparing the two... 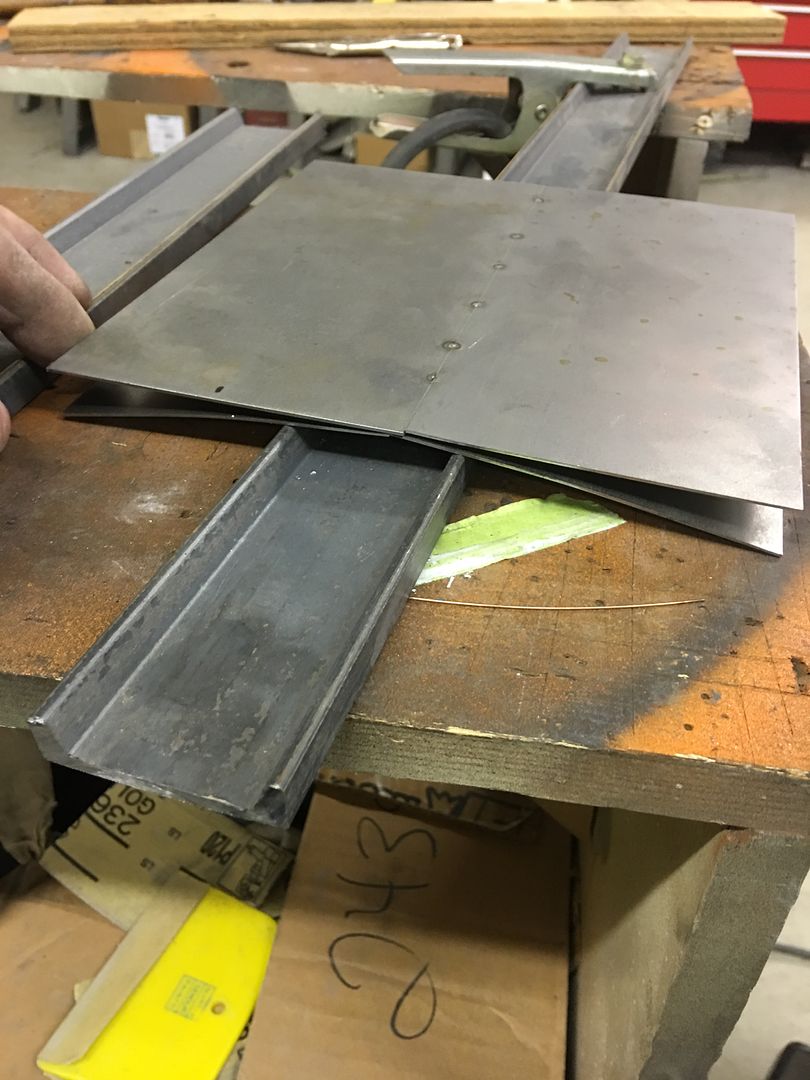 Next, we have a repair piece that is joined at the beltline bead... 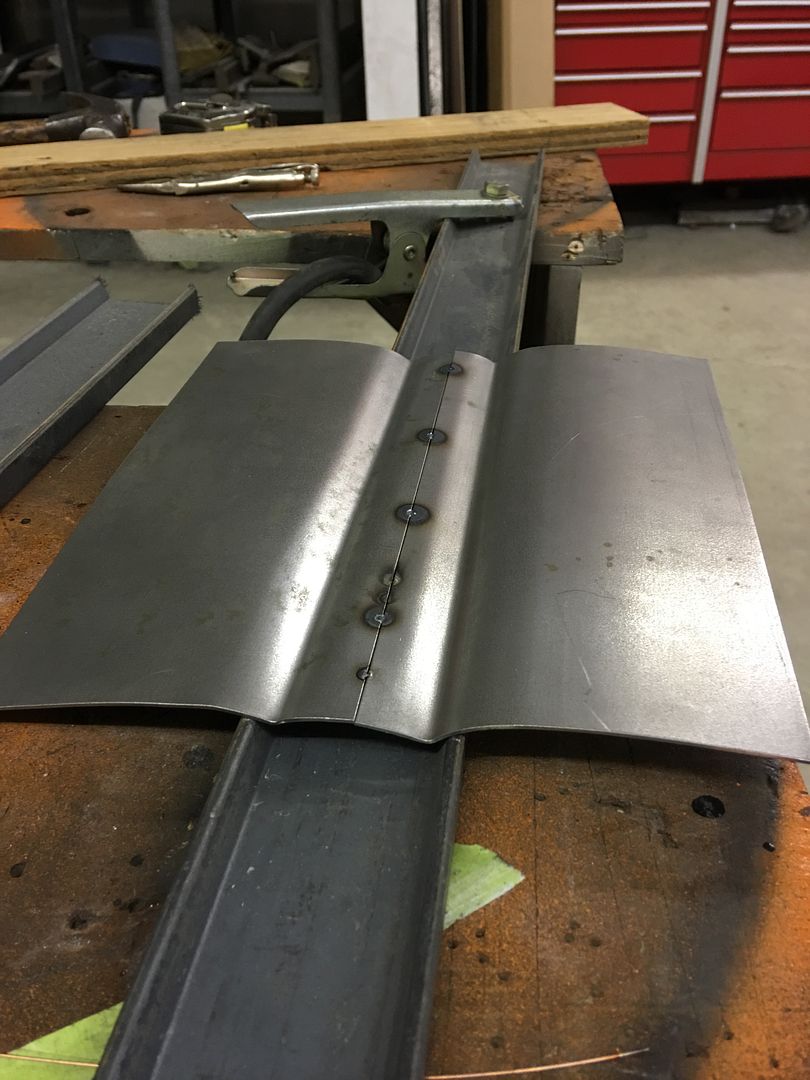 The flat area distorts quite a bit... Normally we would planish the weld after cooling to remove this distortion, but here it was left to better compare distortion amounts.. 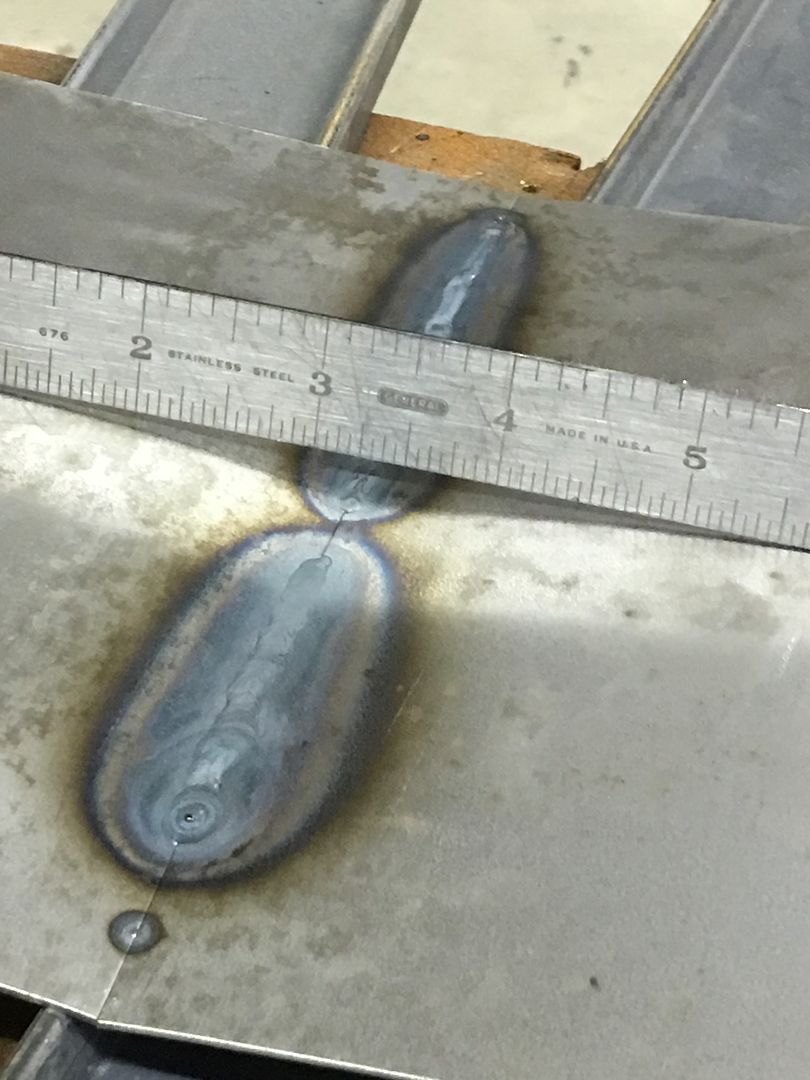 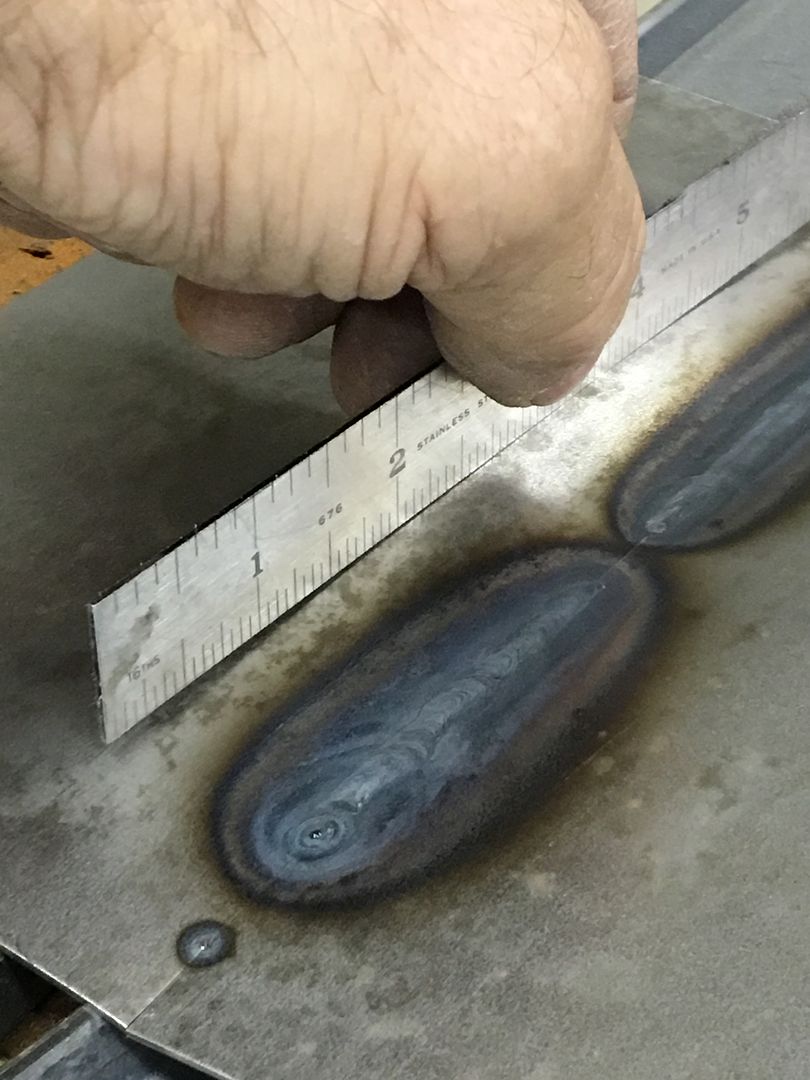 Looking at the three samples, the flat one moves/distorts the most. The crowned panel a bit less, the beltline bead even less.. 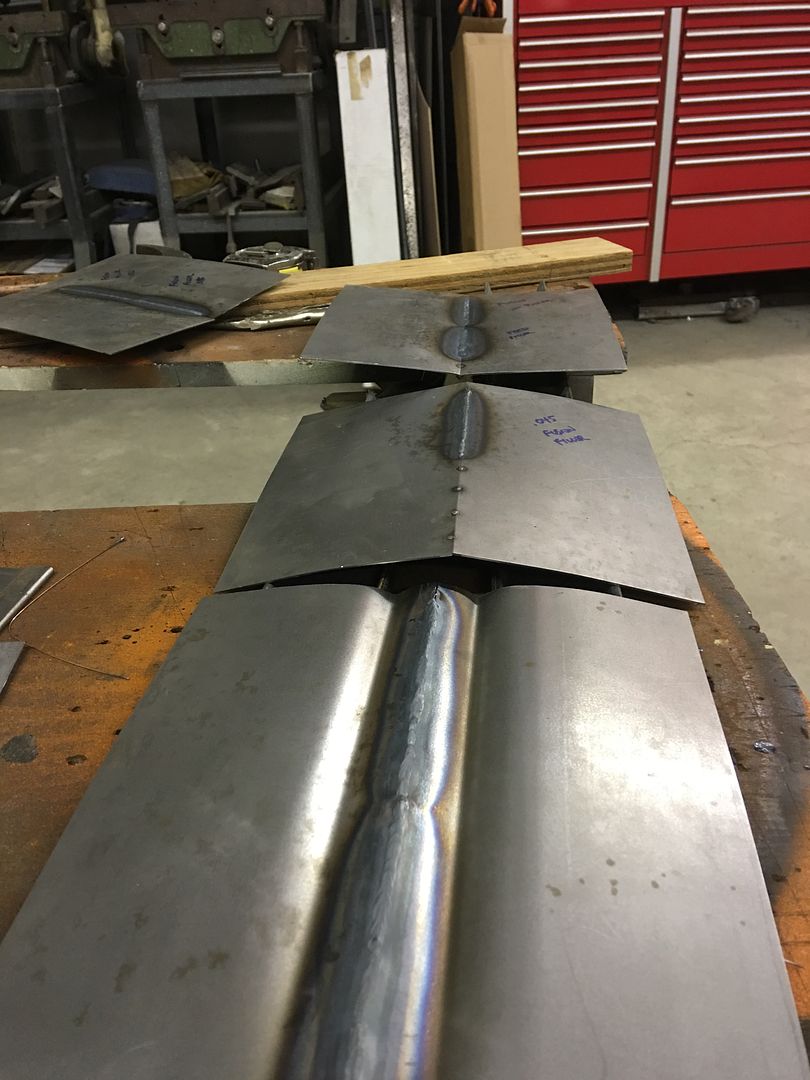 This helps to show the benefit of weld seam locations, we should select anything but the low crown/flat areas if at all possible.. The crowned areas or those with beltline bead details will help to hold any distortion in check.
__________________
Robert |
|
|
|
|
12-02-2016, 10:56 AM
|
#3 |
|
Registered User
Join Date: Dec 2000
Location: Boise, Idaho
Posts: 6,001
|
Re: Tacking with the TIG welder
Very good stuff!
Brian
__________________
1948 Chevy pickup Chopped, Sectioned, 1953 Corvette 235 powered. Once was even 401 Buick mid engined with the carburetor right between the seats! Bought with paper route money in 1973 when I was 15. "Fan of most anything that moves human beings" |
|
|
|
|
| Bookmarks |
|
|


 Linear Mode

